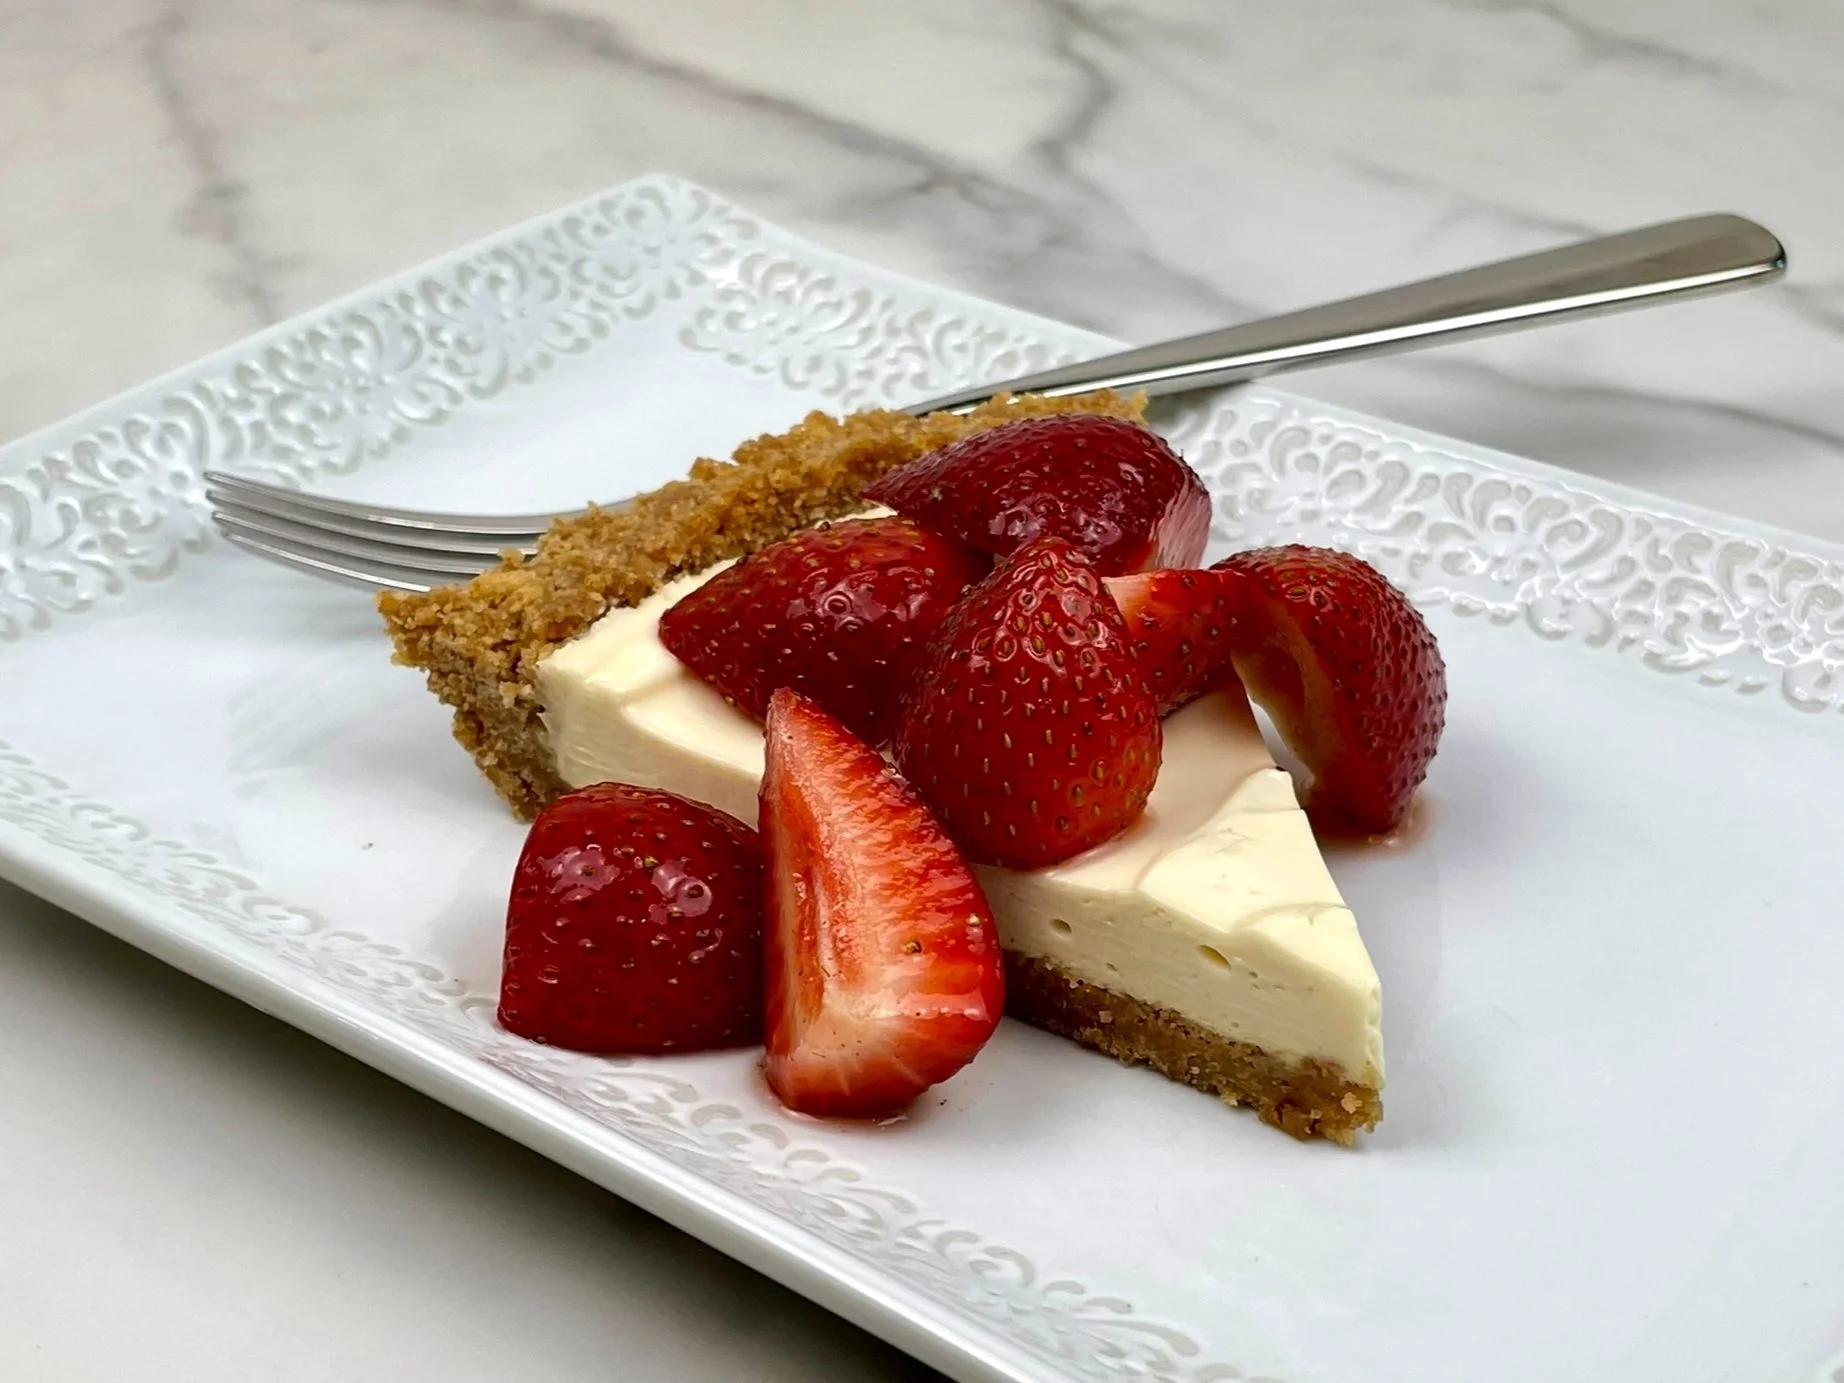
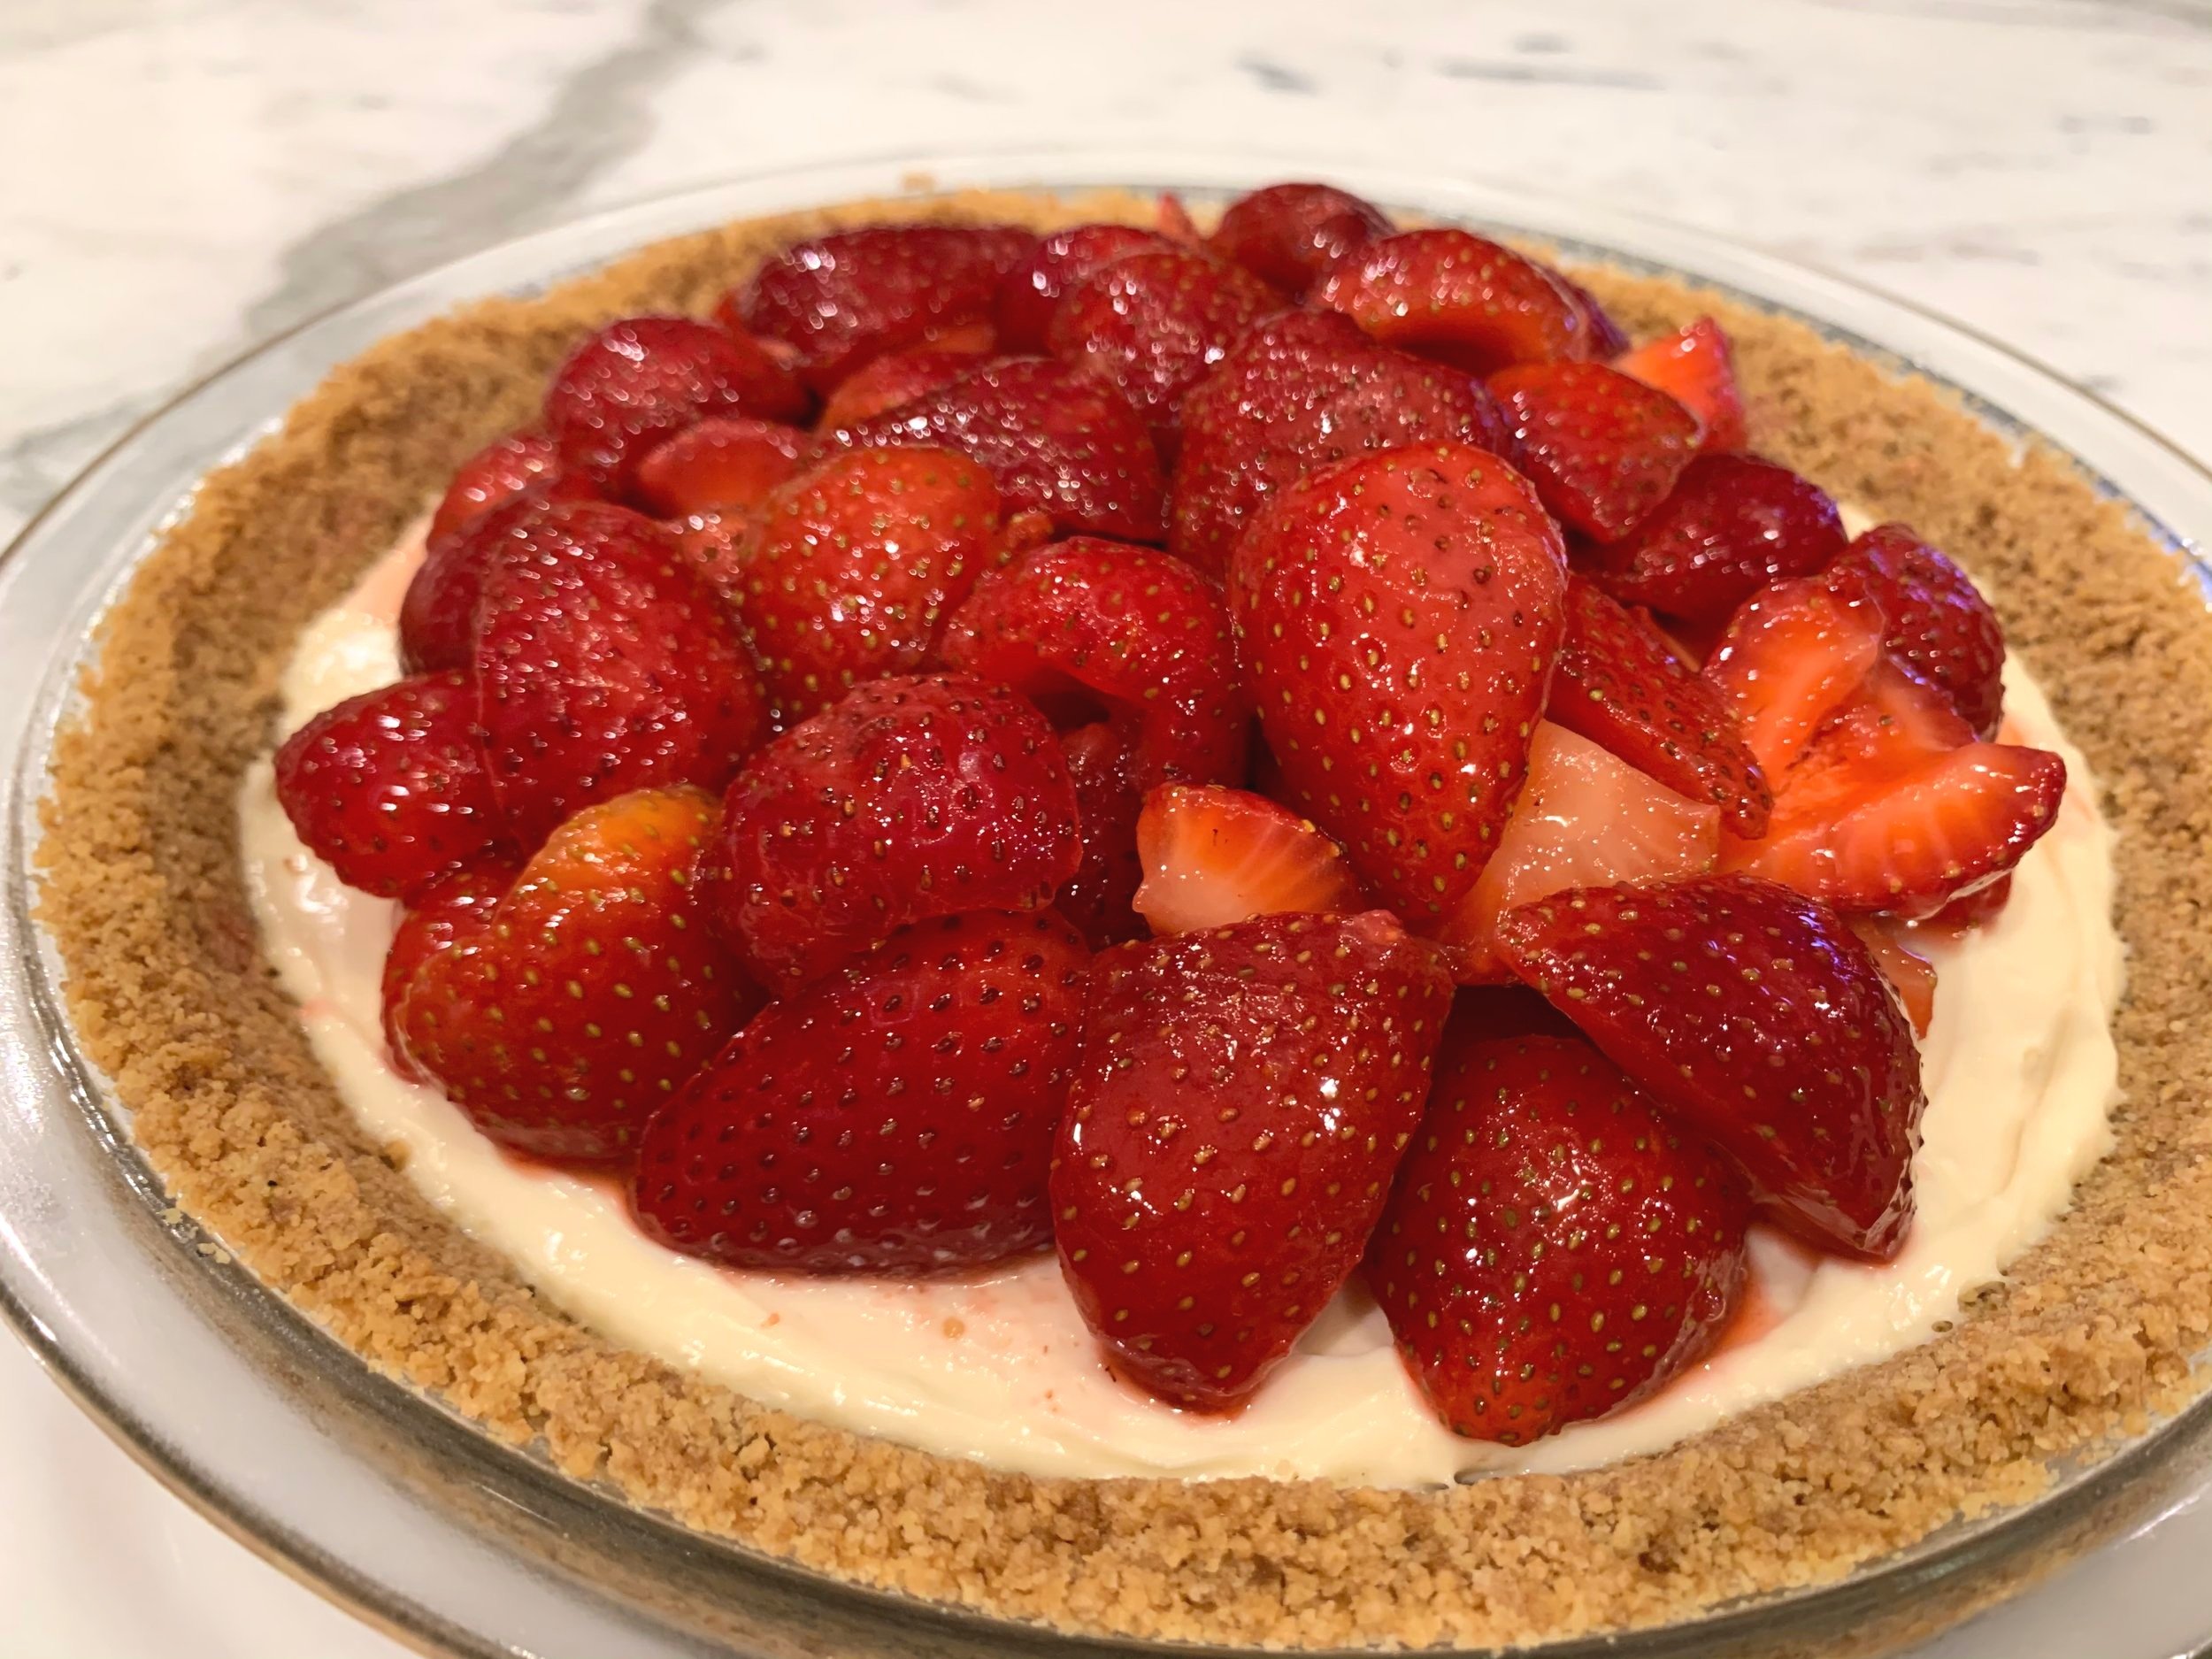
Silky Strawberry Cream Cheese Pie
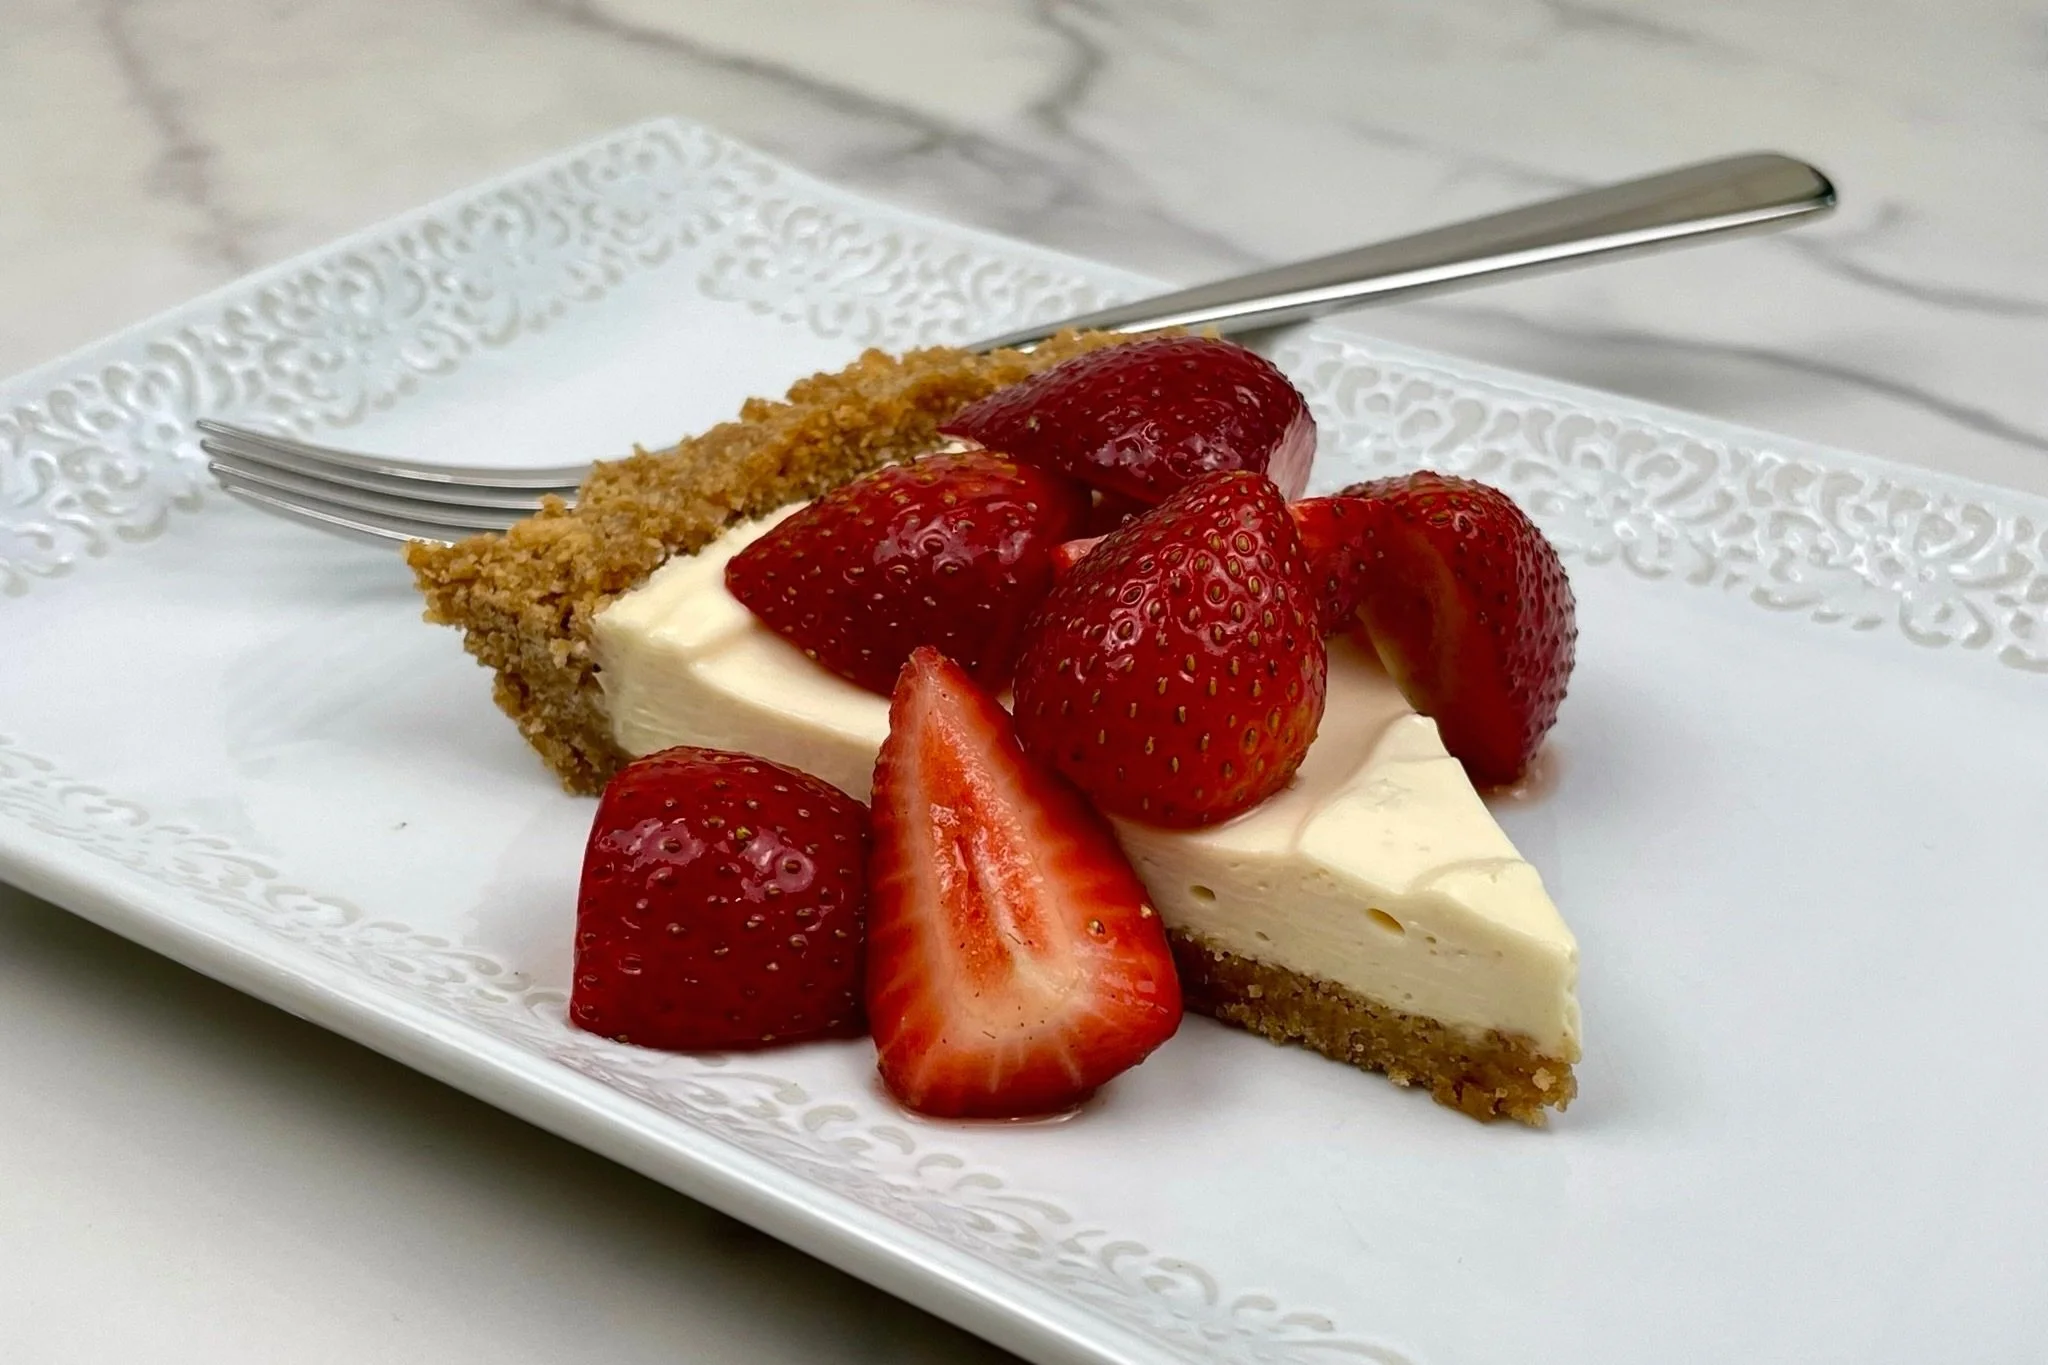
Is it strawberry season yet?! This delectably creamy Silky Strawberry Cream Cheese Pie has a creamy filling that is nestled in a tender graham cracker crust, and topped with a fresh strawberry topping. This recipe is ridiculously easy, can be made ahead, and it is perfect for entertaining!
To get the most out of this amazing strawberry pie recipe, fresh strawberries should really be in season. They are definitely the star of the show! We pimped up this great recipe with a few simple ingredients to make this smooth and silky pie absolutely out of this world! To read more about this dessert, check out our Blog Comments & Tips.
Sign up for a free subscription to our monthly newsletter and access to exclusive content.
To browse some of our favorite kitchen essentials, gadgets, and pantry items, visit our Recommended Products page.
RECIPE
(Check out our Step by Step Instructions below the recipe card.)
Recipe updated as of 5/7/22
SILKY STRAWBERRY CREAM CHEESE PIE
Ingredients
Instructions
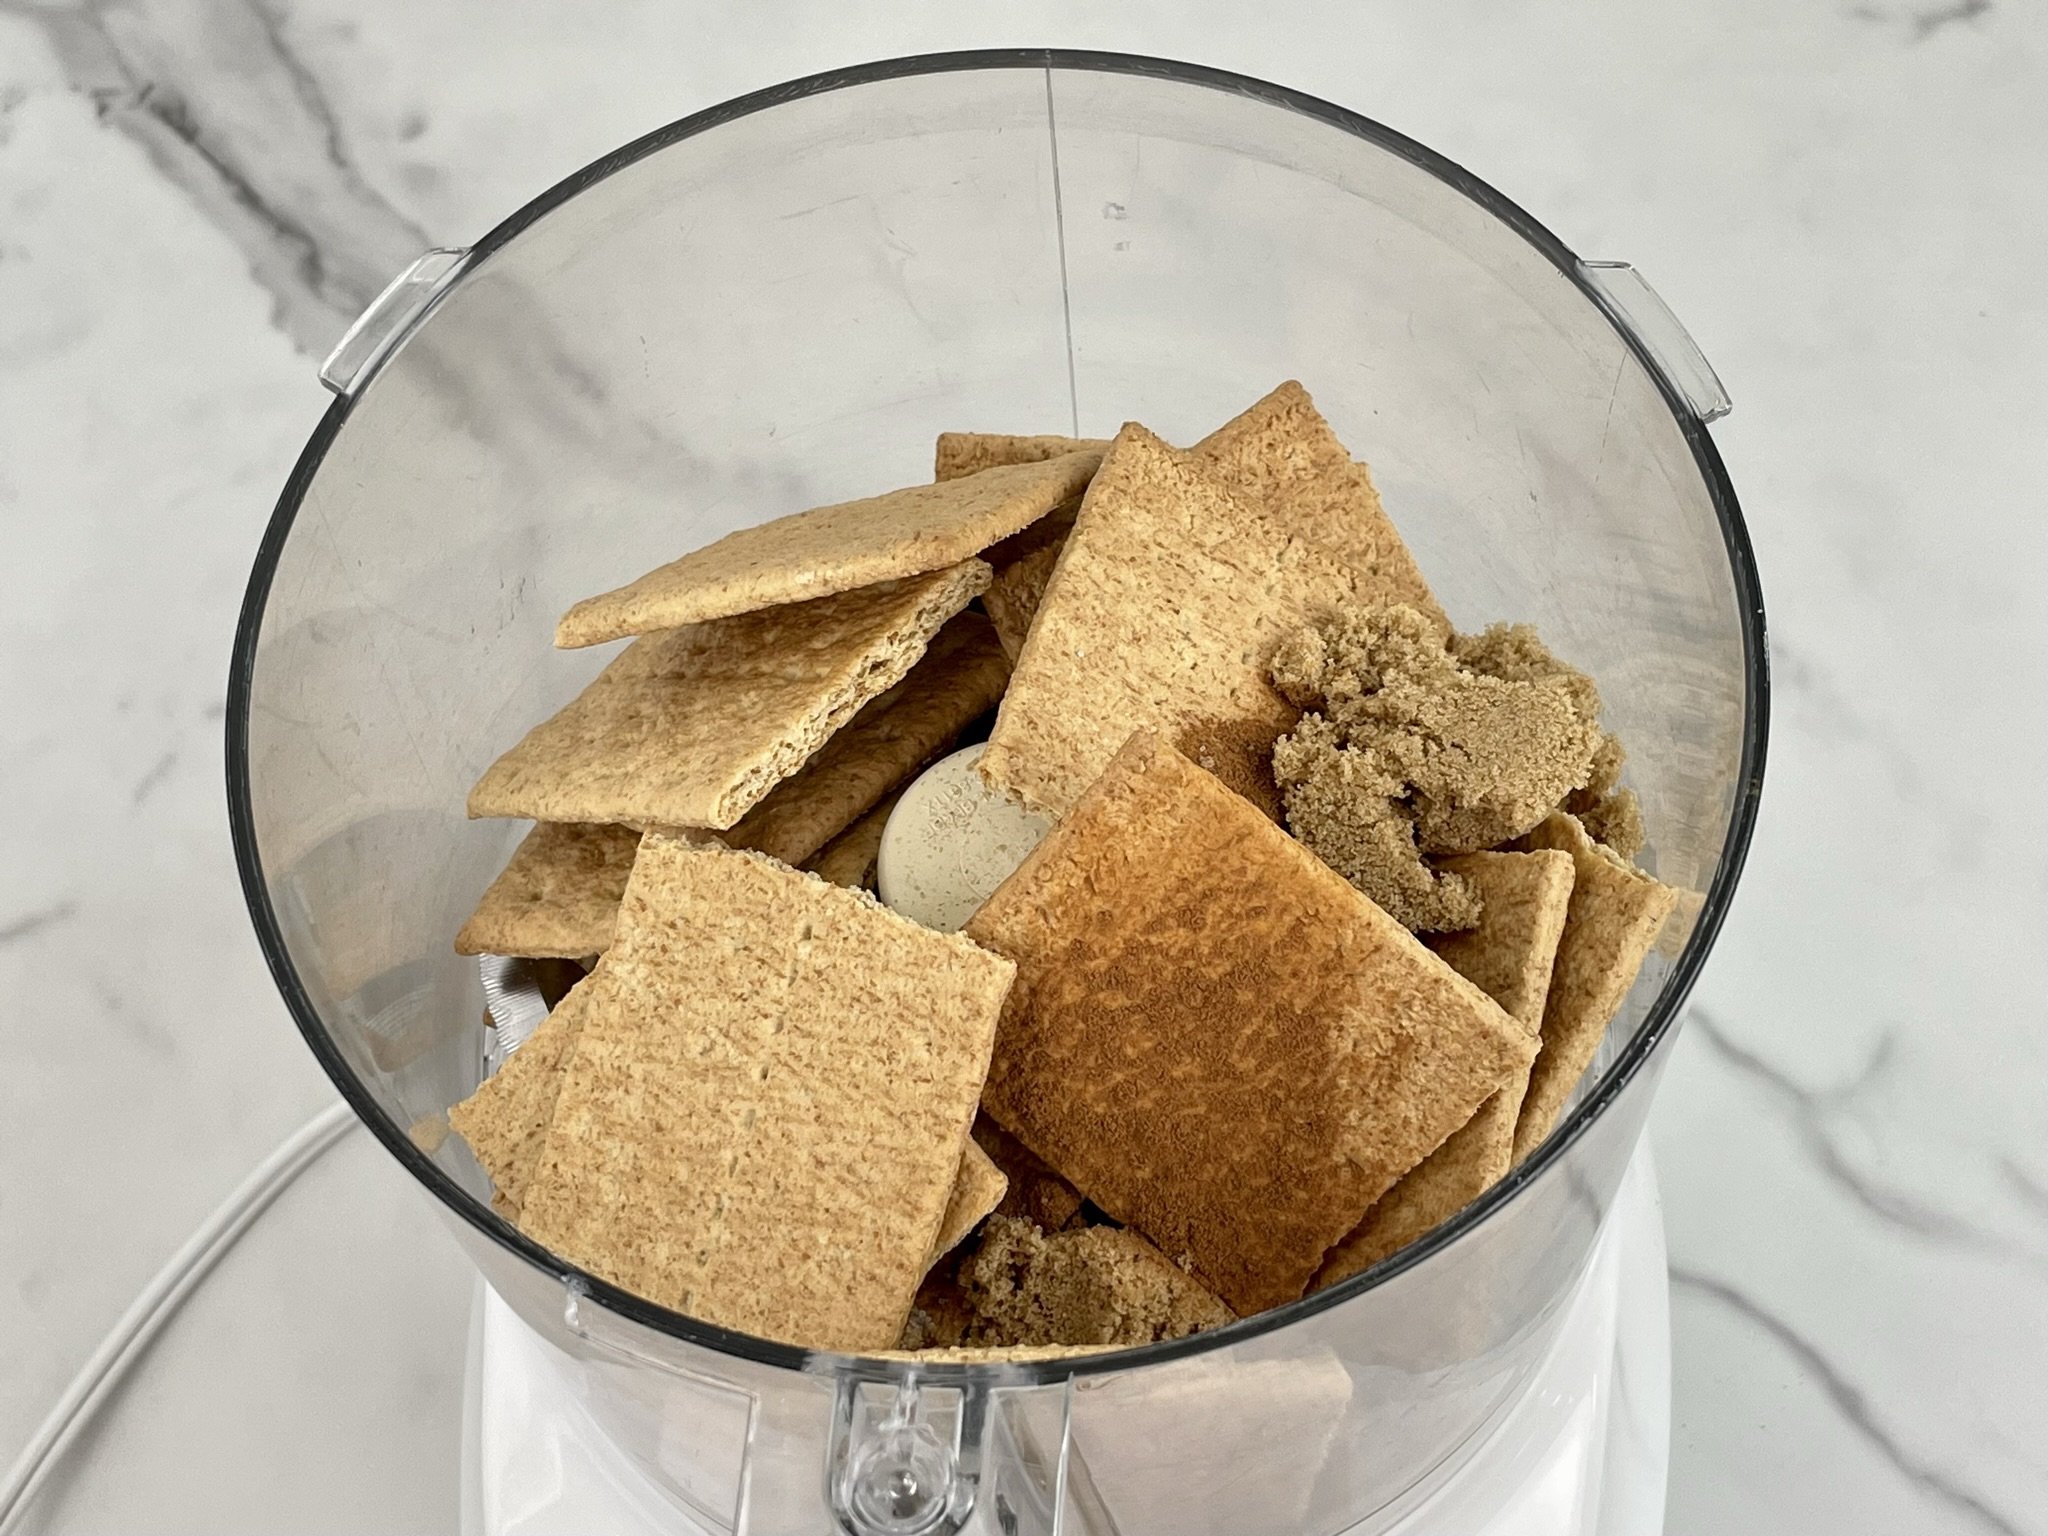
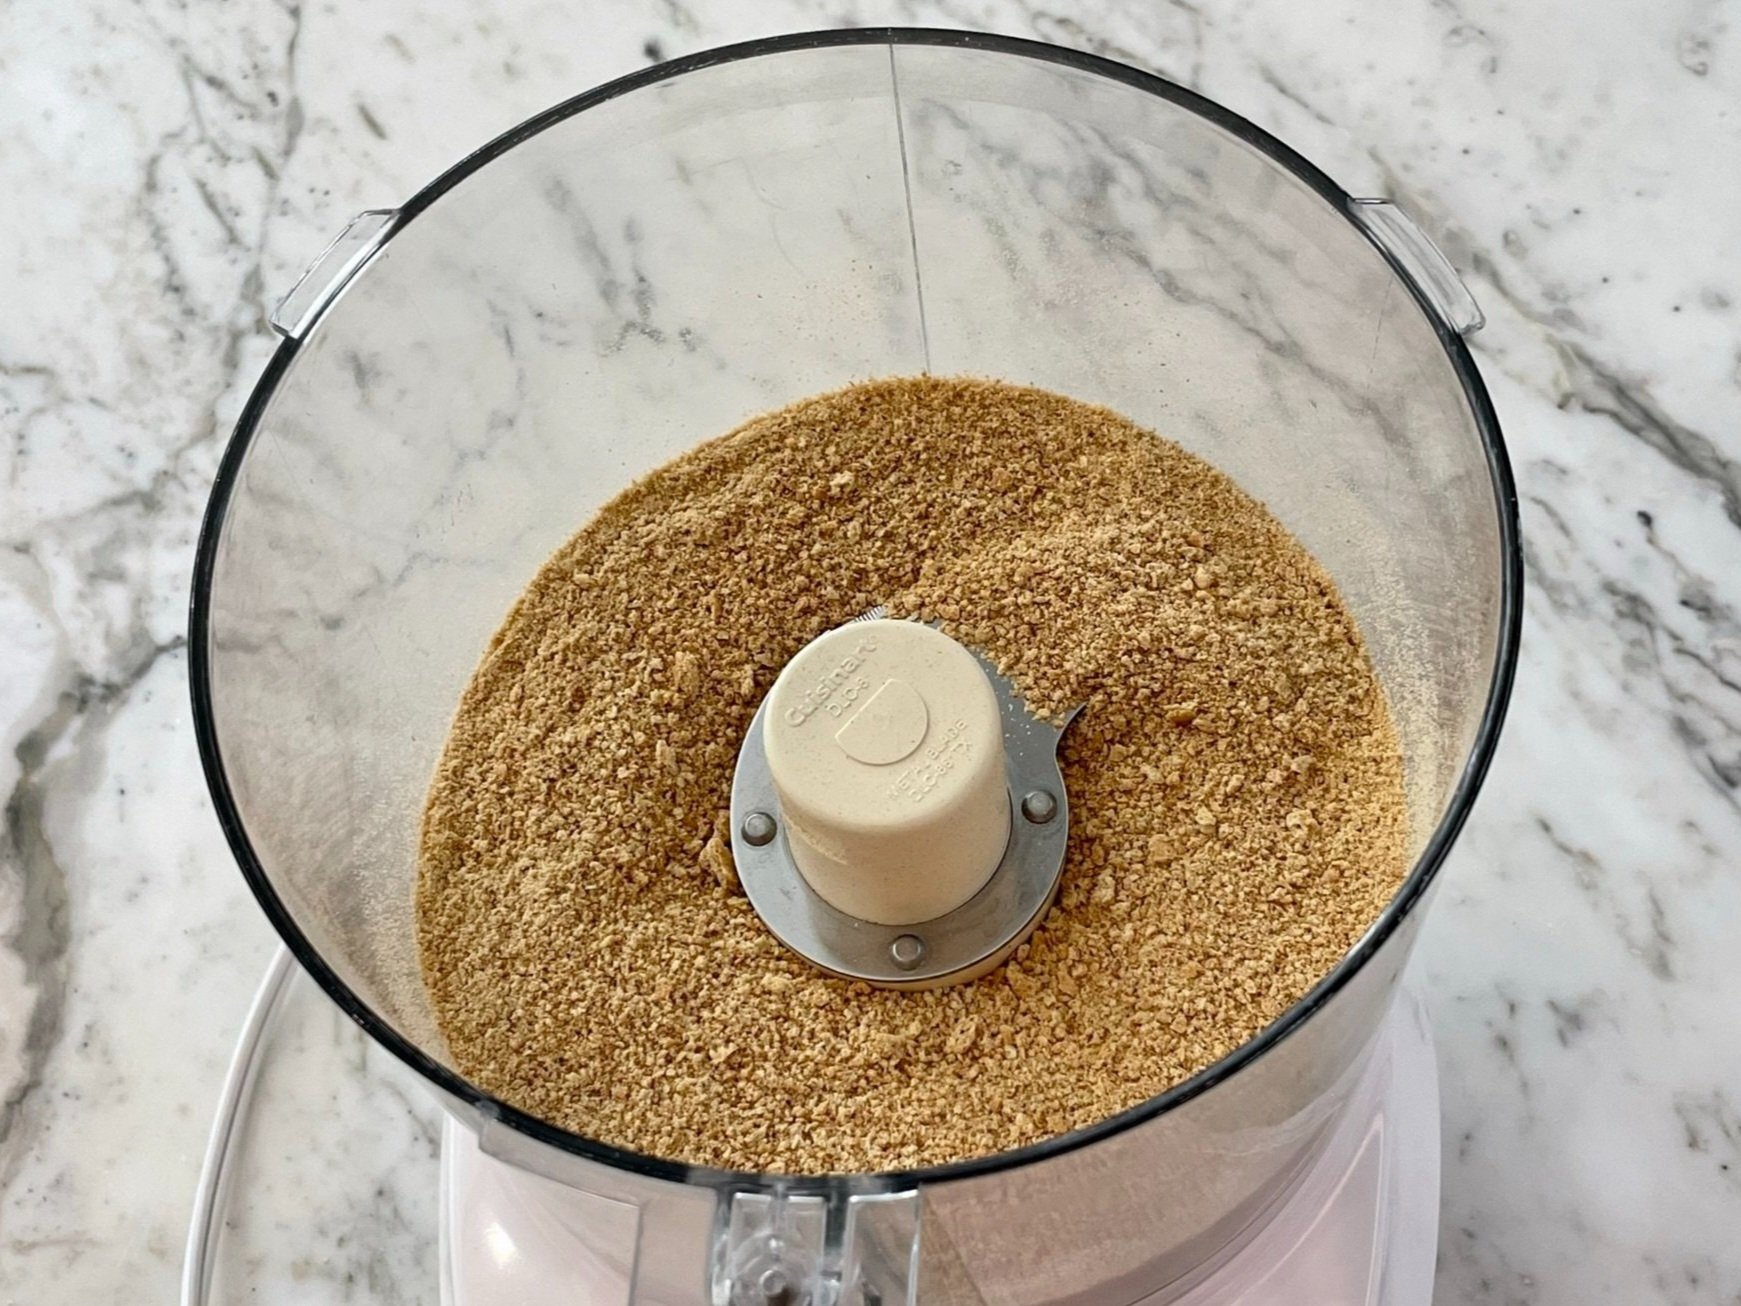
- Preheat oven to 325°F. Combine graham crackers, brown sugar, cinnamon, and salt in a small food processor and grind or pulse into small crumbs.
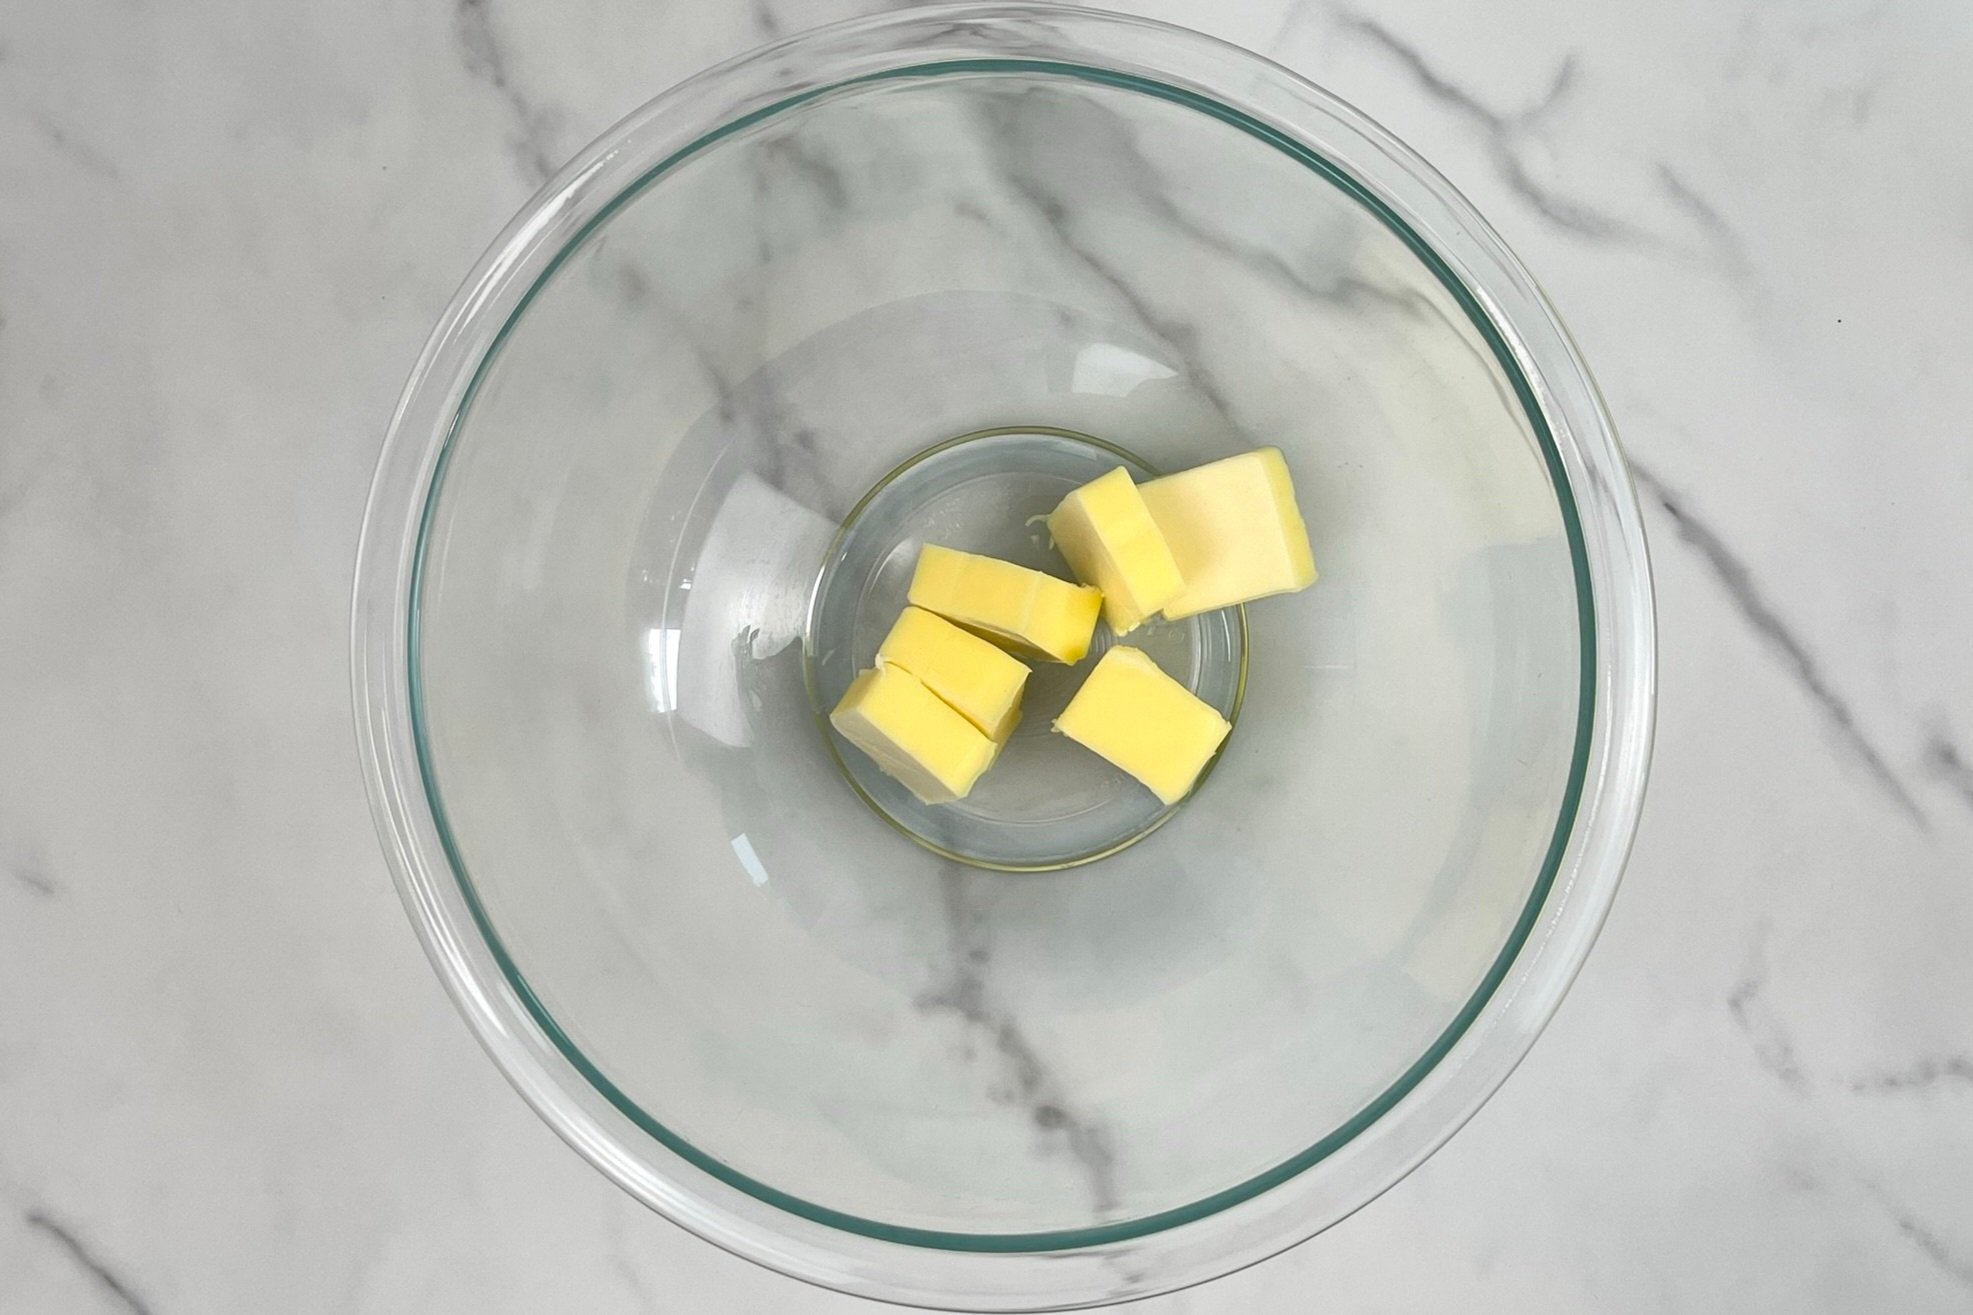
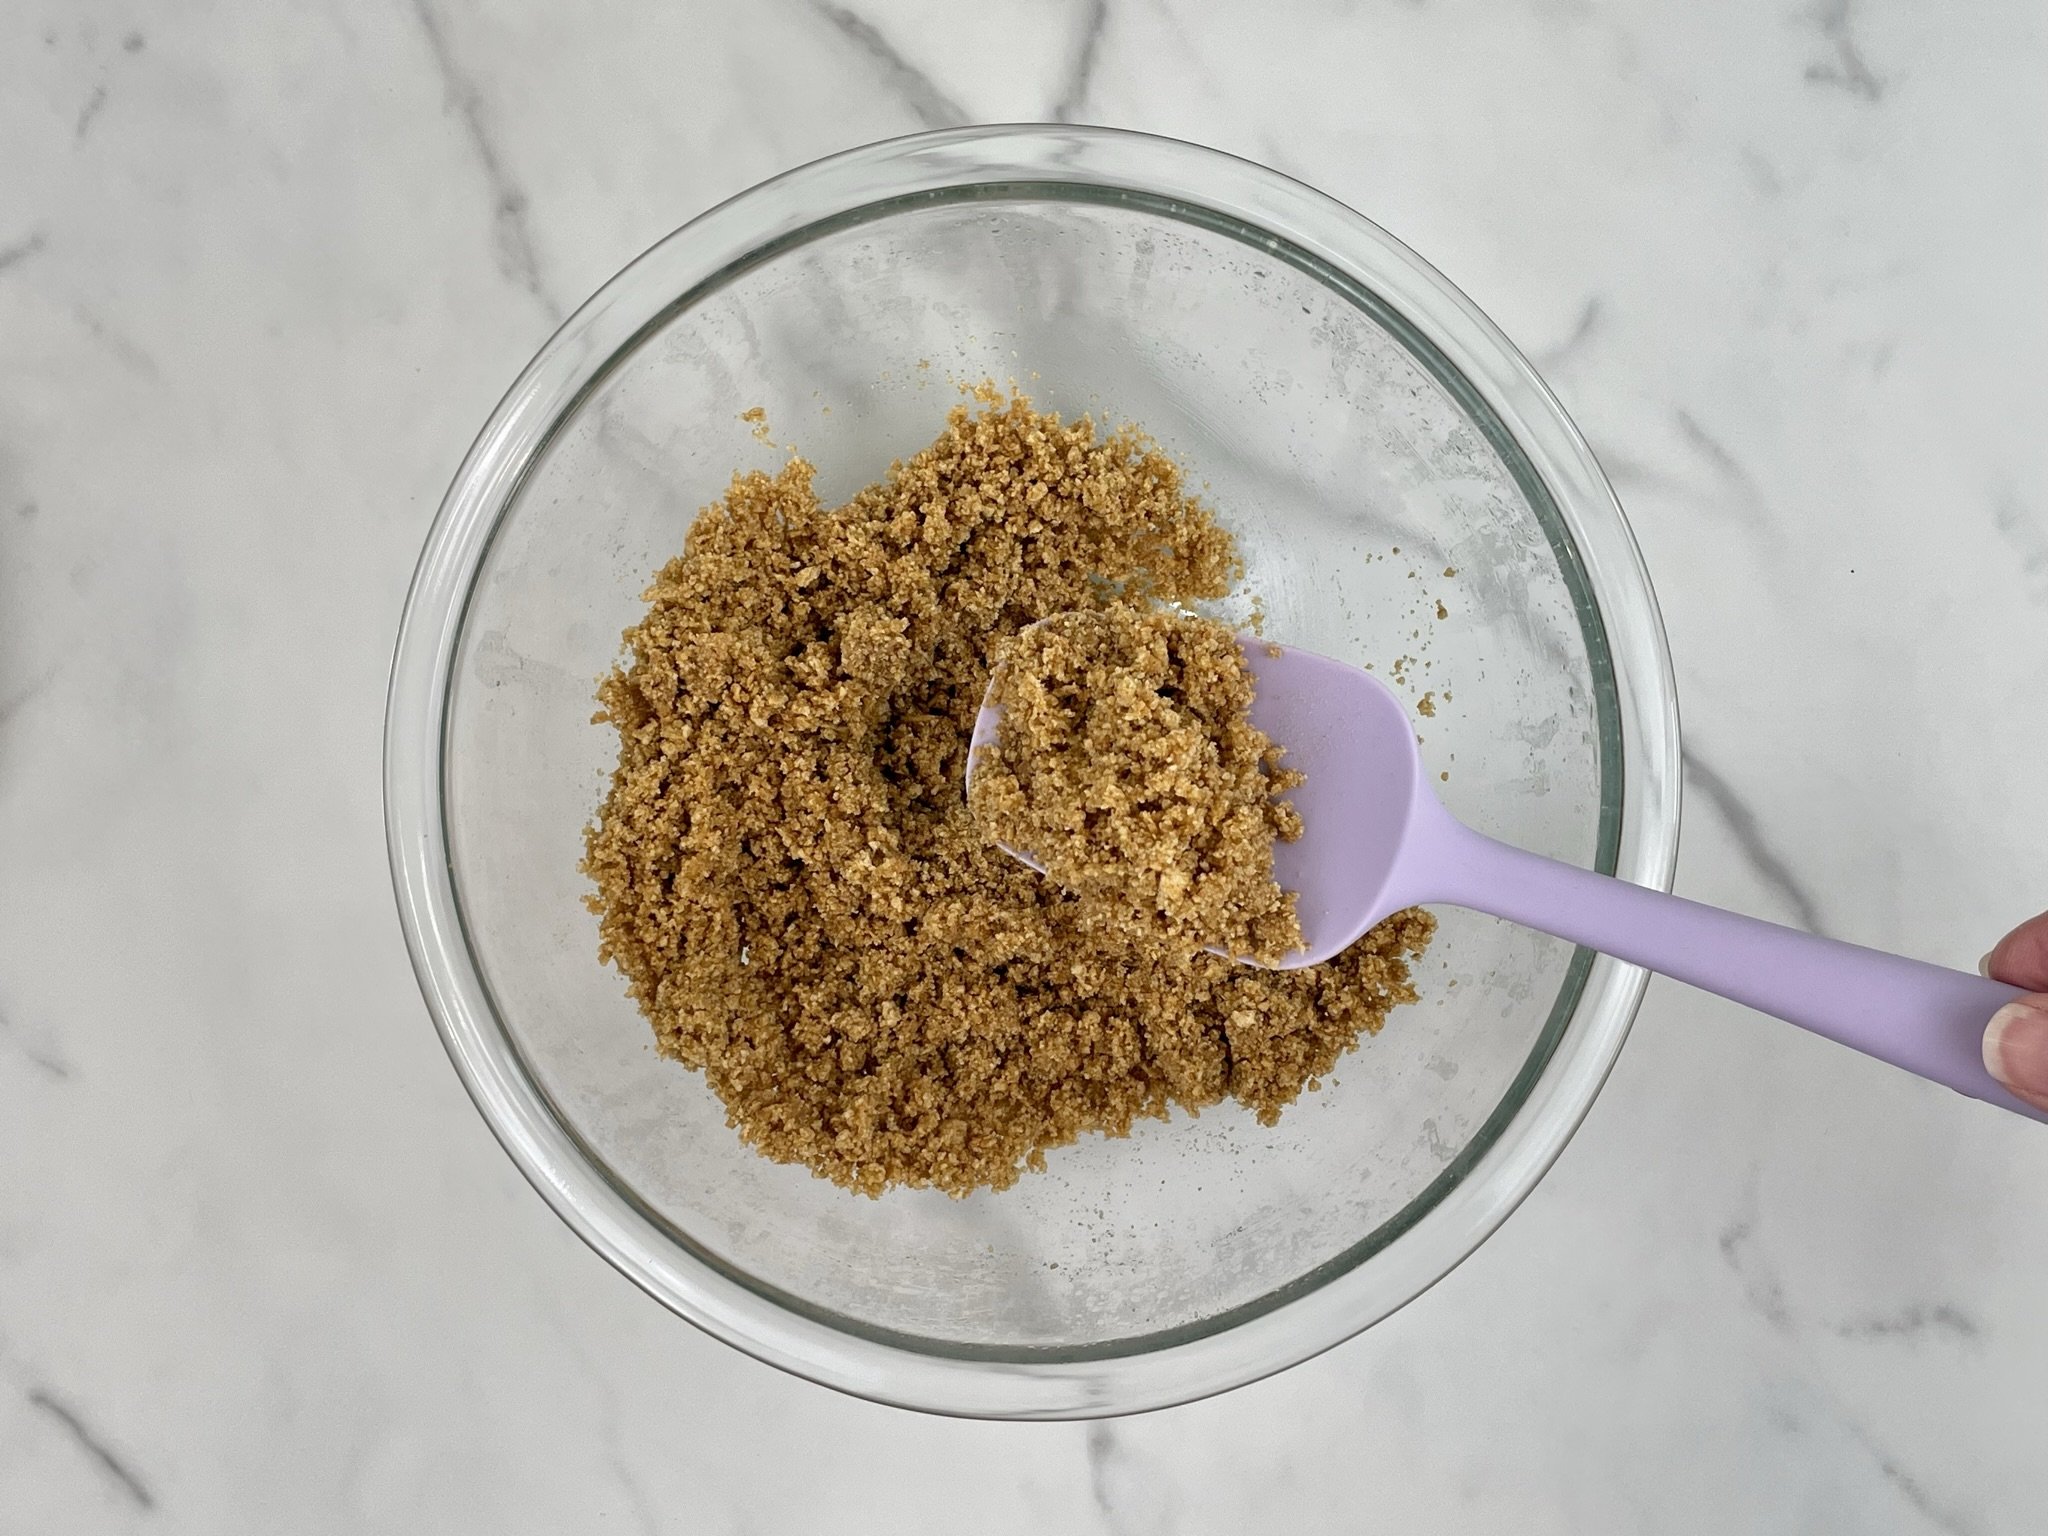
- In a small microwave safe bowl, melt butter. Add crumb mixture and stir to combine until completely coated.
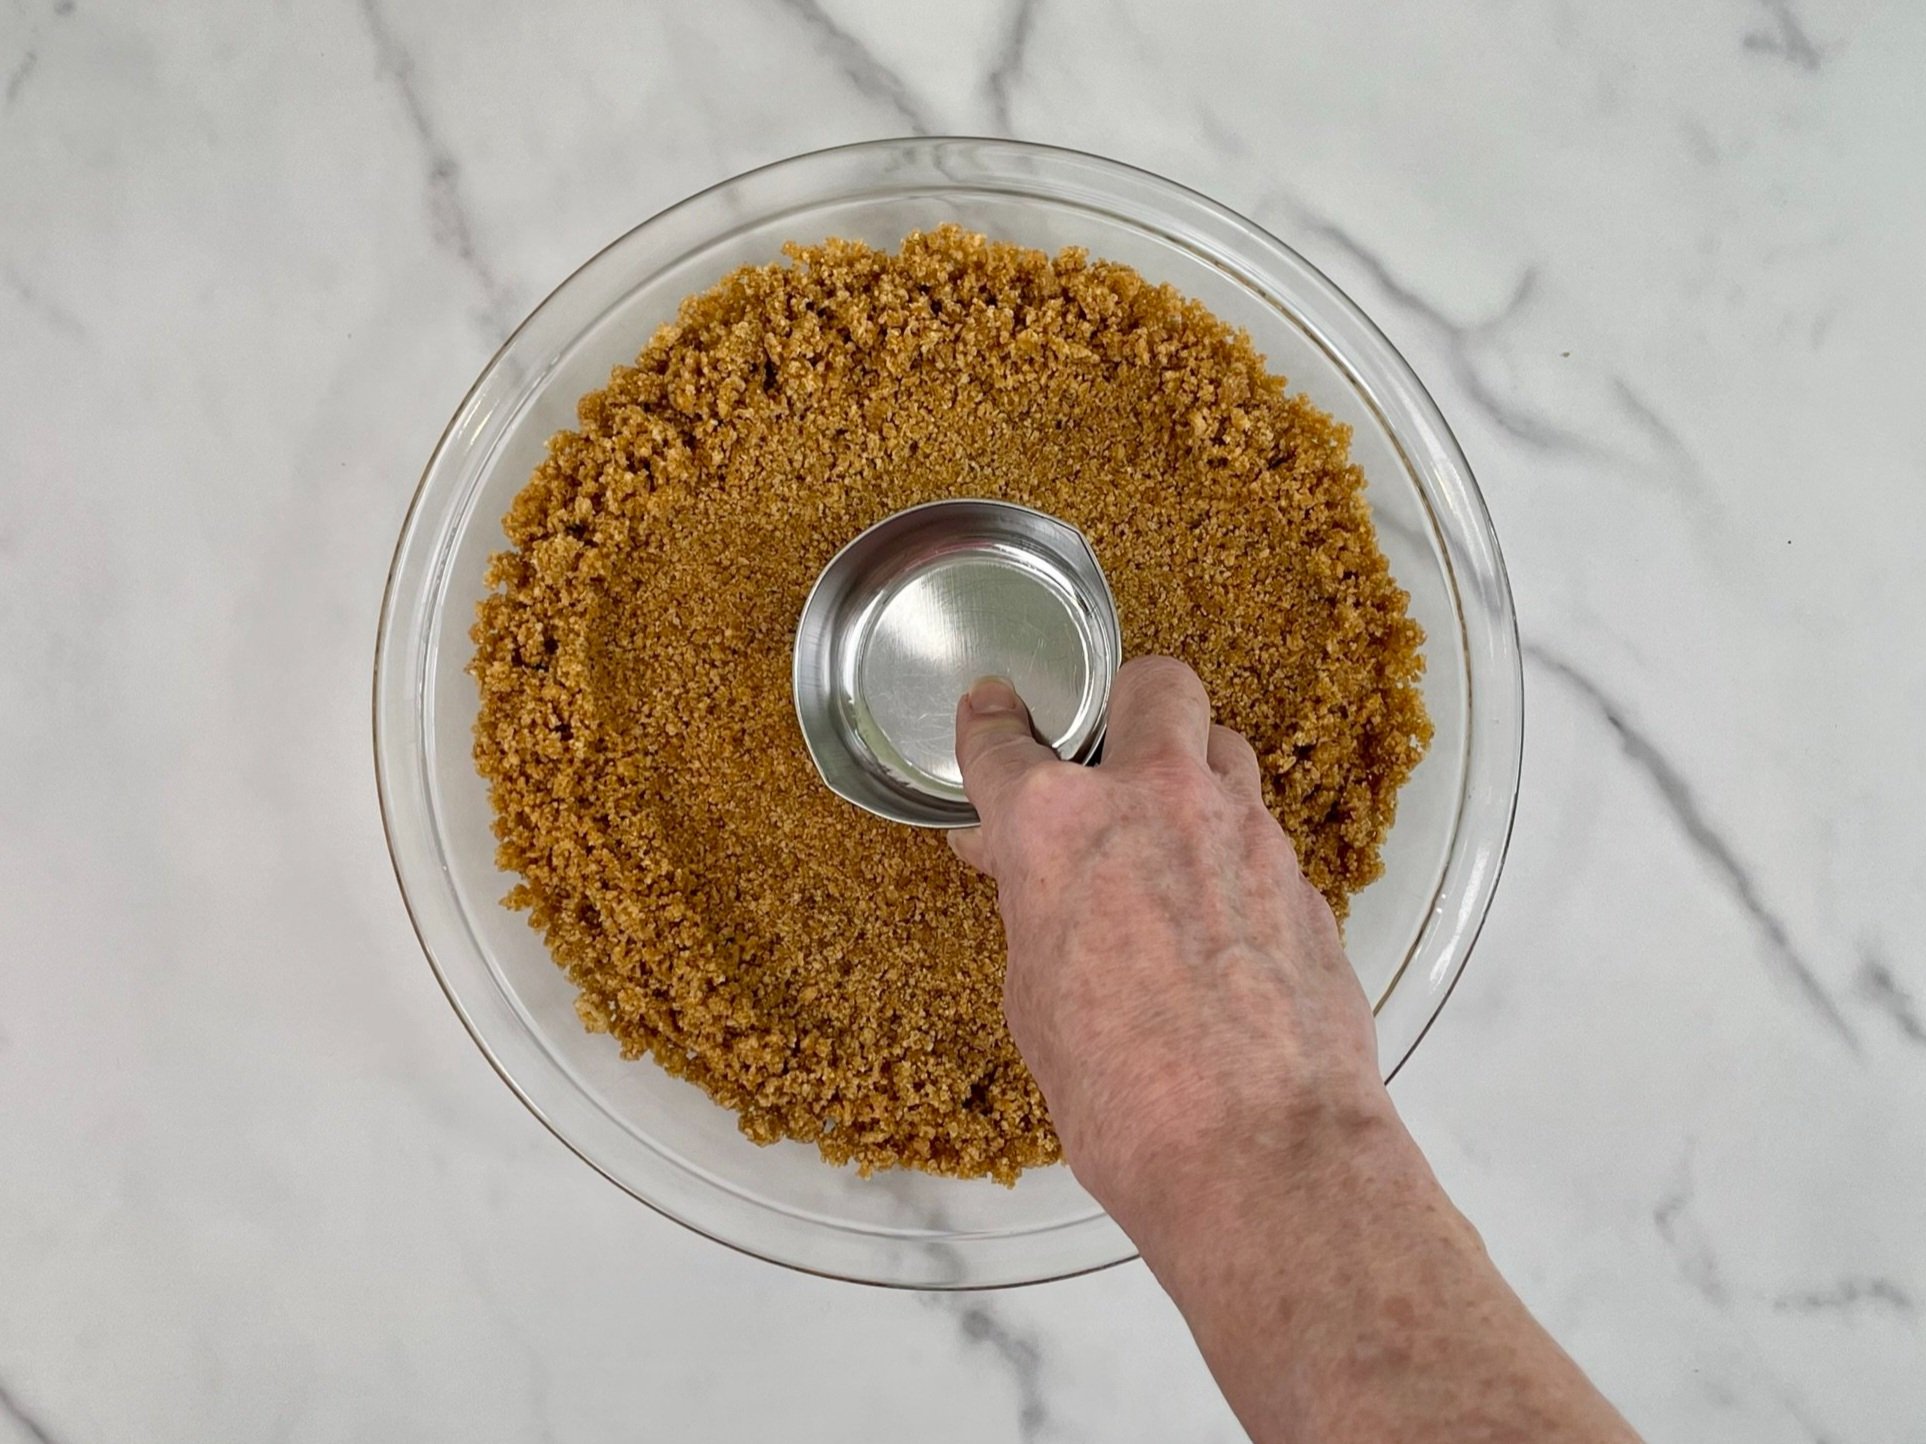
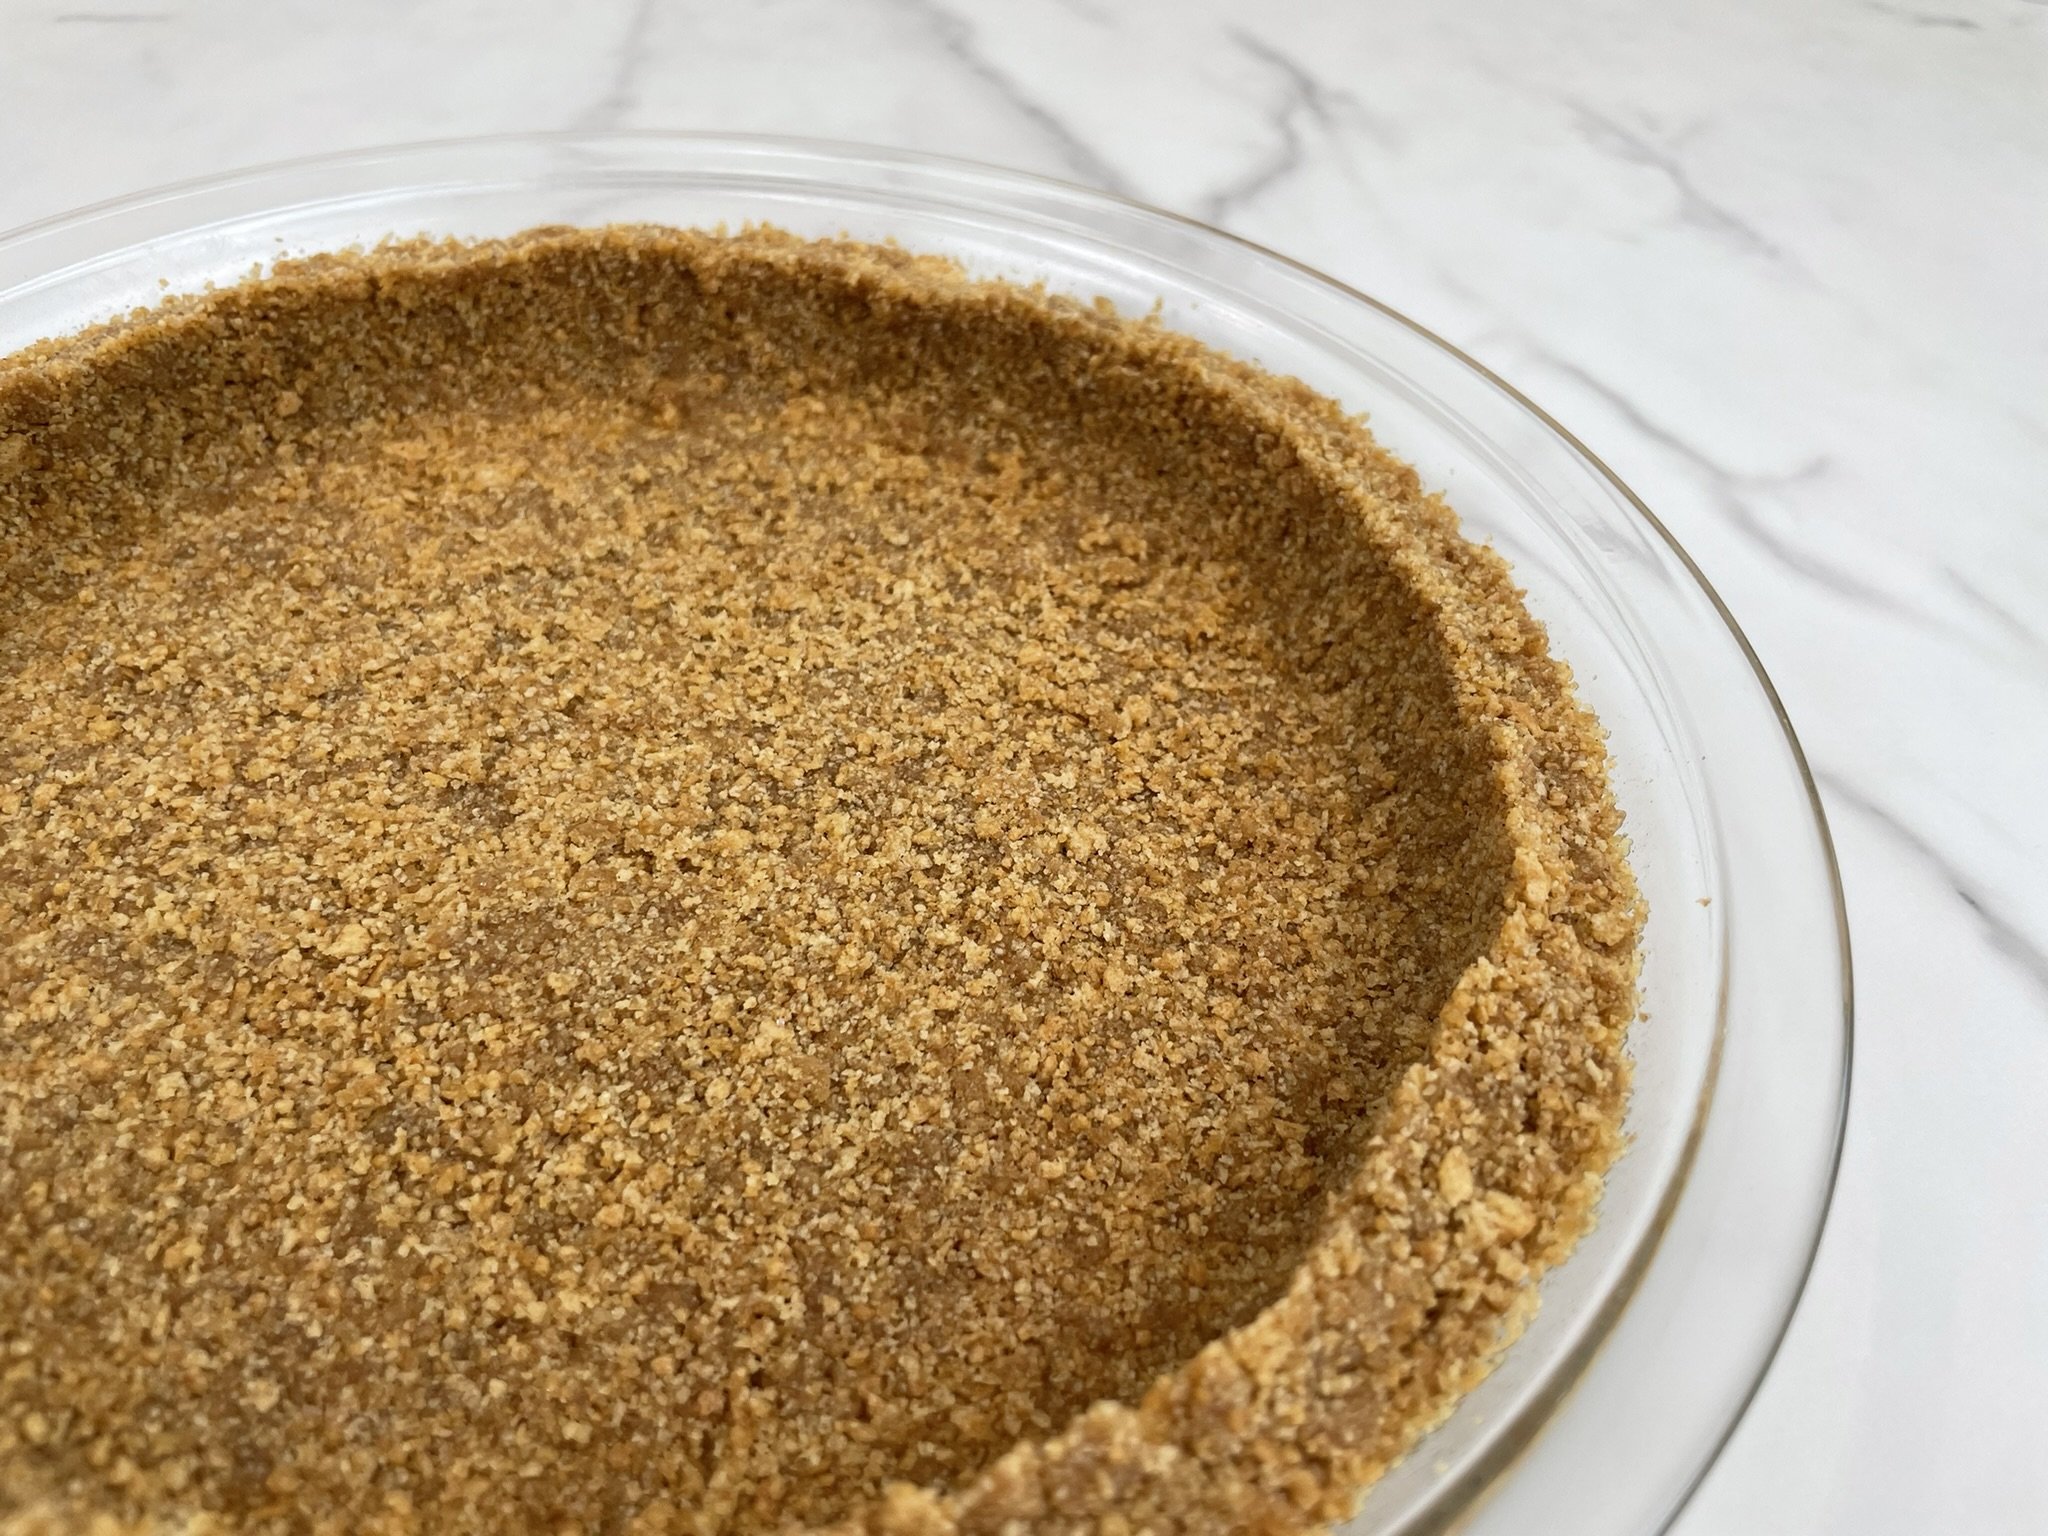
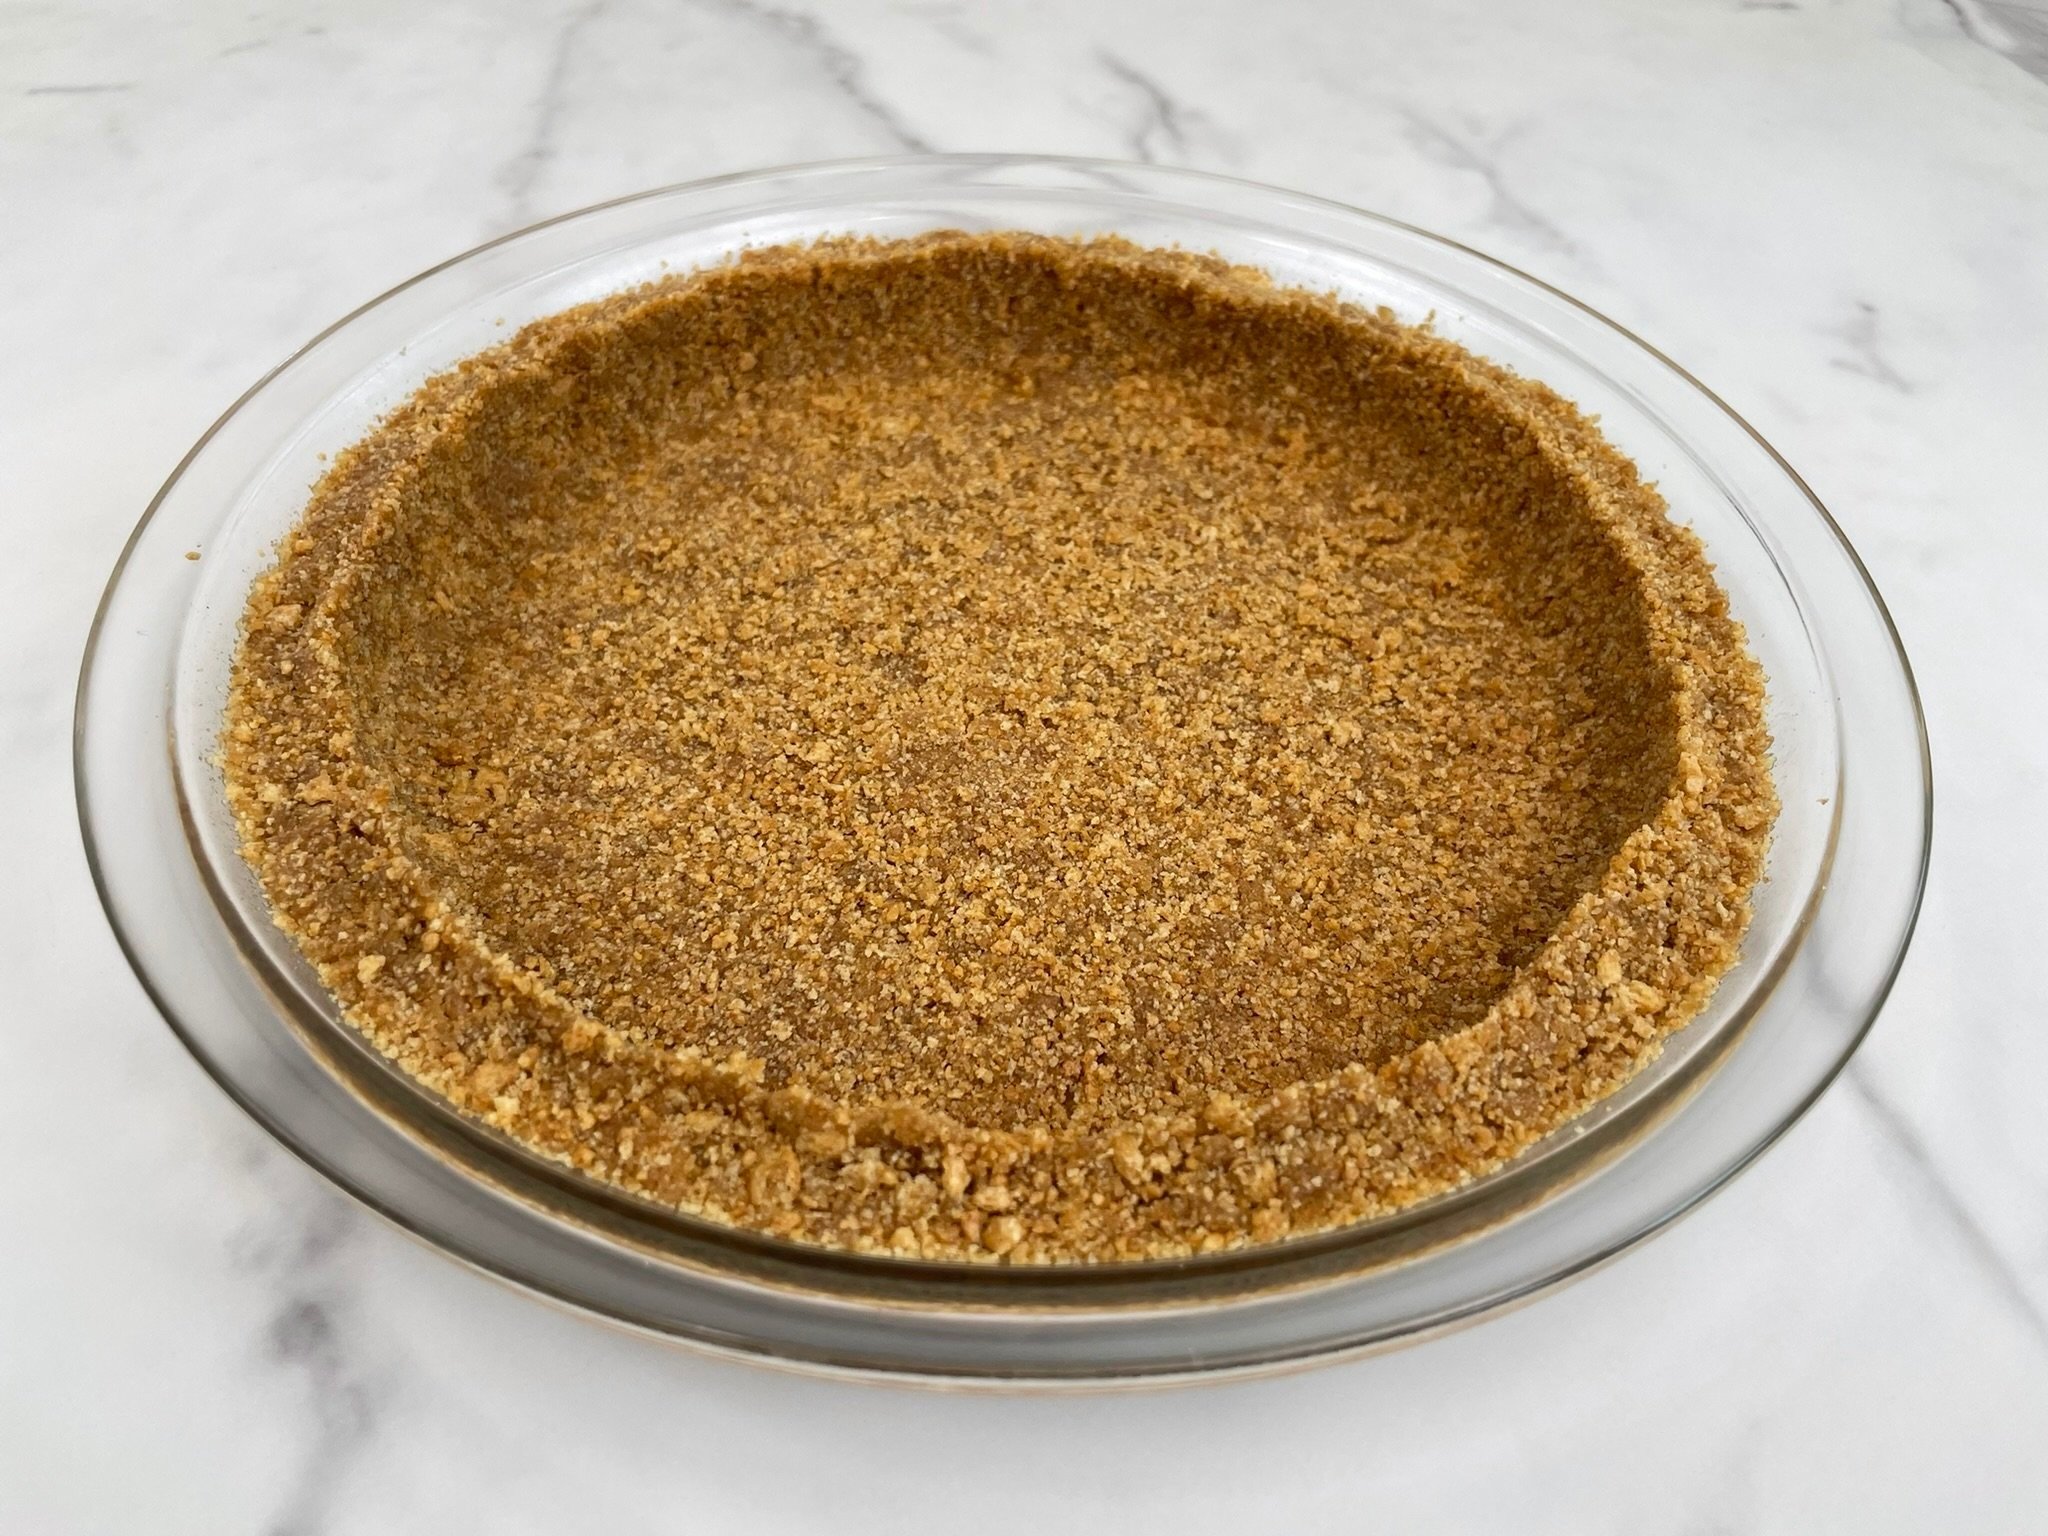
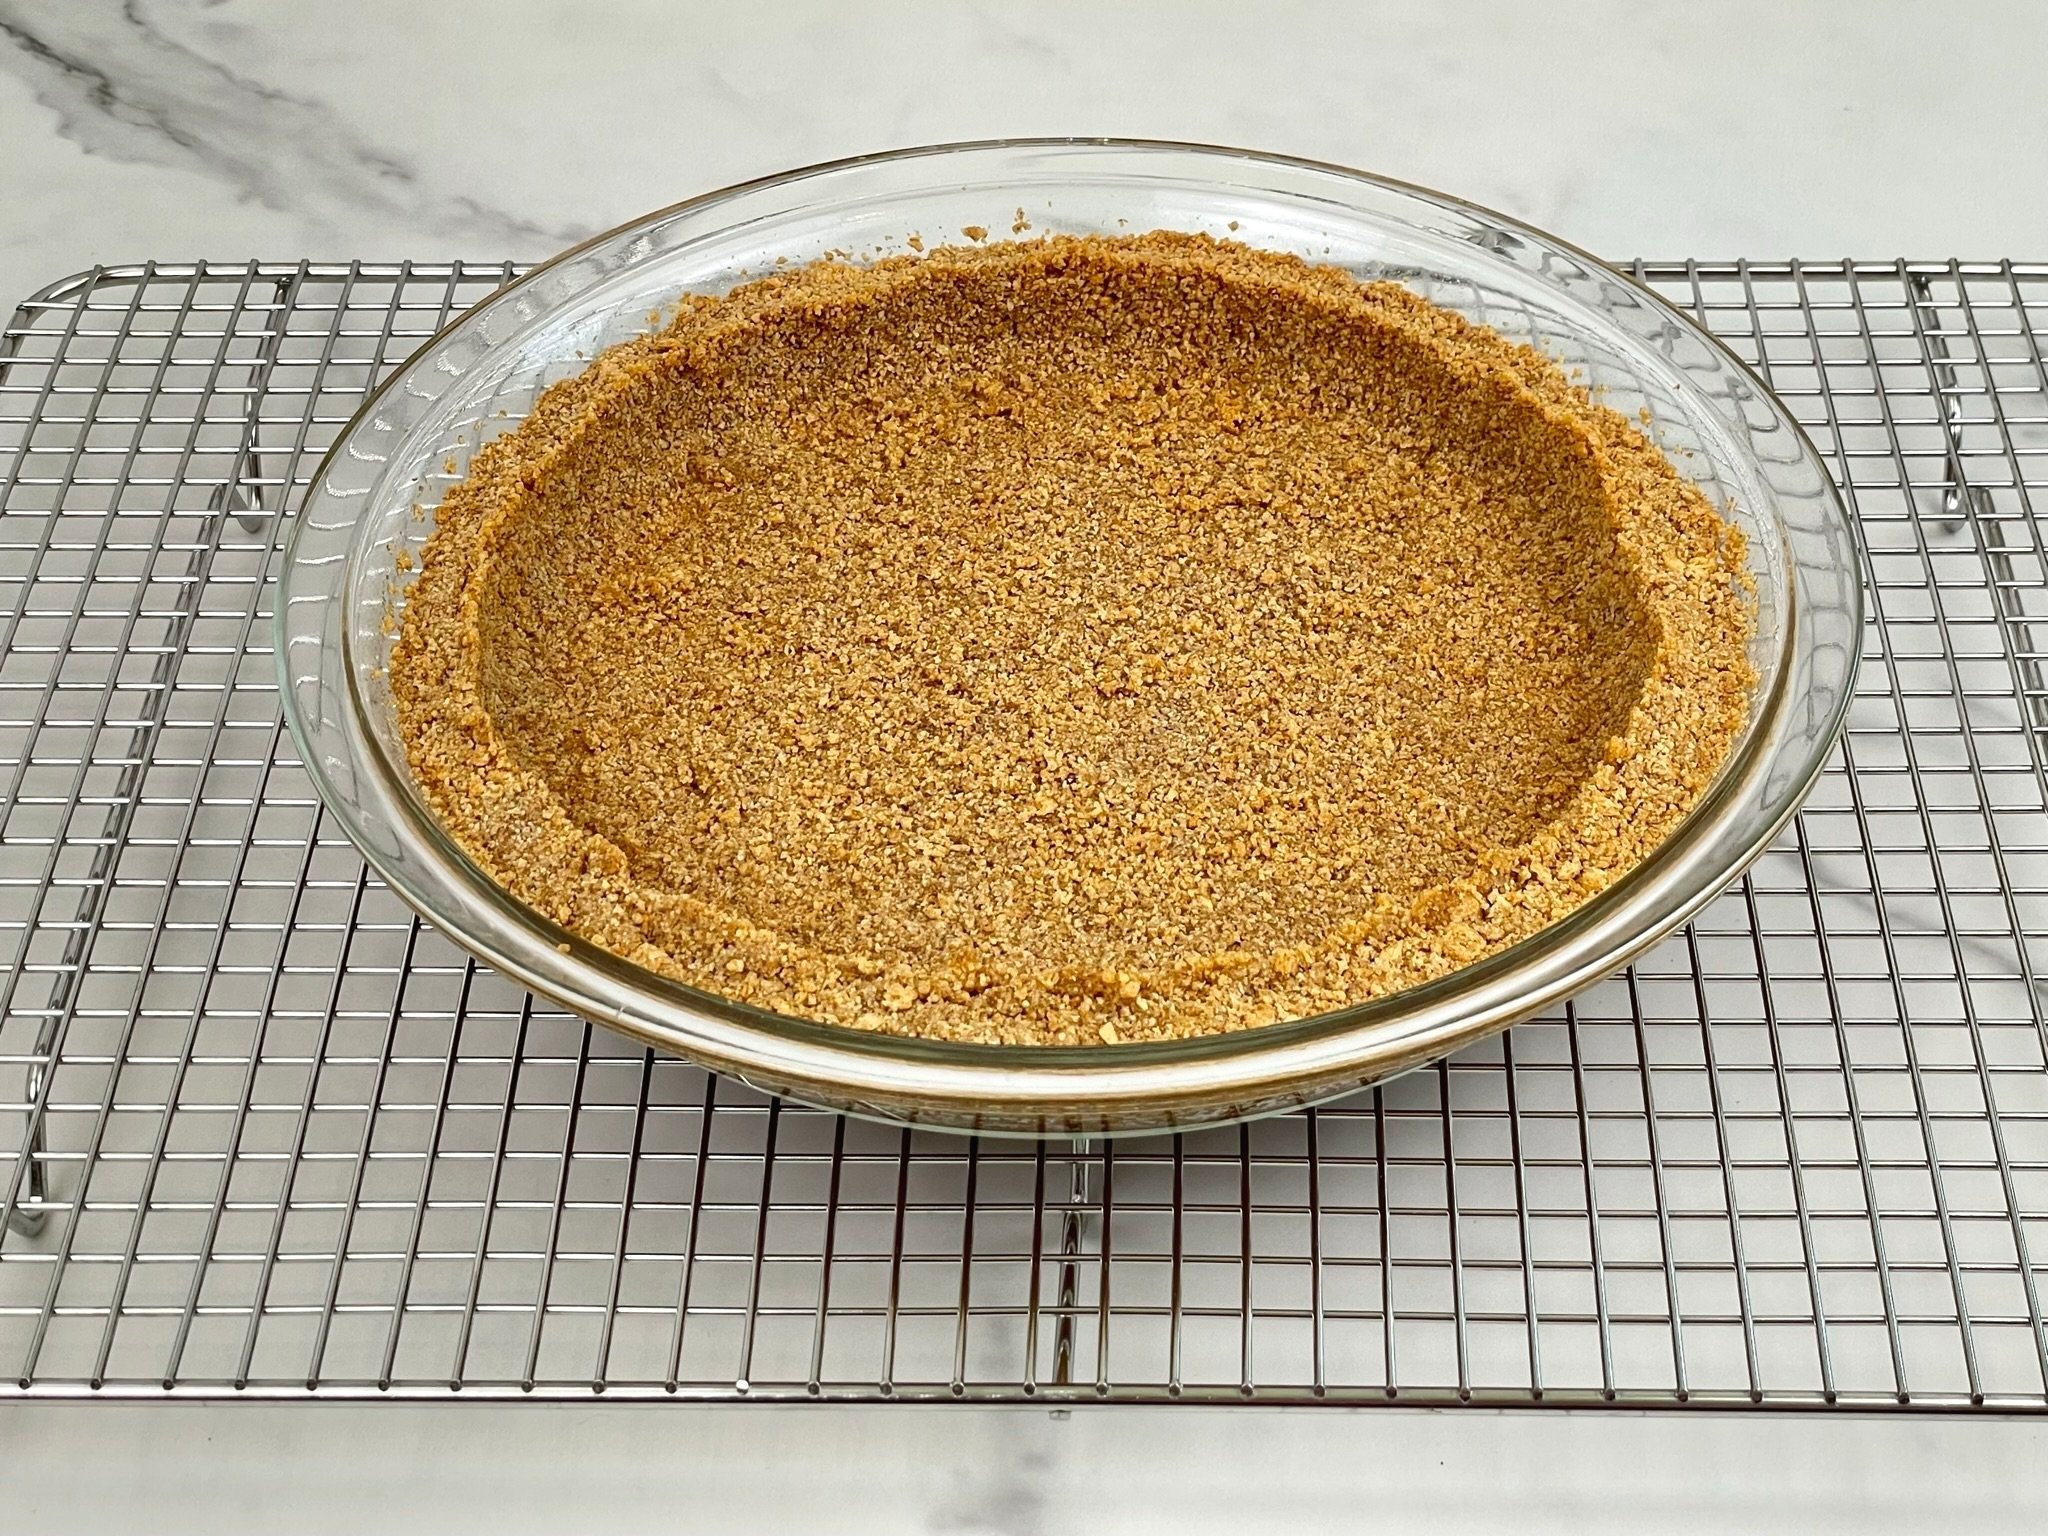
- Press mixture firmly into an ungreased glass 9 1/2 inch pie pan. Do NOT press crust more than halfway up the sides of the pan.
- Bake for 10-12 minutes until golden brown and fragrant. Cool completely.
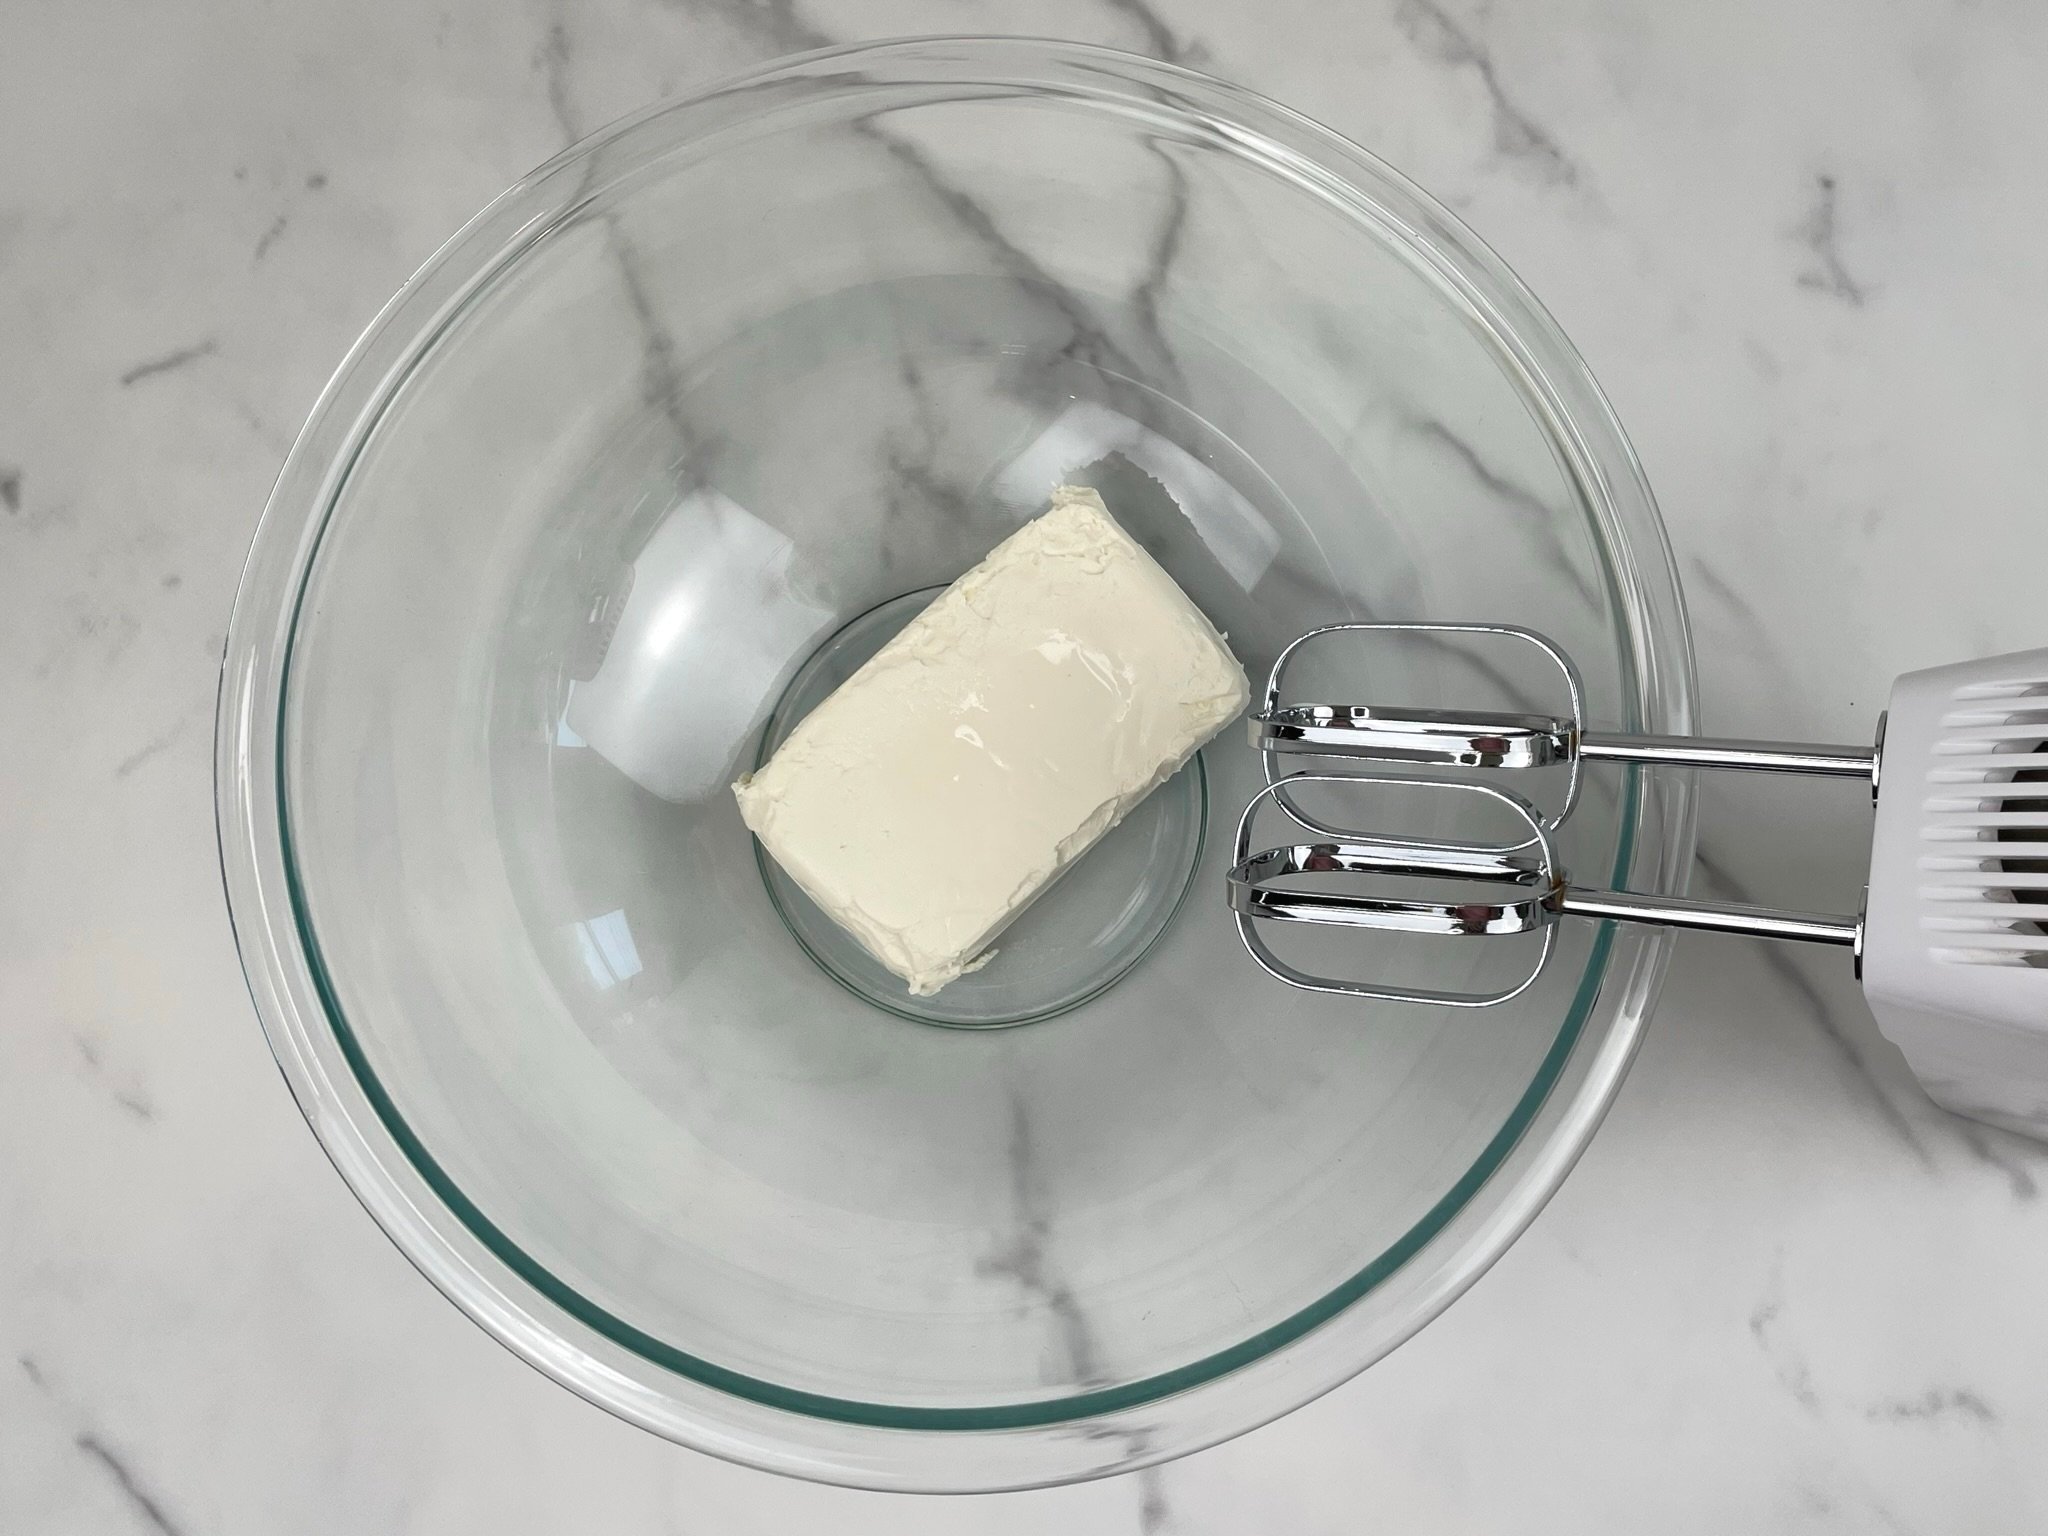
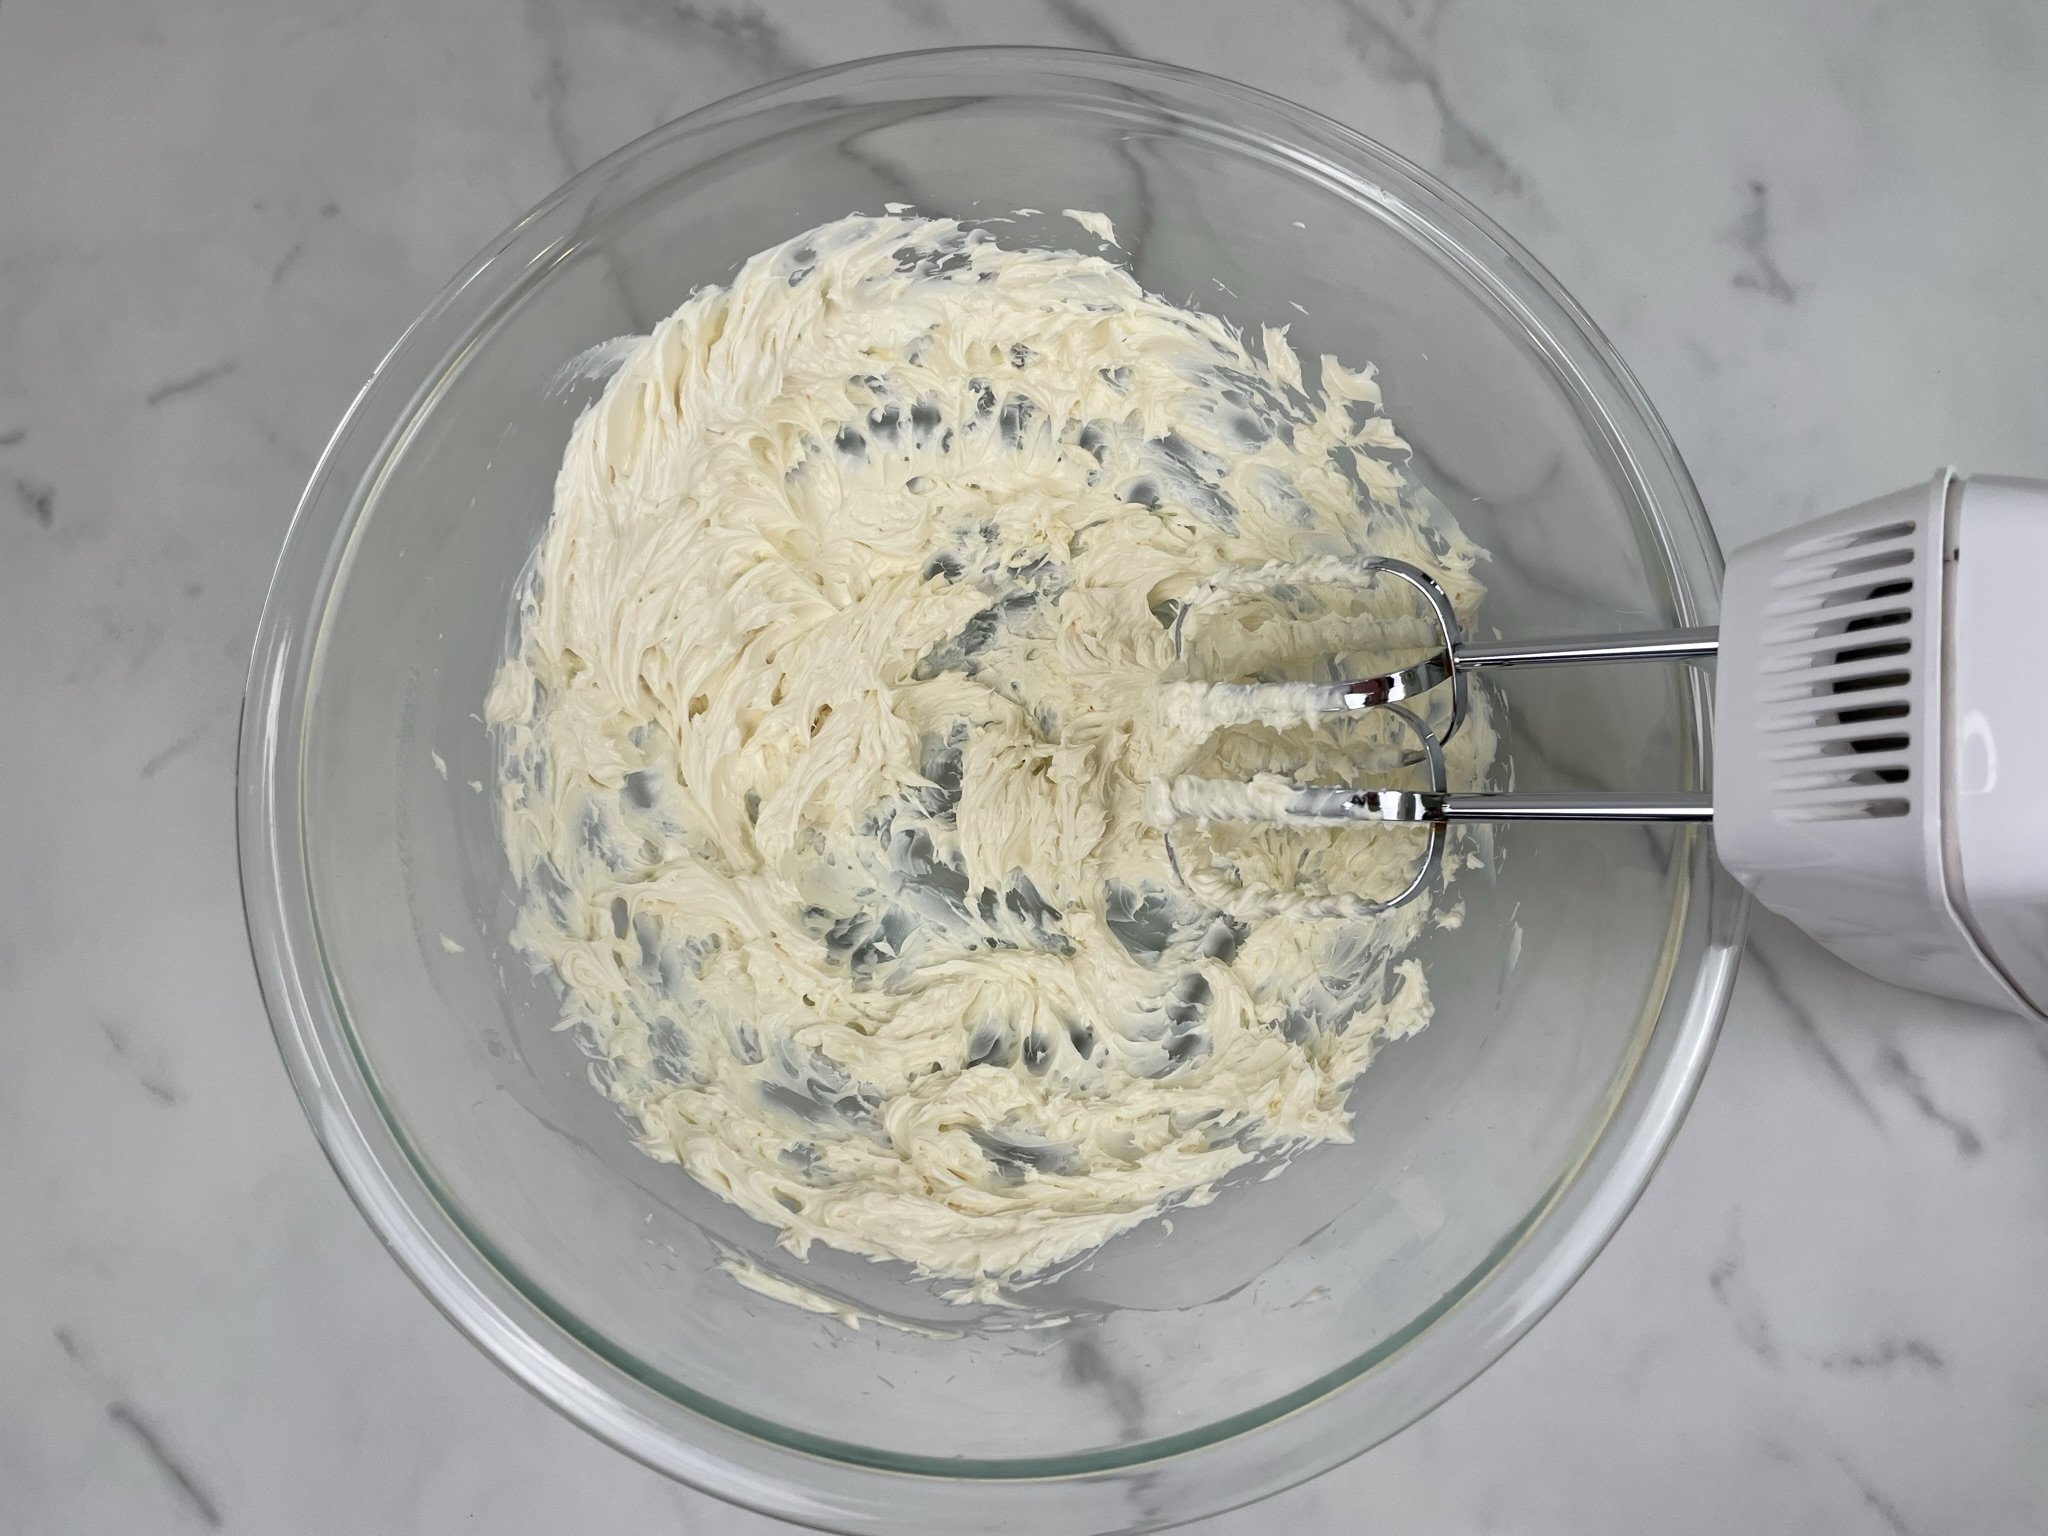
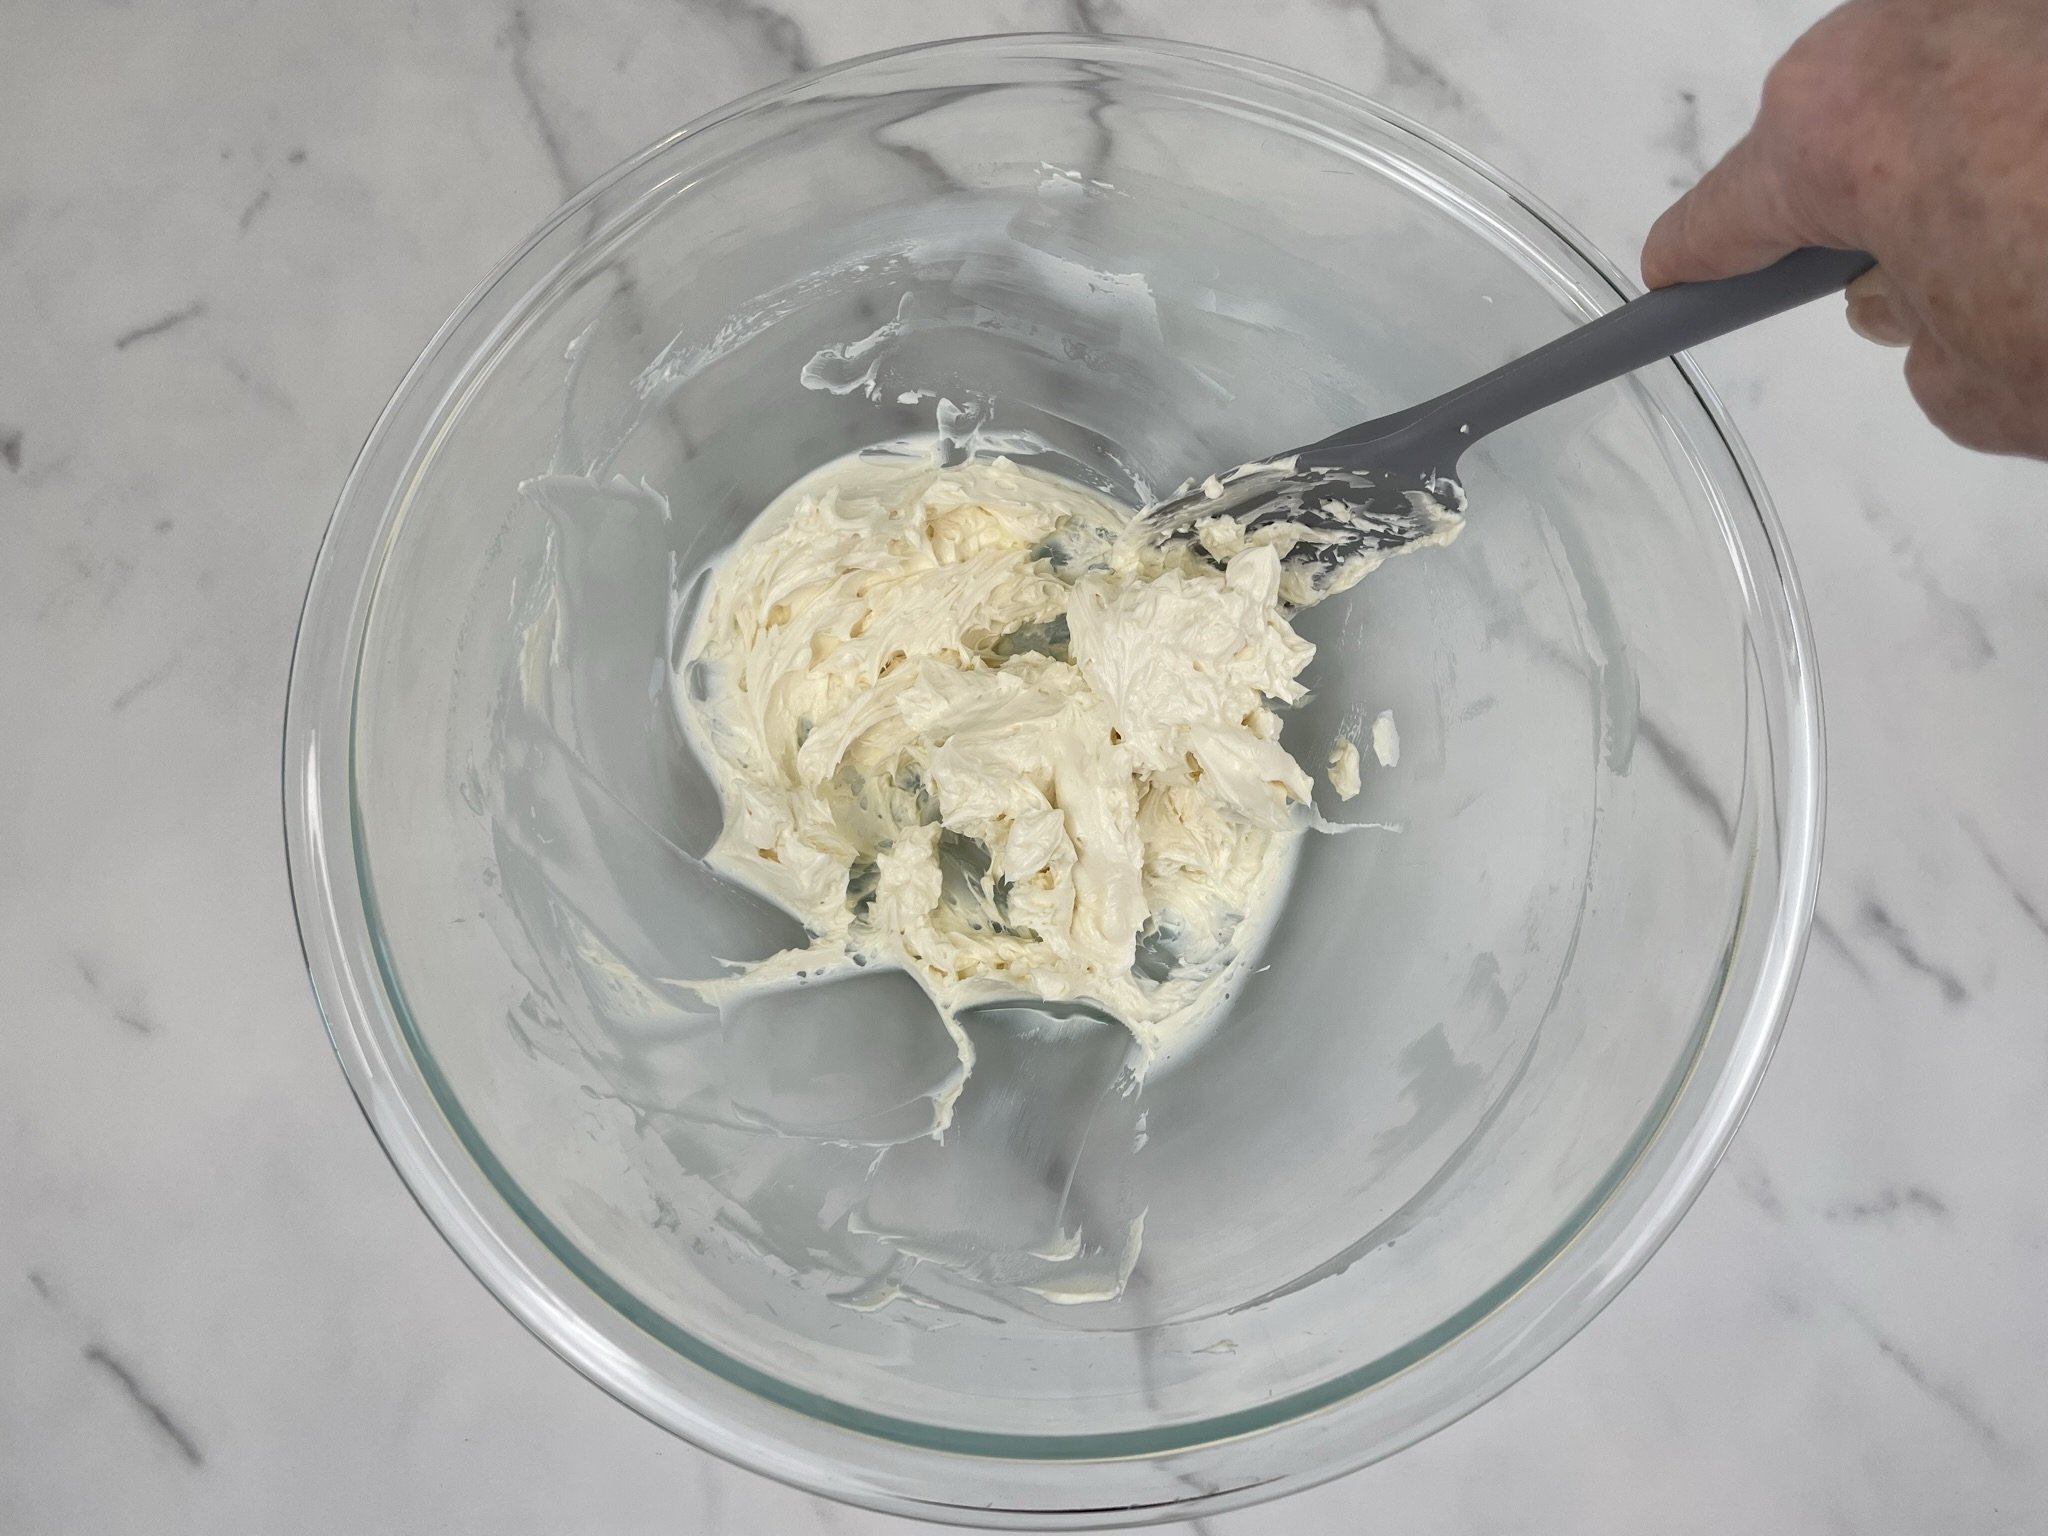
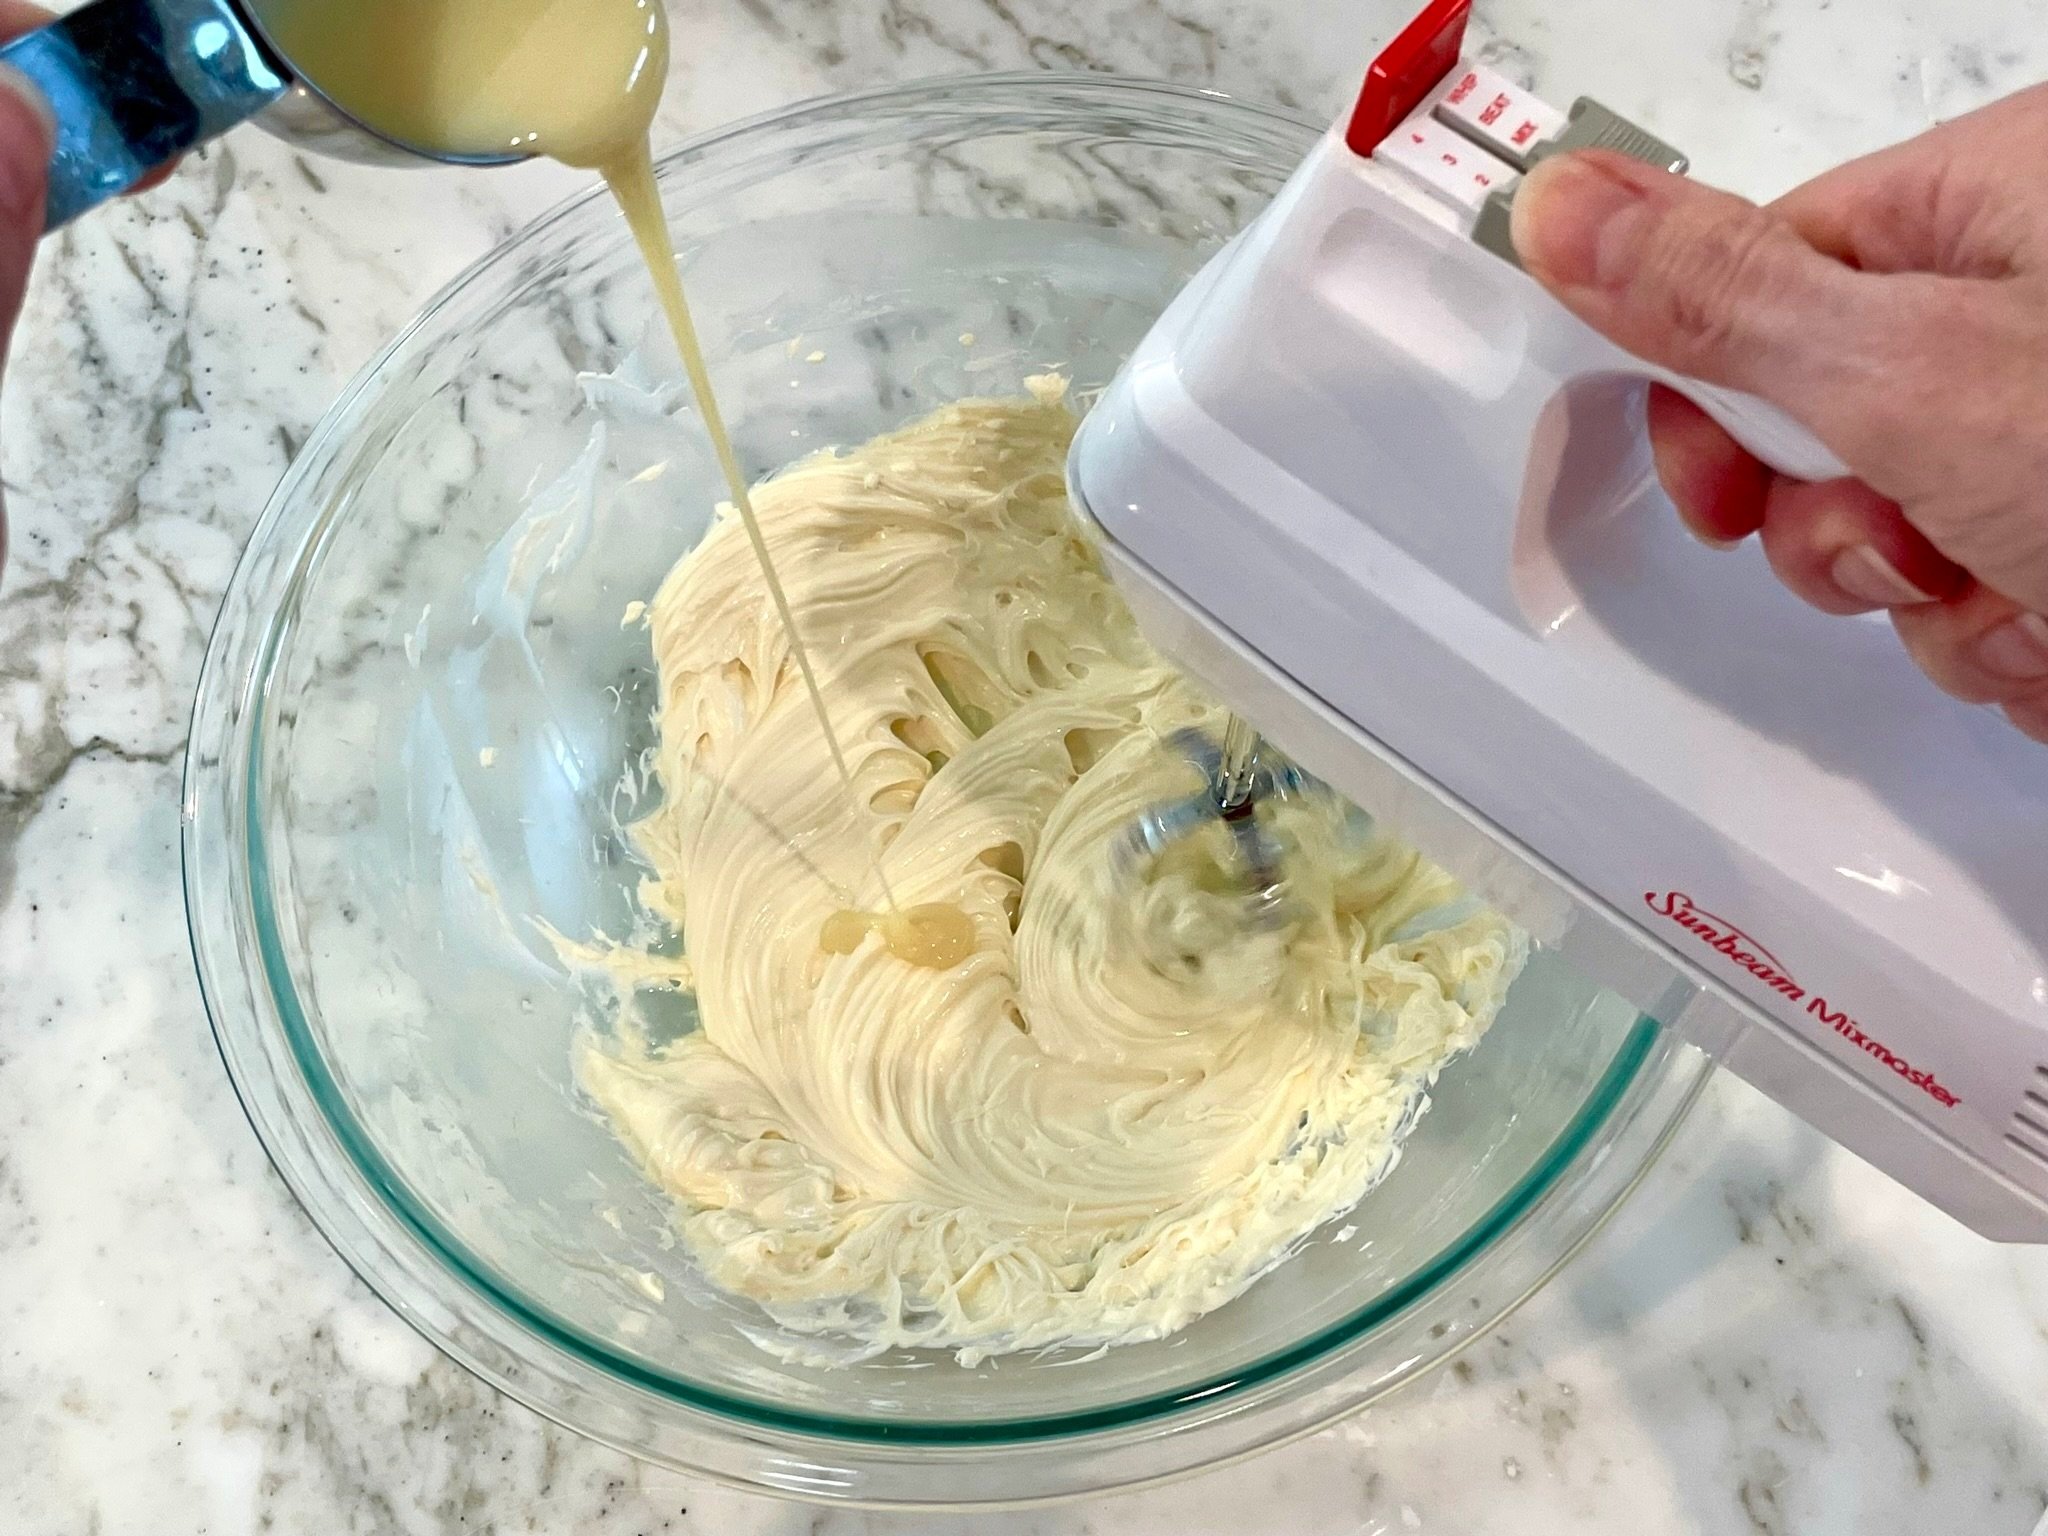
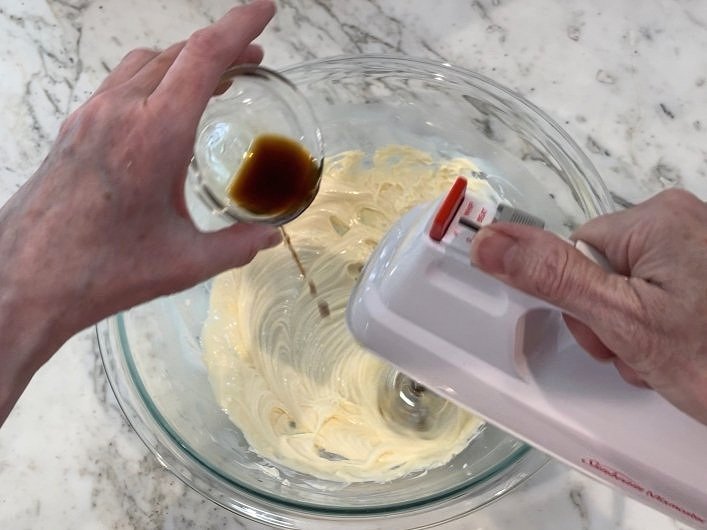
- In a large bowl, beat softened cream cheese until smooth with a hand held electric mixer (or a stand mixer). Slowly add sweetened condensed milk and vanilla extract. Then add the powdered sugar until smooth and silky.
- Pour filling into cooled crust. Place uncovered in a cake storage container and refrigerate overnight until firm.
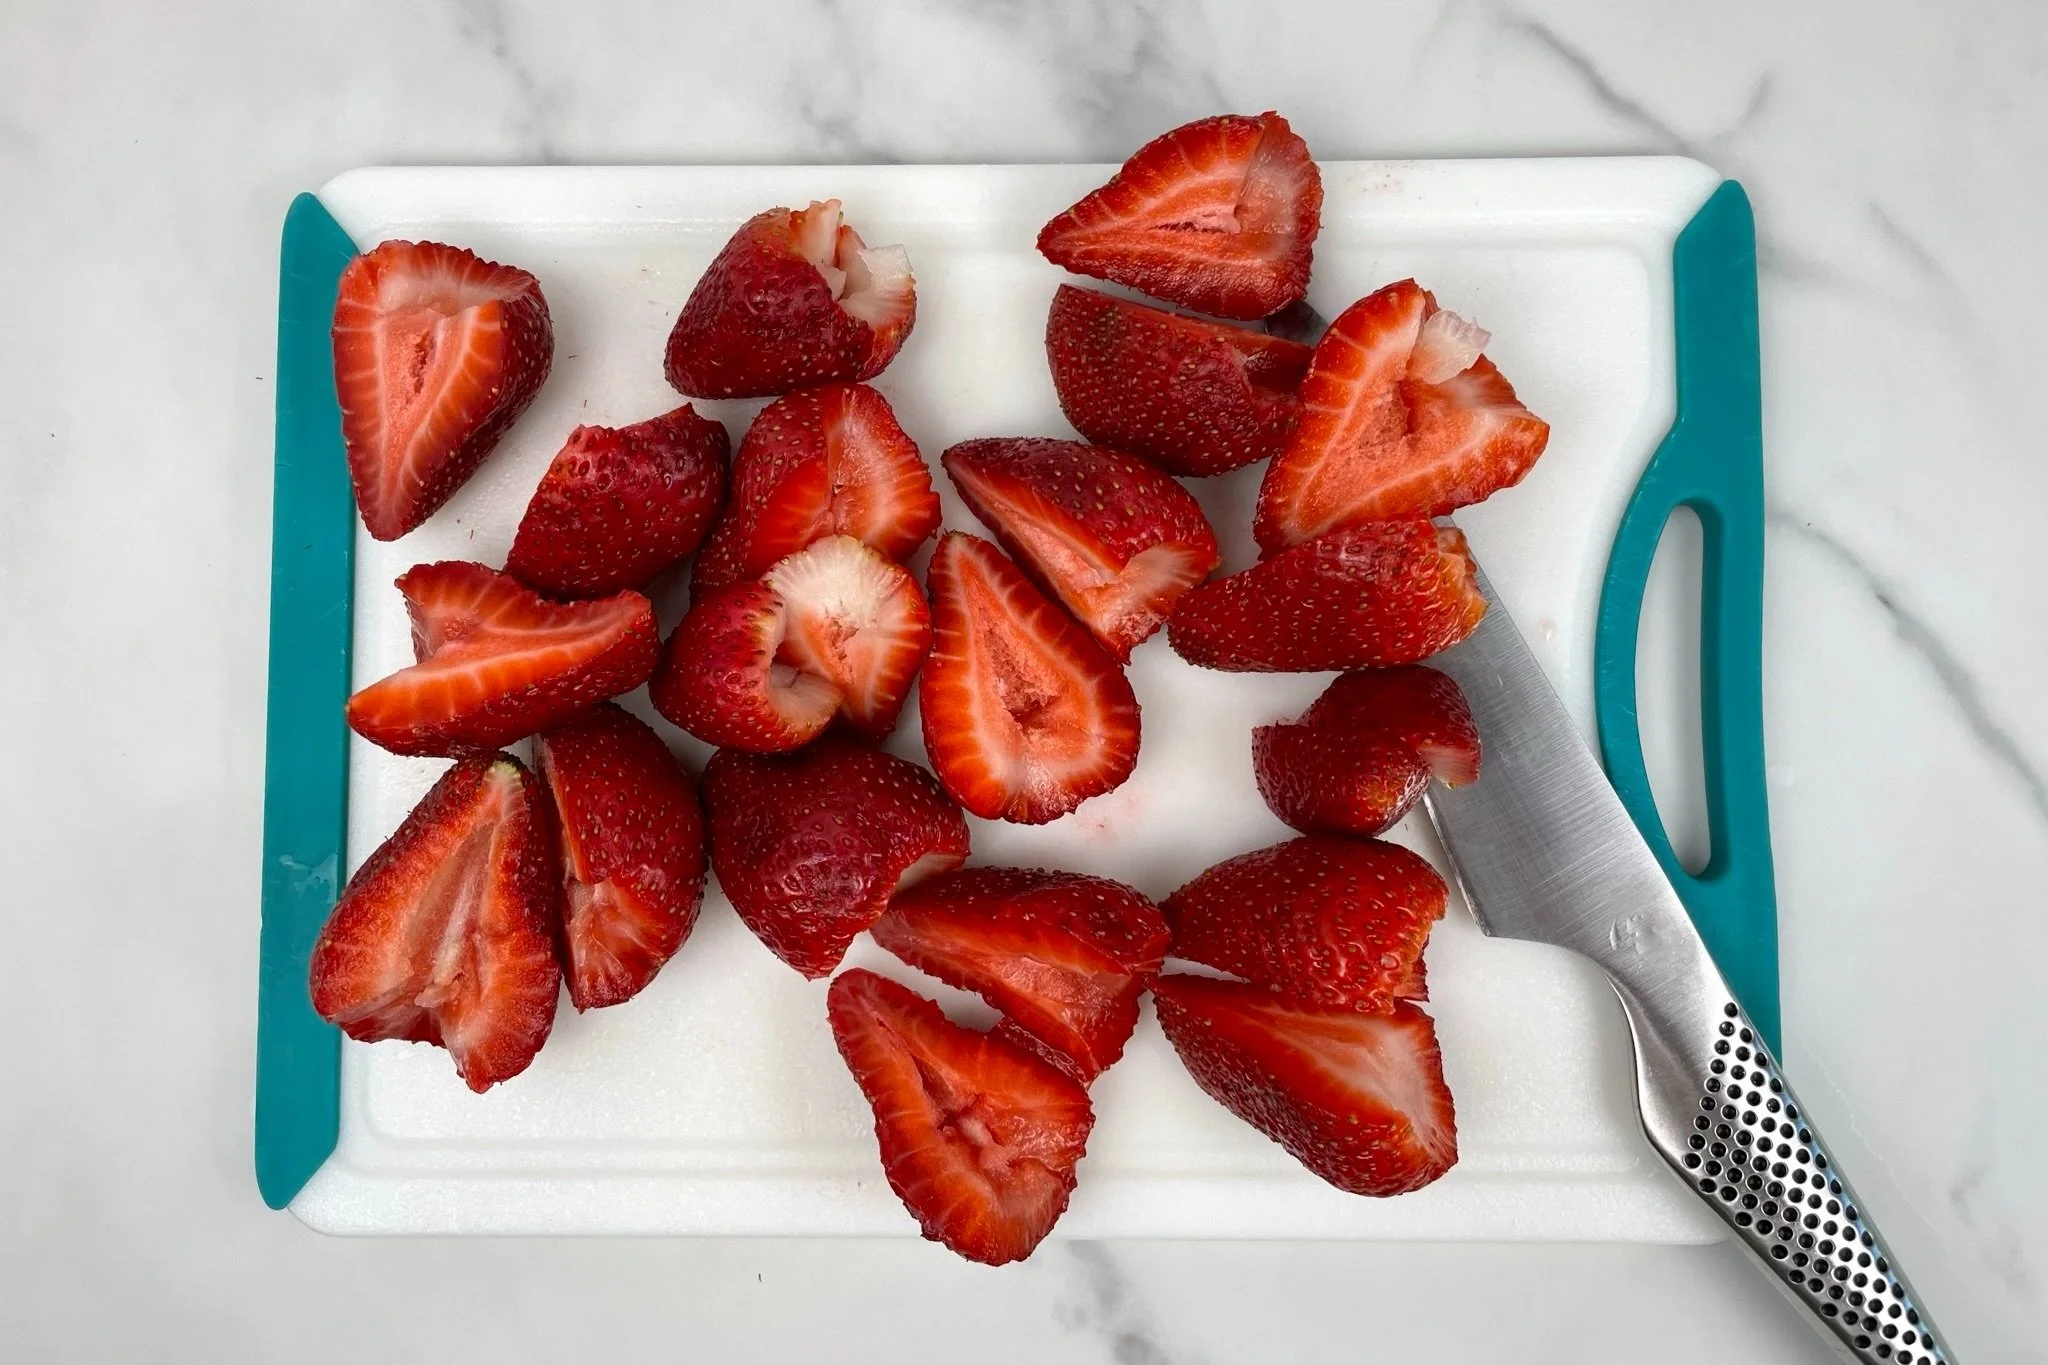
- Prepare topping no more than 10-15 minutes before serving. Cut strawberries into quarters or halves lengthwise and place in a medium sized bowl (about 1.5 quarts).
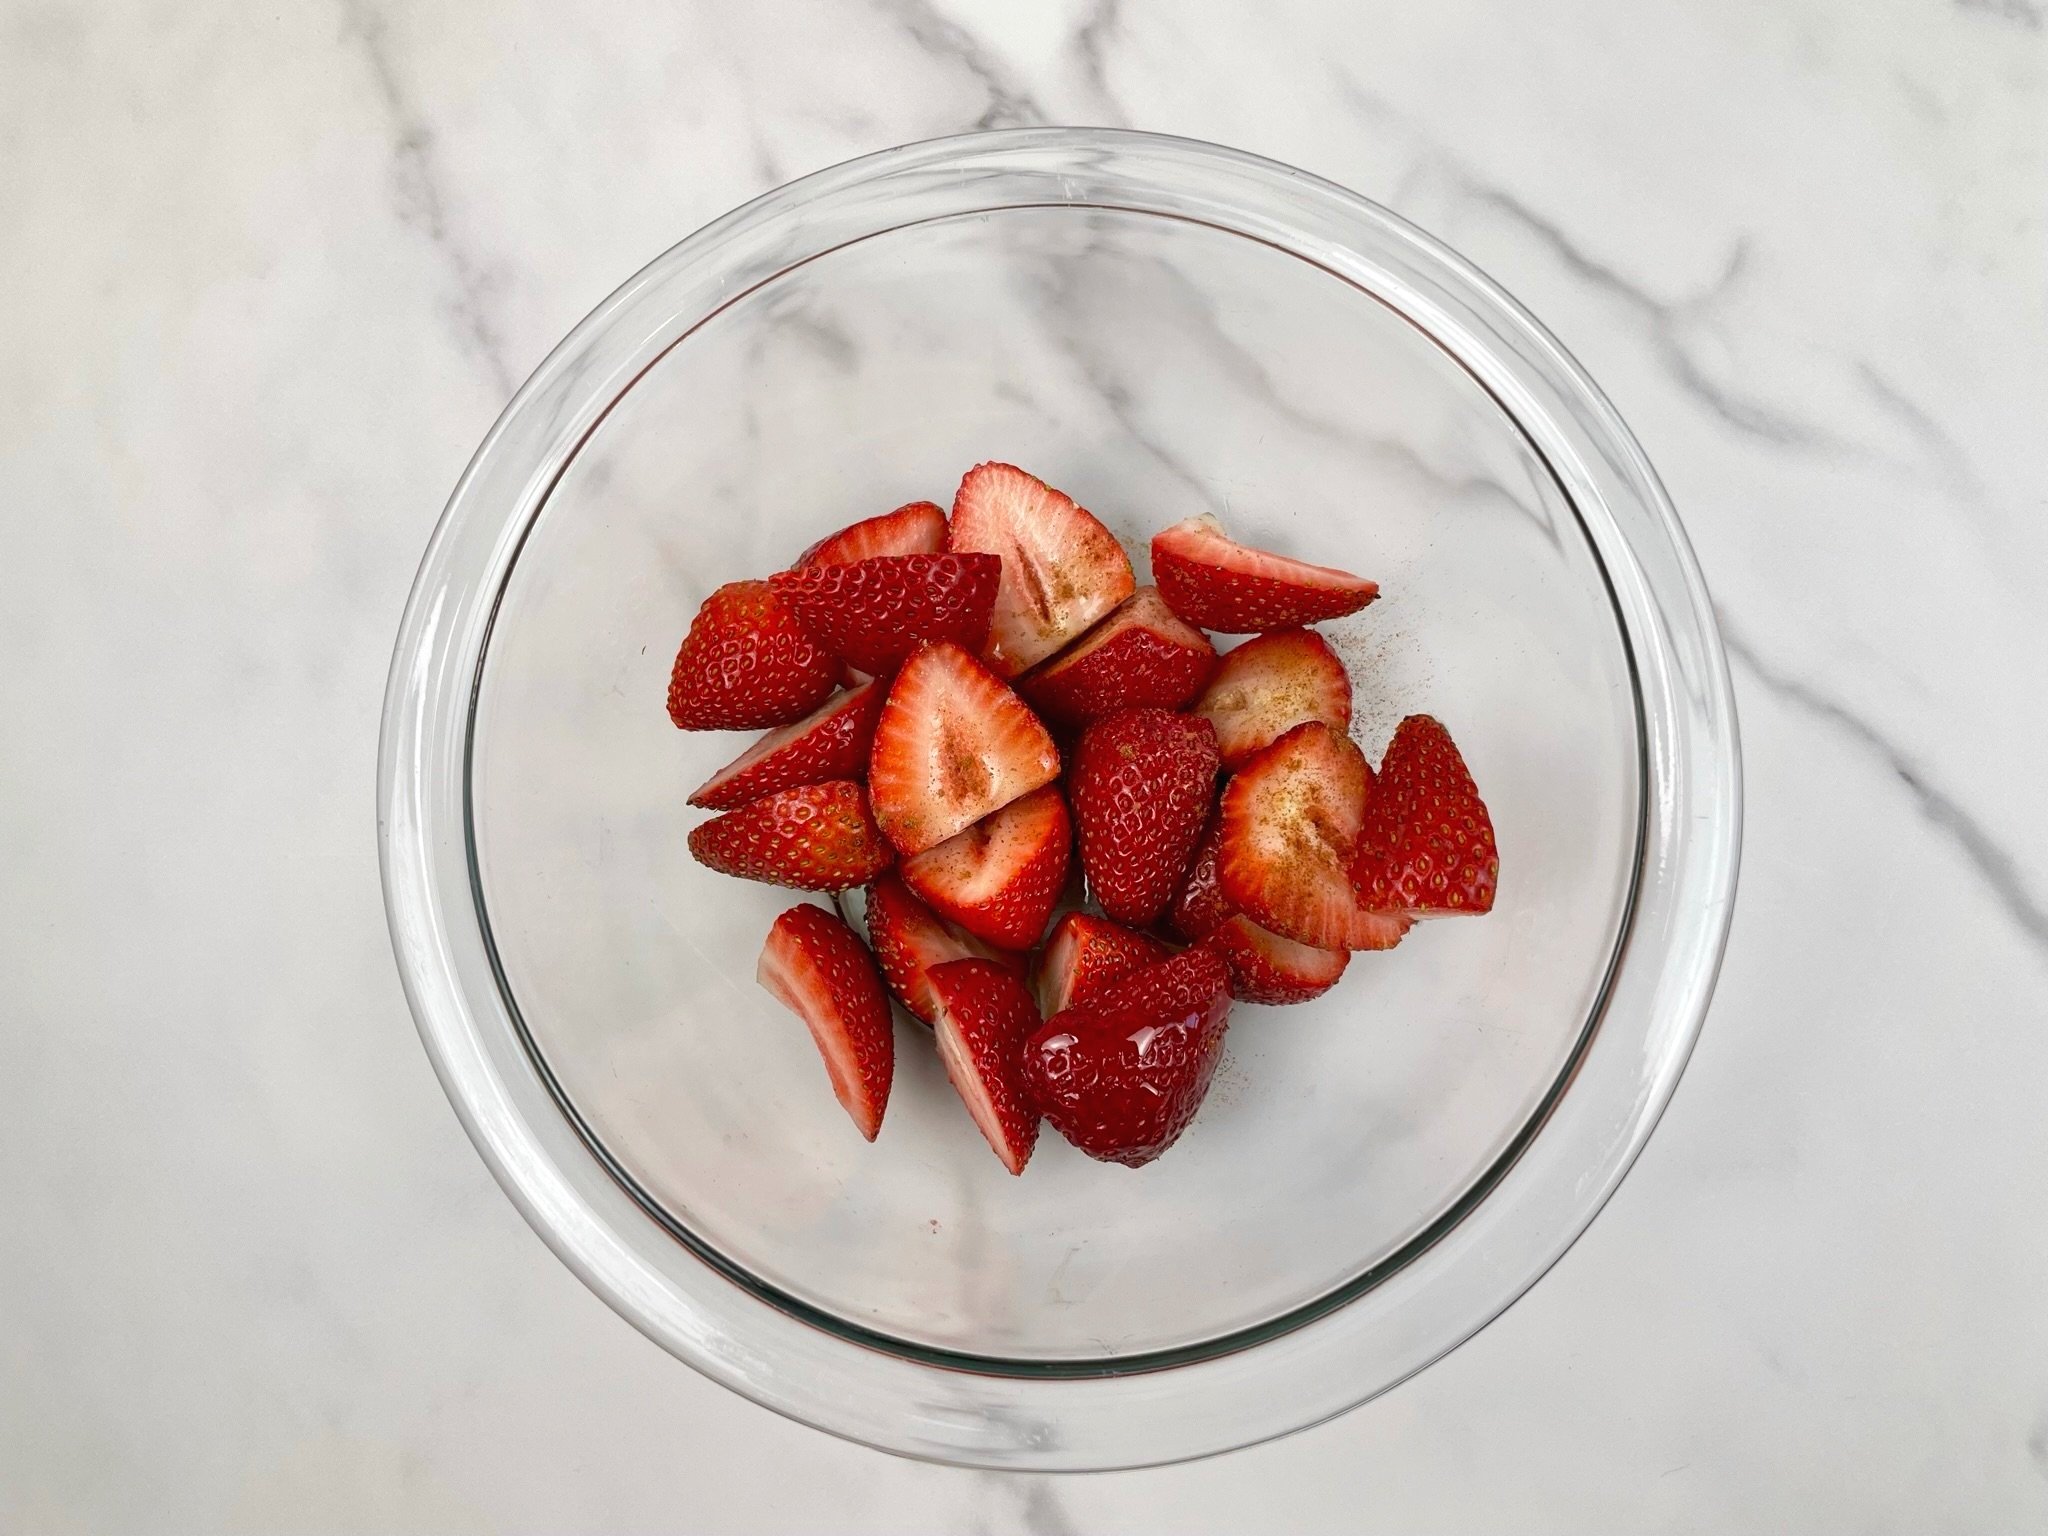
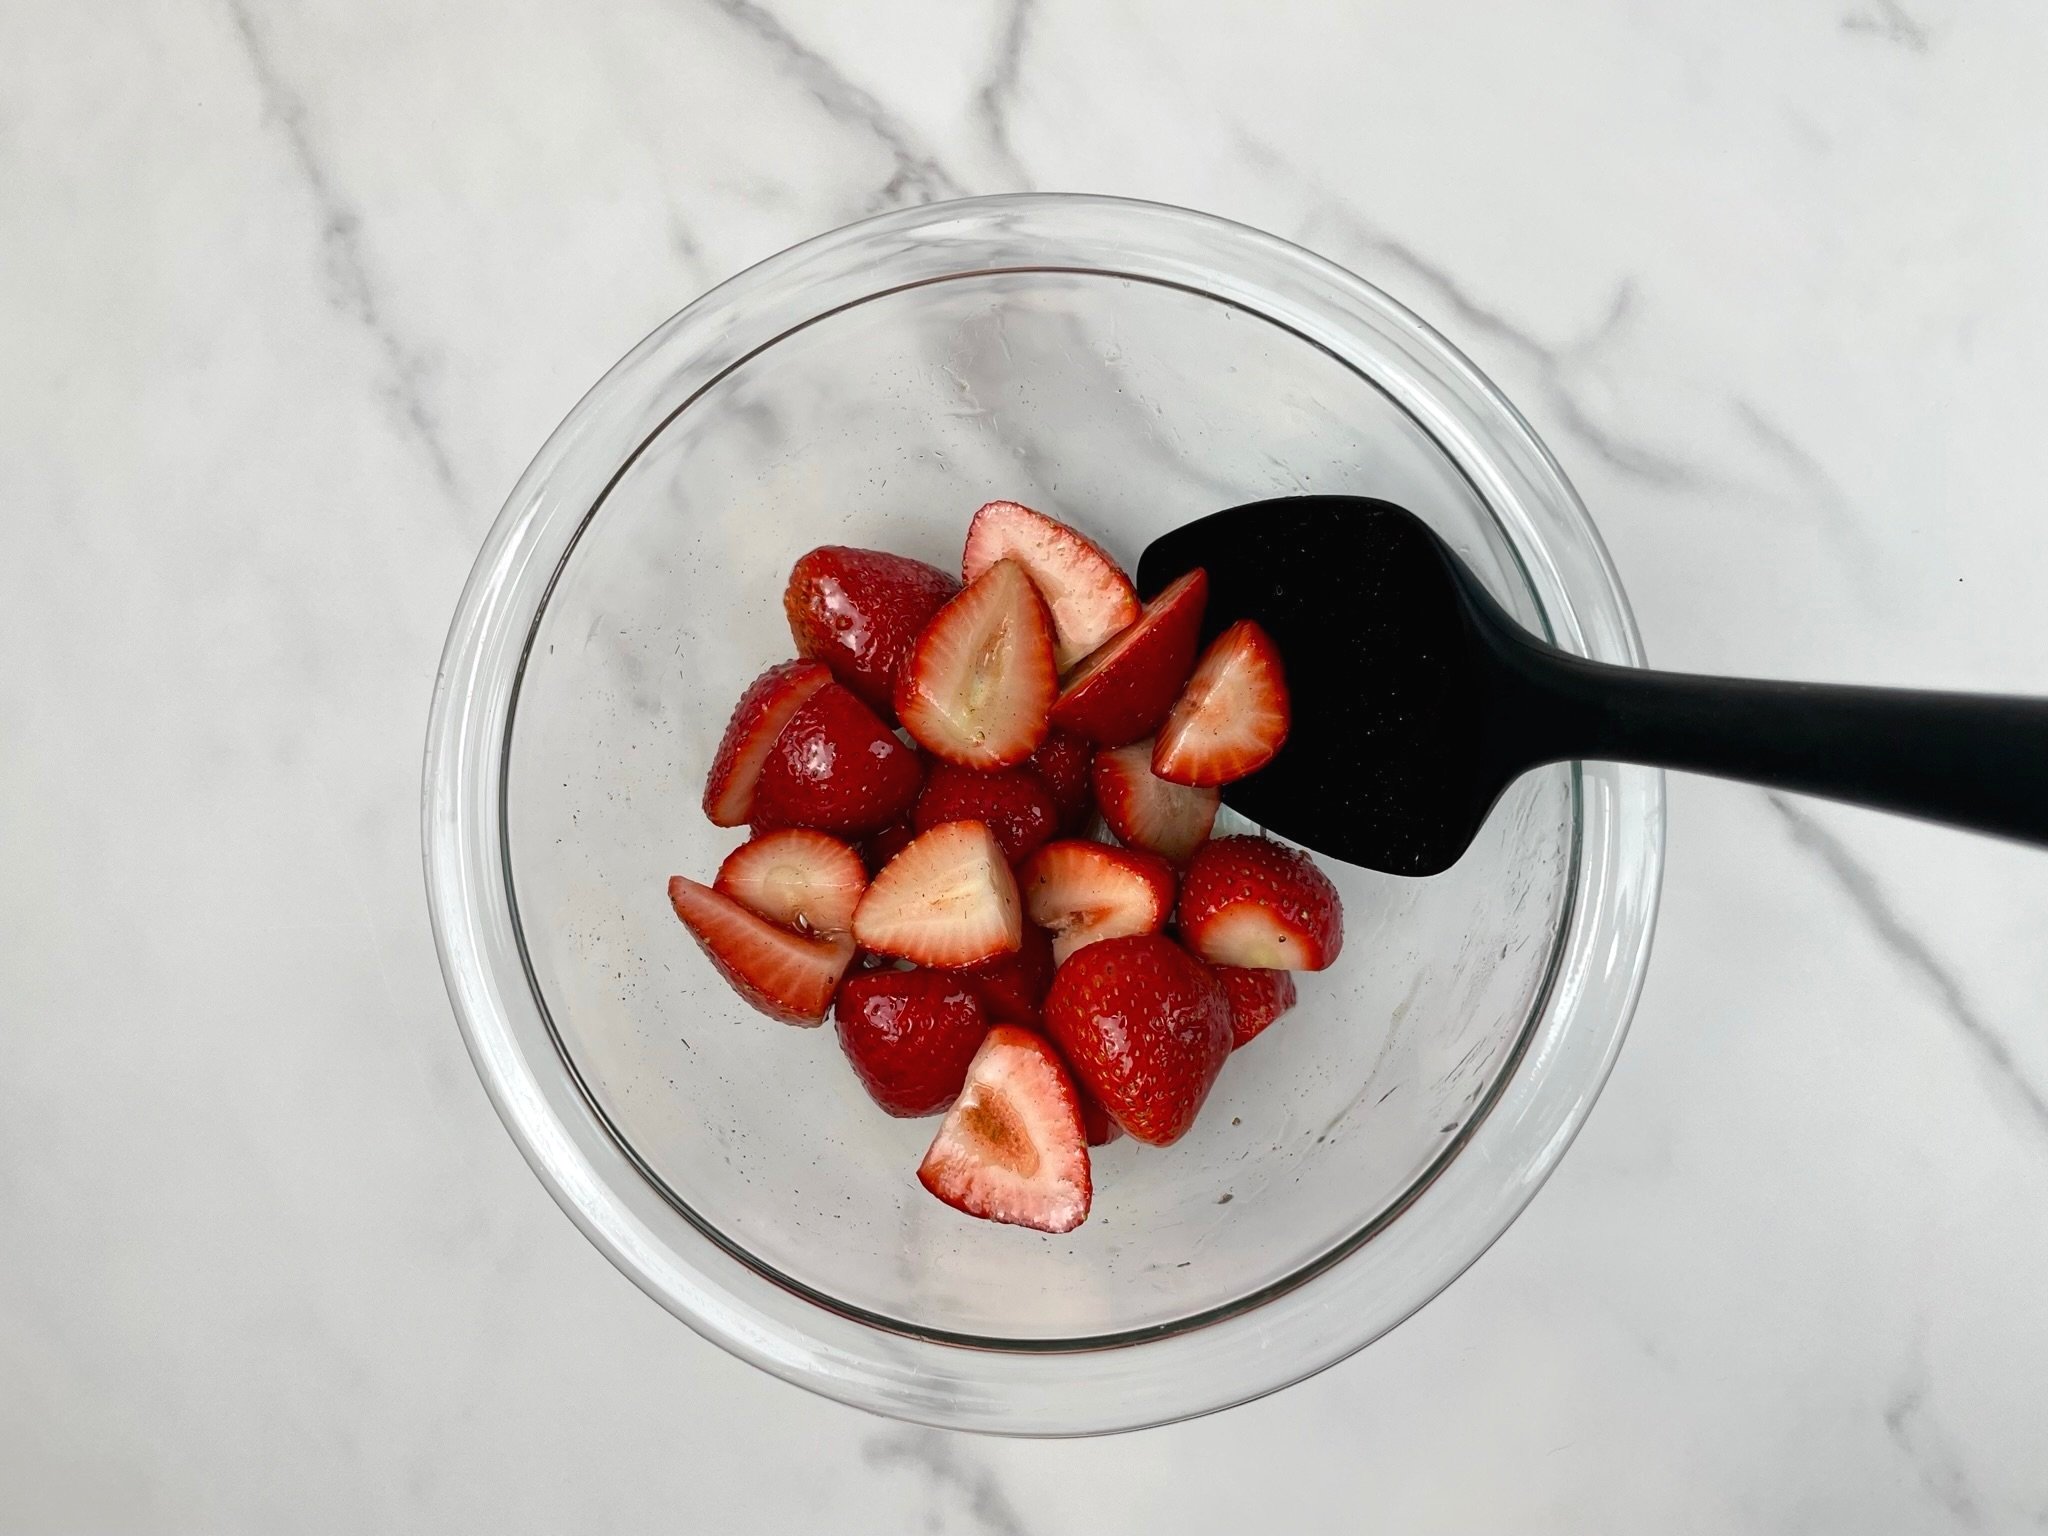
- Add vanilla, cinnamon, and 2 tablespoons of agave and gently toss to evenly coat the strawberries. Let them sit for about 5 minutes and then taste test for sweetness. If needed, add 1 additional tablespoon of agave.
- Cut and place each slice on a plate. Spoon strawberry topping on each individual slice.
Notes
- Best to store in fridge uncovered in a cake storage carrier, instead of using plastic wrap.
- To serve clean slices, run your knife through hot water and wipe clean before each slice.
- Store leftover pie and strawberries separately.
- If you are serving fewer people, prepare only half the strawberry topping (or as much is needed) just a few minutes prior to serving.
- Recipe can be made ahead.
Nutrition Facts
Calories
340.11Fat (grams)
21.65Sat. Fat (grams)
12.29Carbs (grams)
33.35Fiber (grams)
2.39Net carbs
30.96Sugar (grams)
21.95Protein (grams)
5.13Sodium (milligrams)
197.15Cholesterol (grams)
57.01Nutritional information provided is strictly an estimate and will vary based on ingredient brands and cooking methods.
Step by Step Instructions
CRUST PREPARATION
Organize all your tools and ingredients before you begin. Getting all your ingredients in one place at the beginning will shorten your prep time.
Crust
STEP 1
Place oven rack in the center of your oven, and preheat to 325°F. Break up 9 graham cracker sheets (1 sleeve) into smaller pieces and add to a food processor. Add 2 tablespoons light brown sugar, ¼ teaspoon cinnamon, and a pinch of fine salt to processor, and pulse (then process) until mixture turns into fine crumbs.
STEP 2a
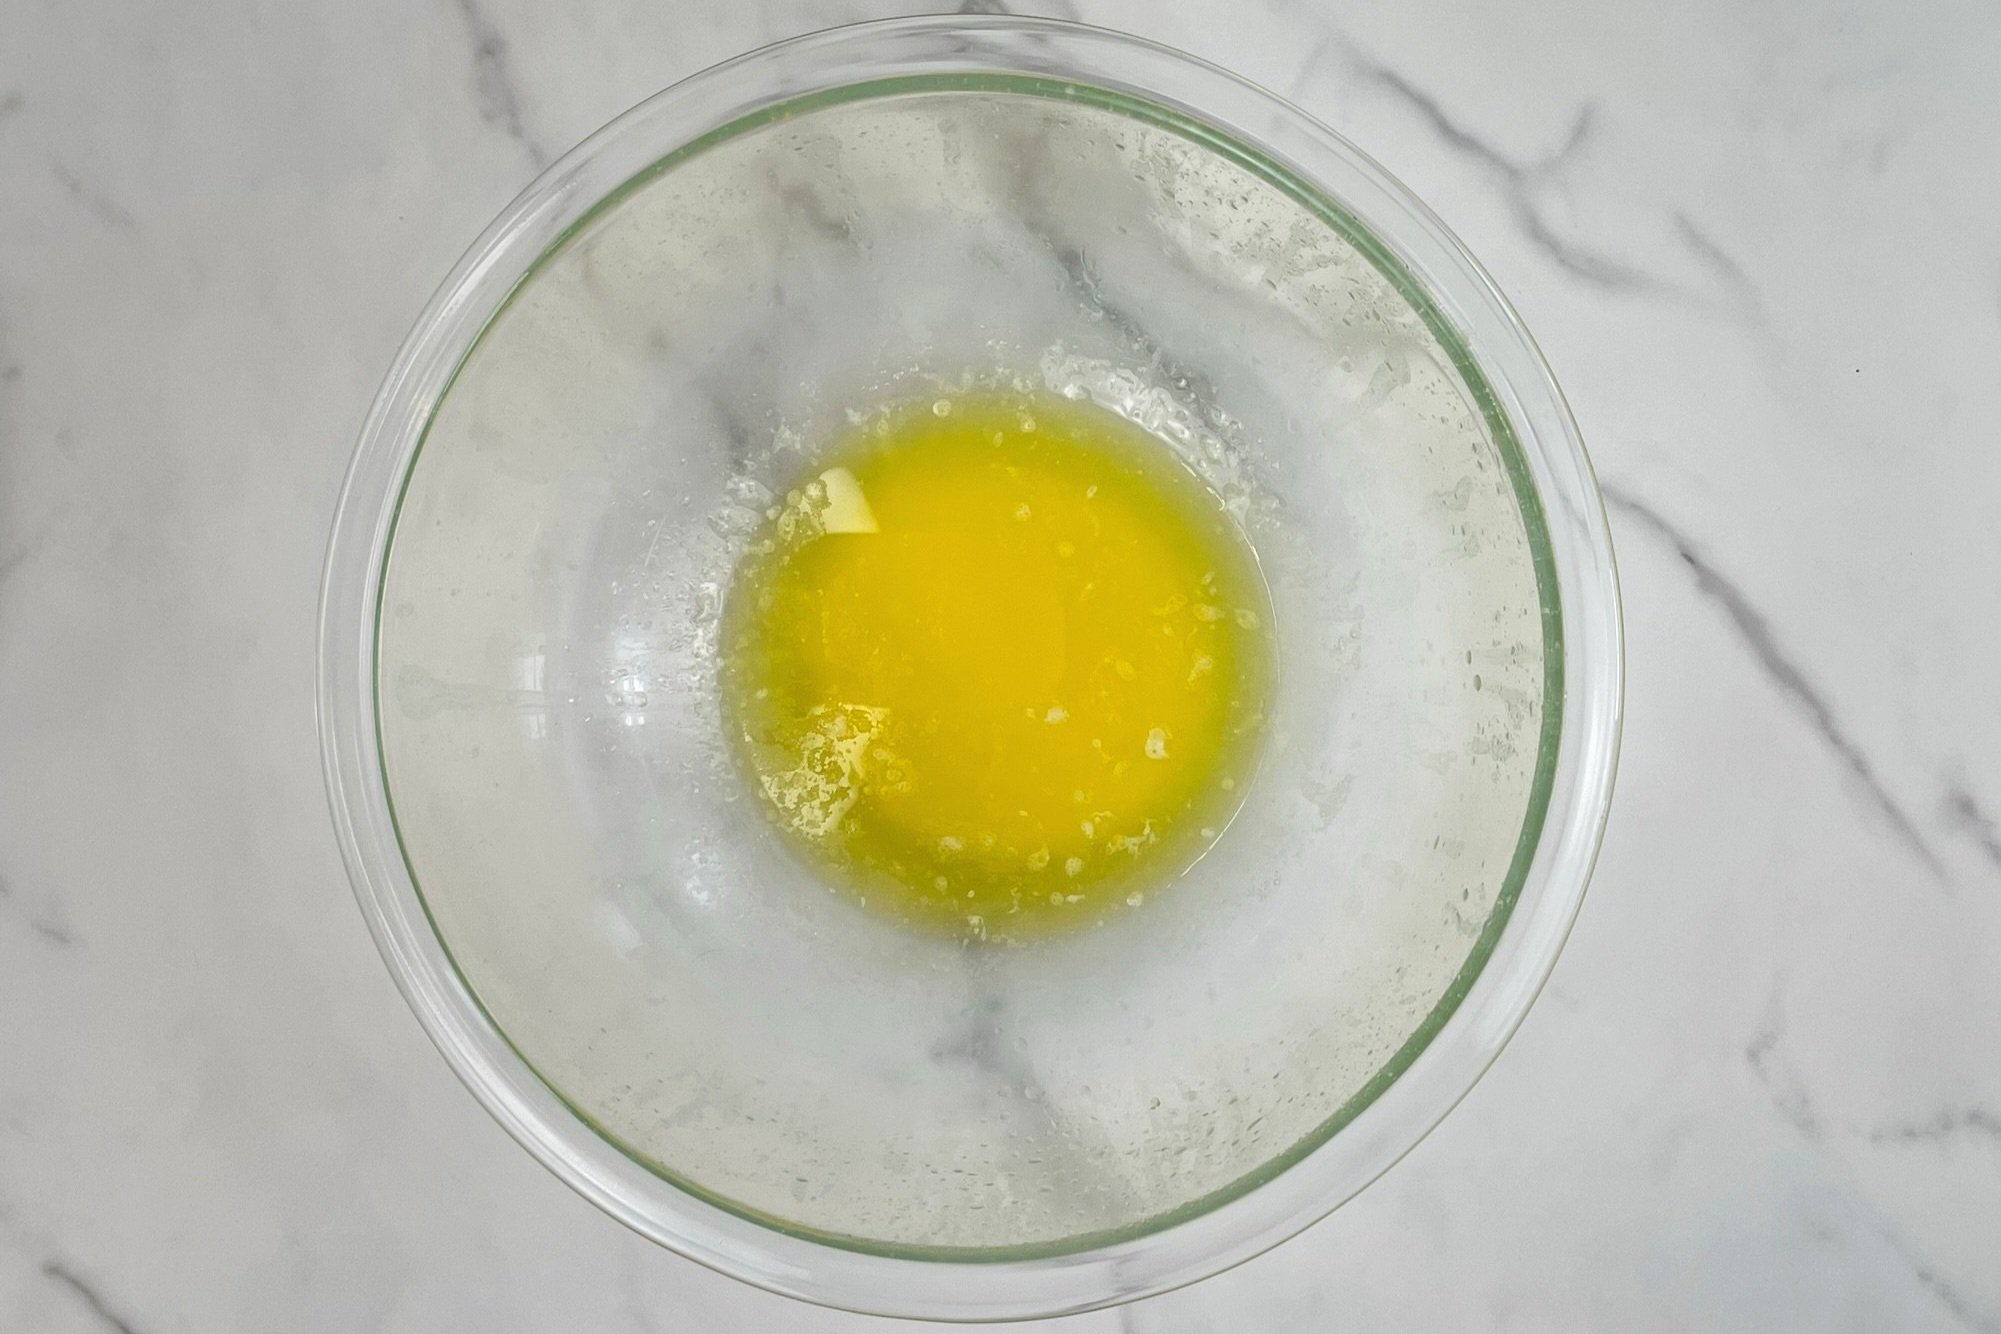
Cut 6 tablespoons unsalted butter into pieces, add to a medium microwave safe mixing bowl, and melt butter in microwave.
STEP 2b
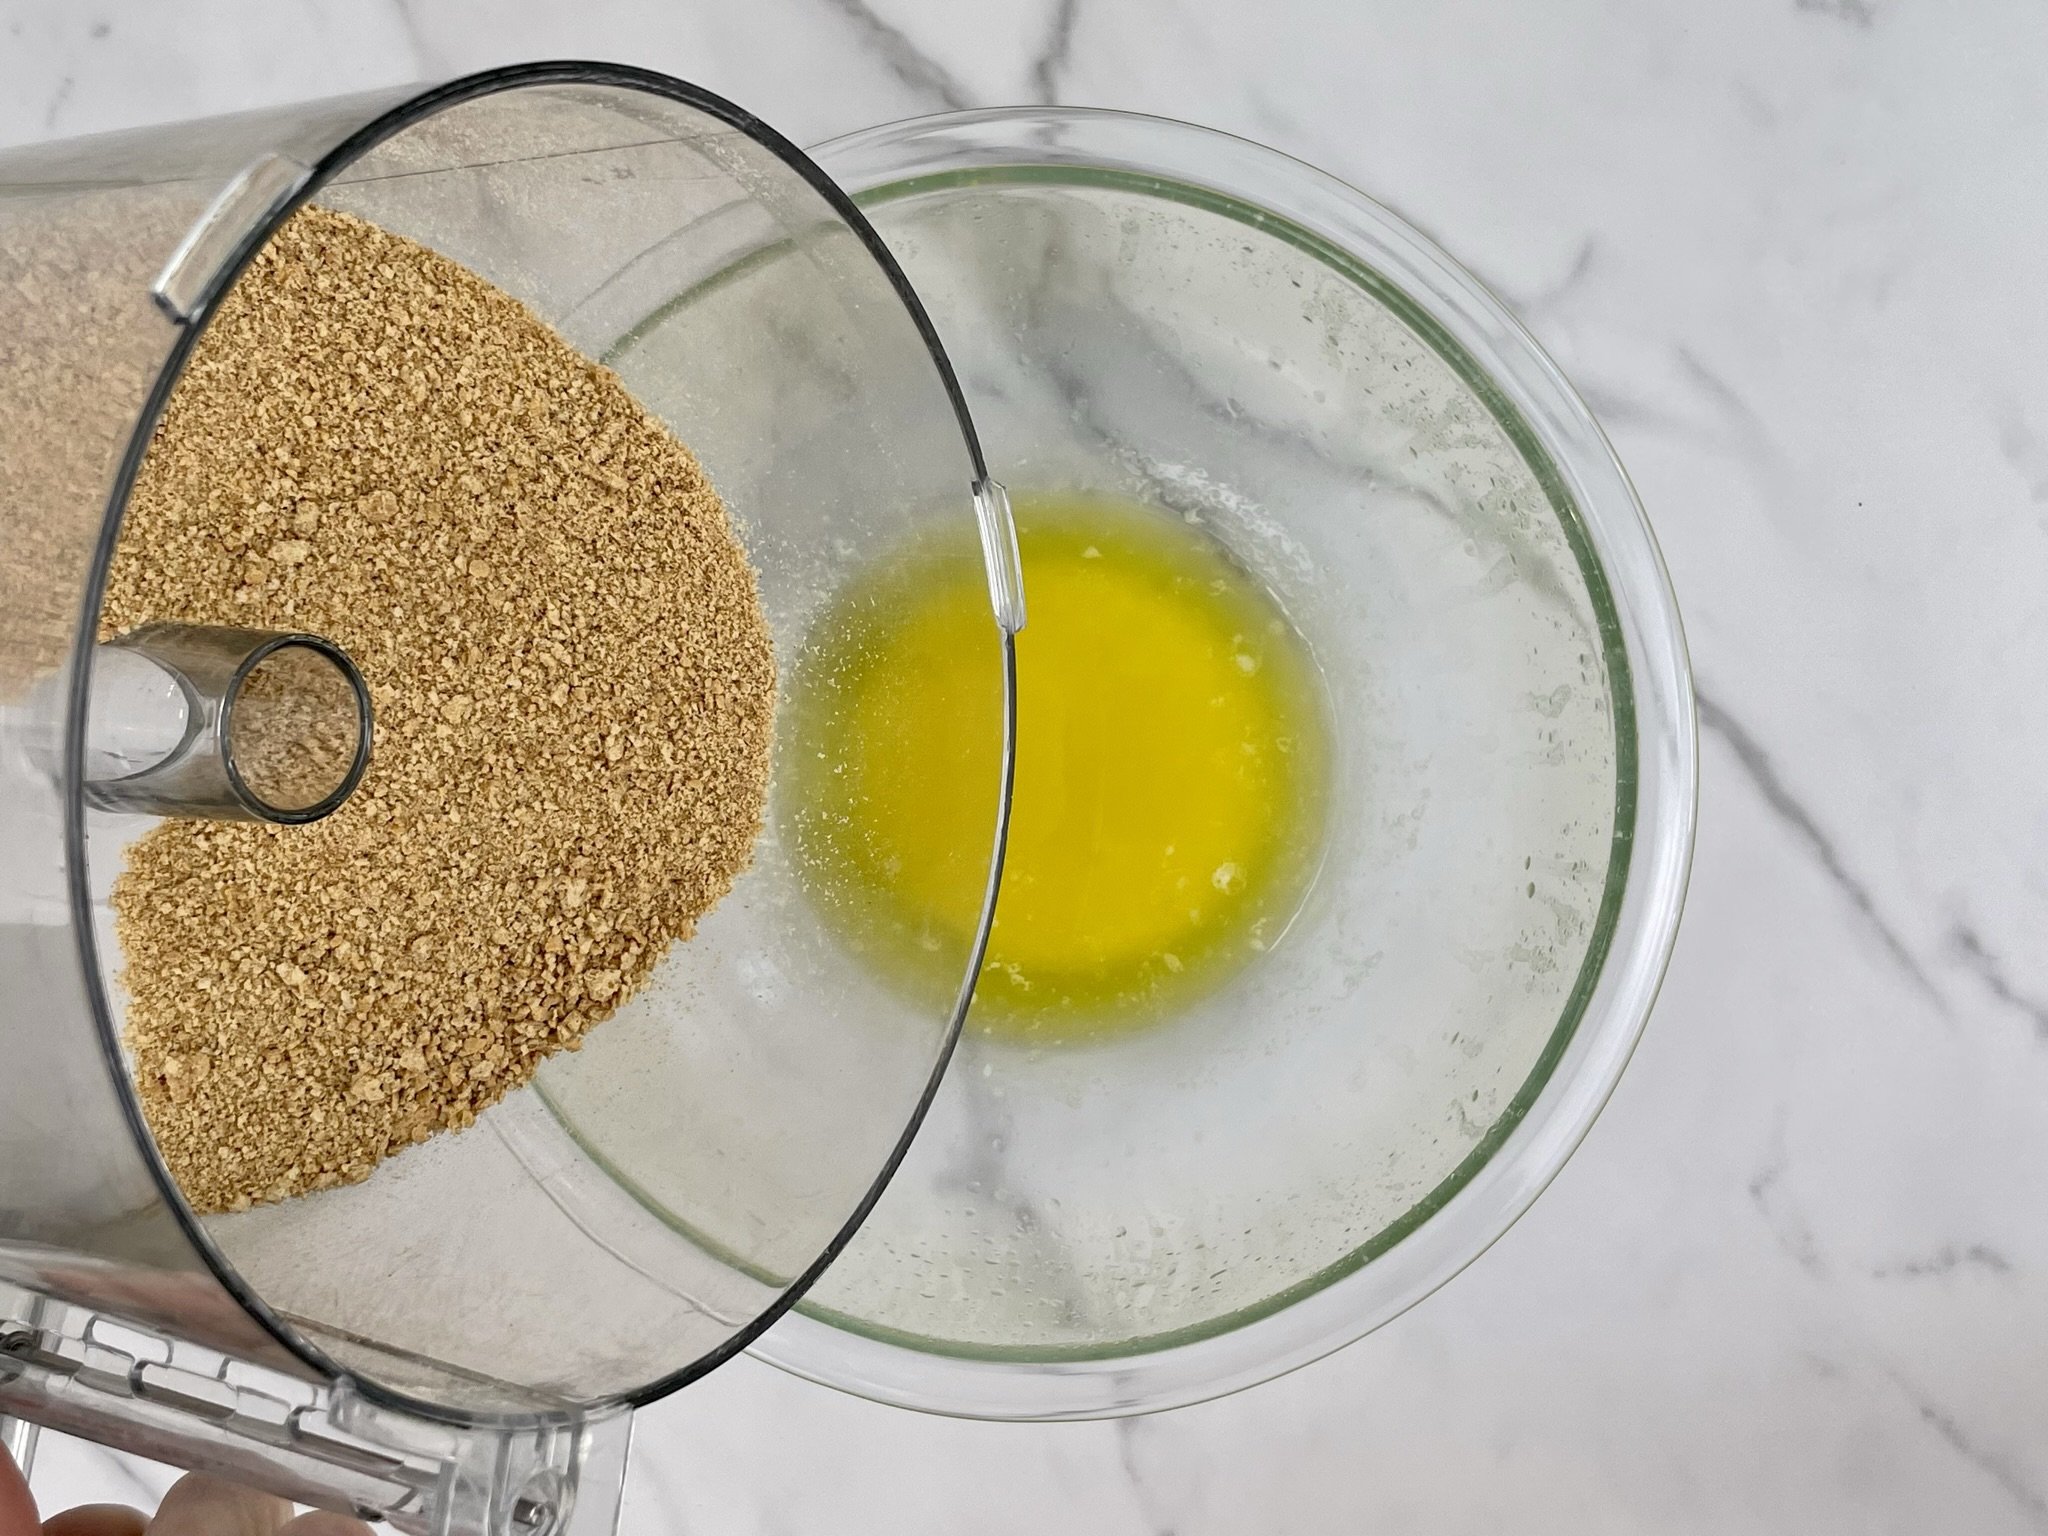
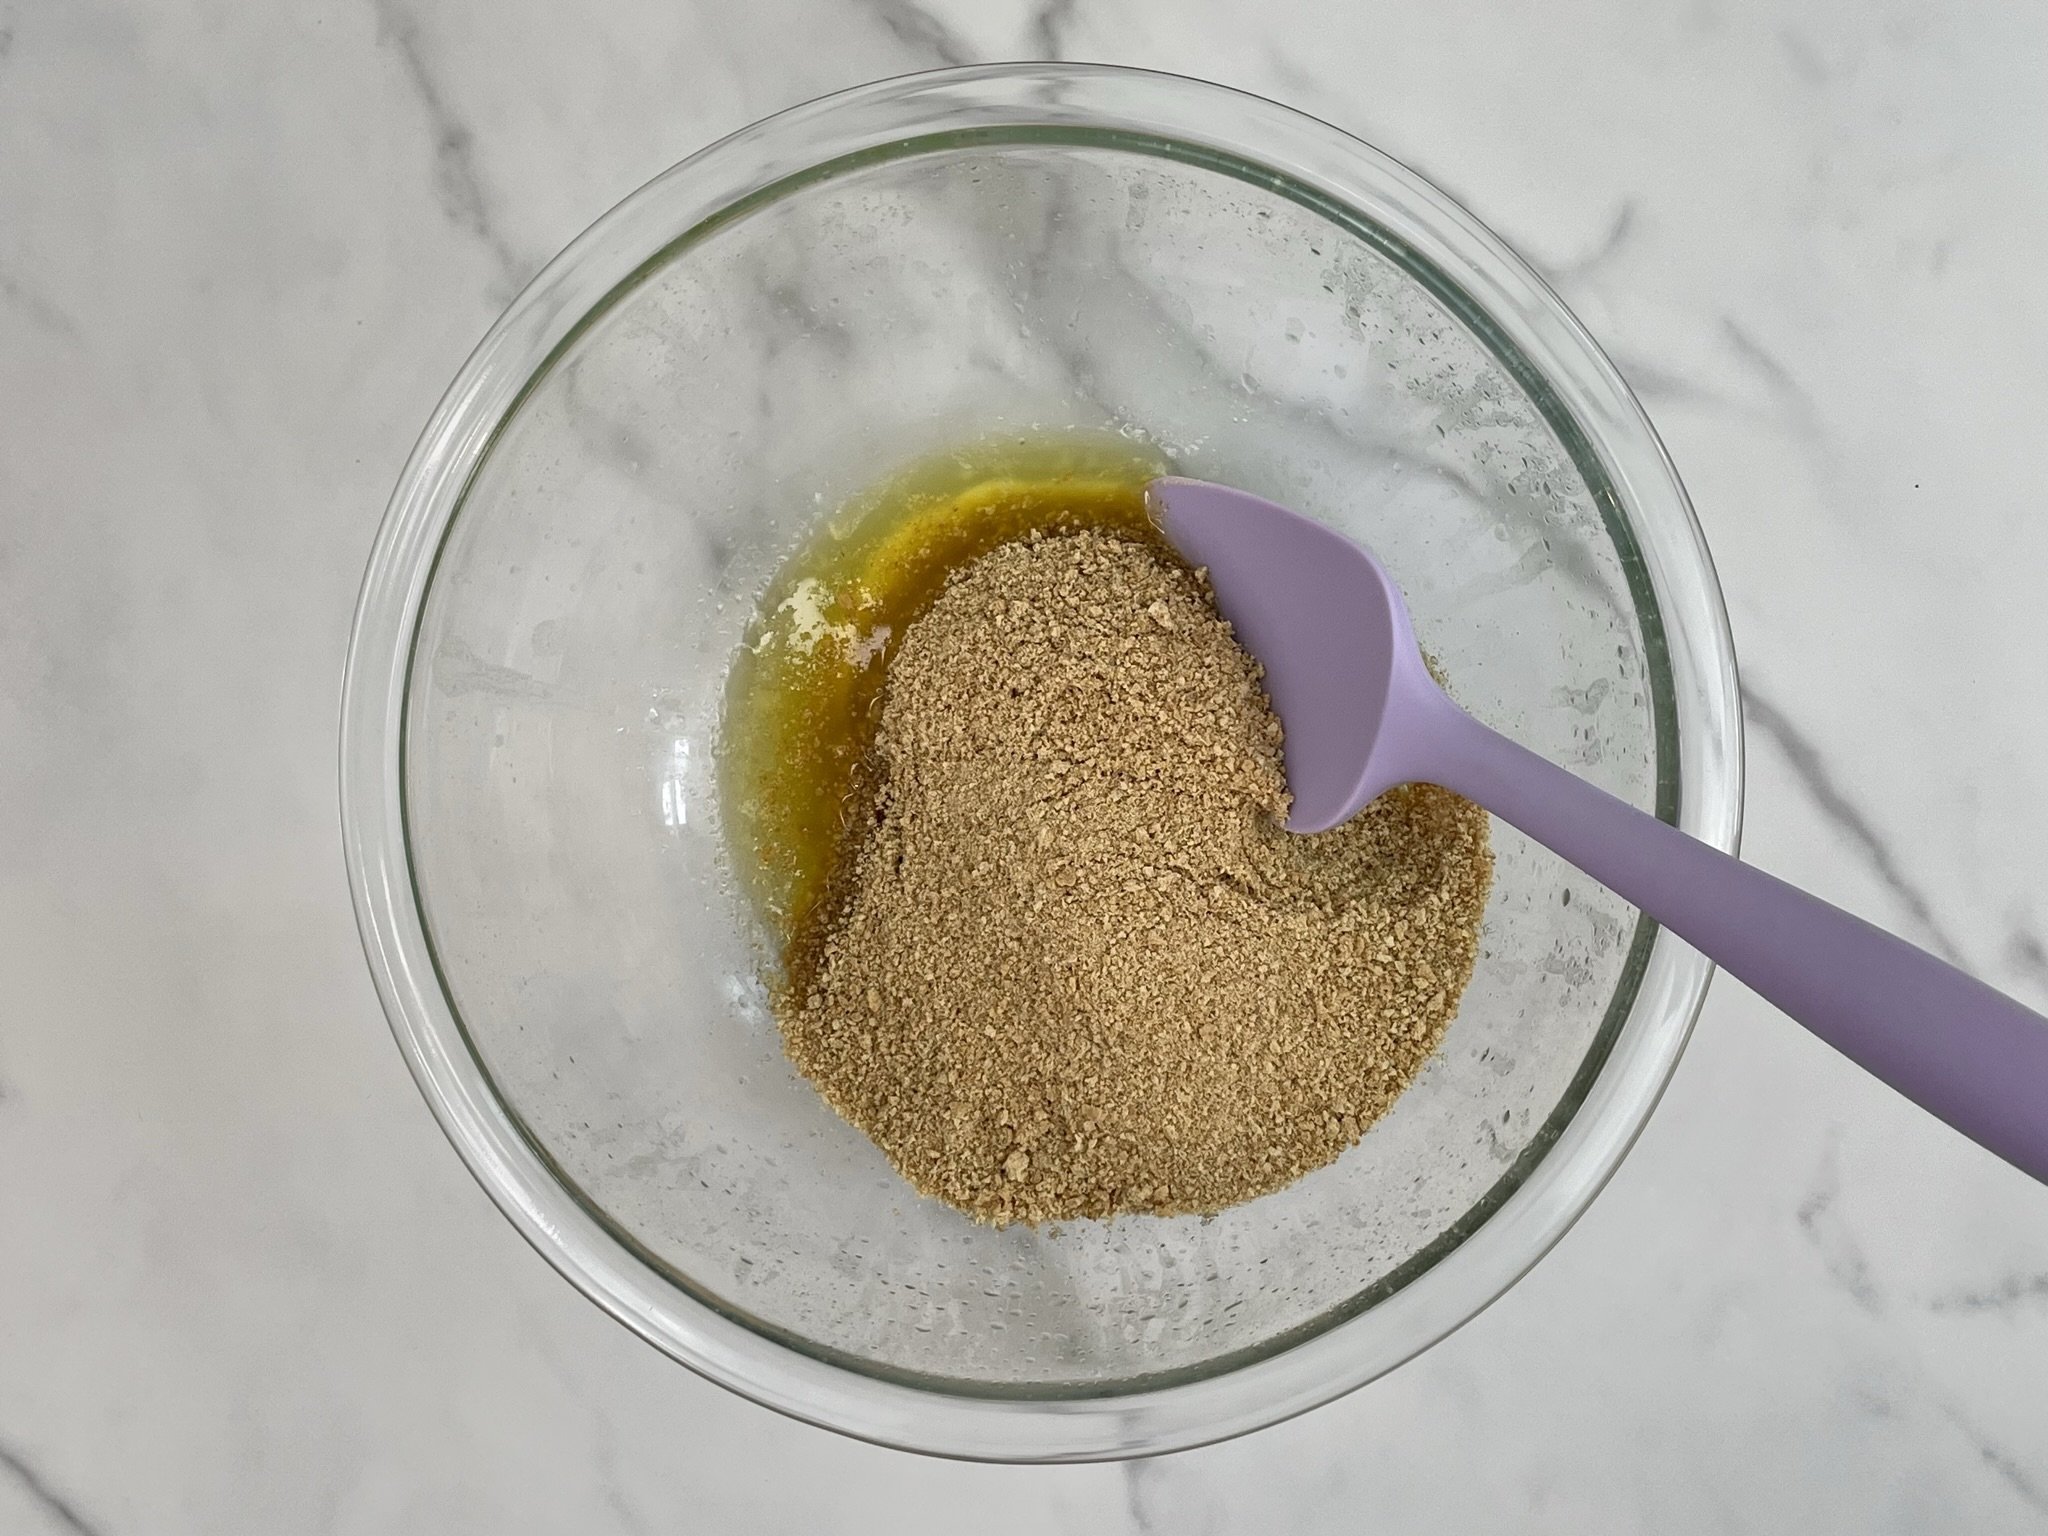
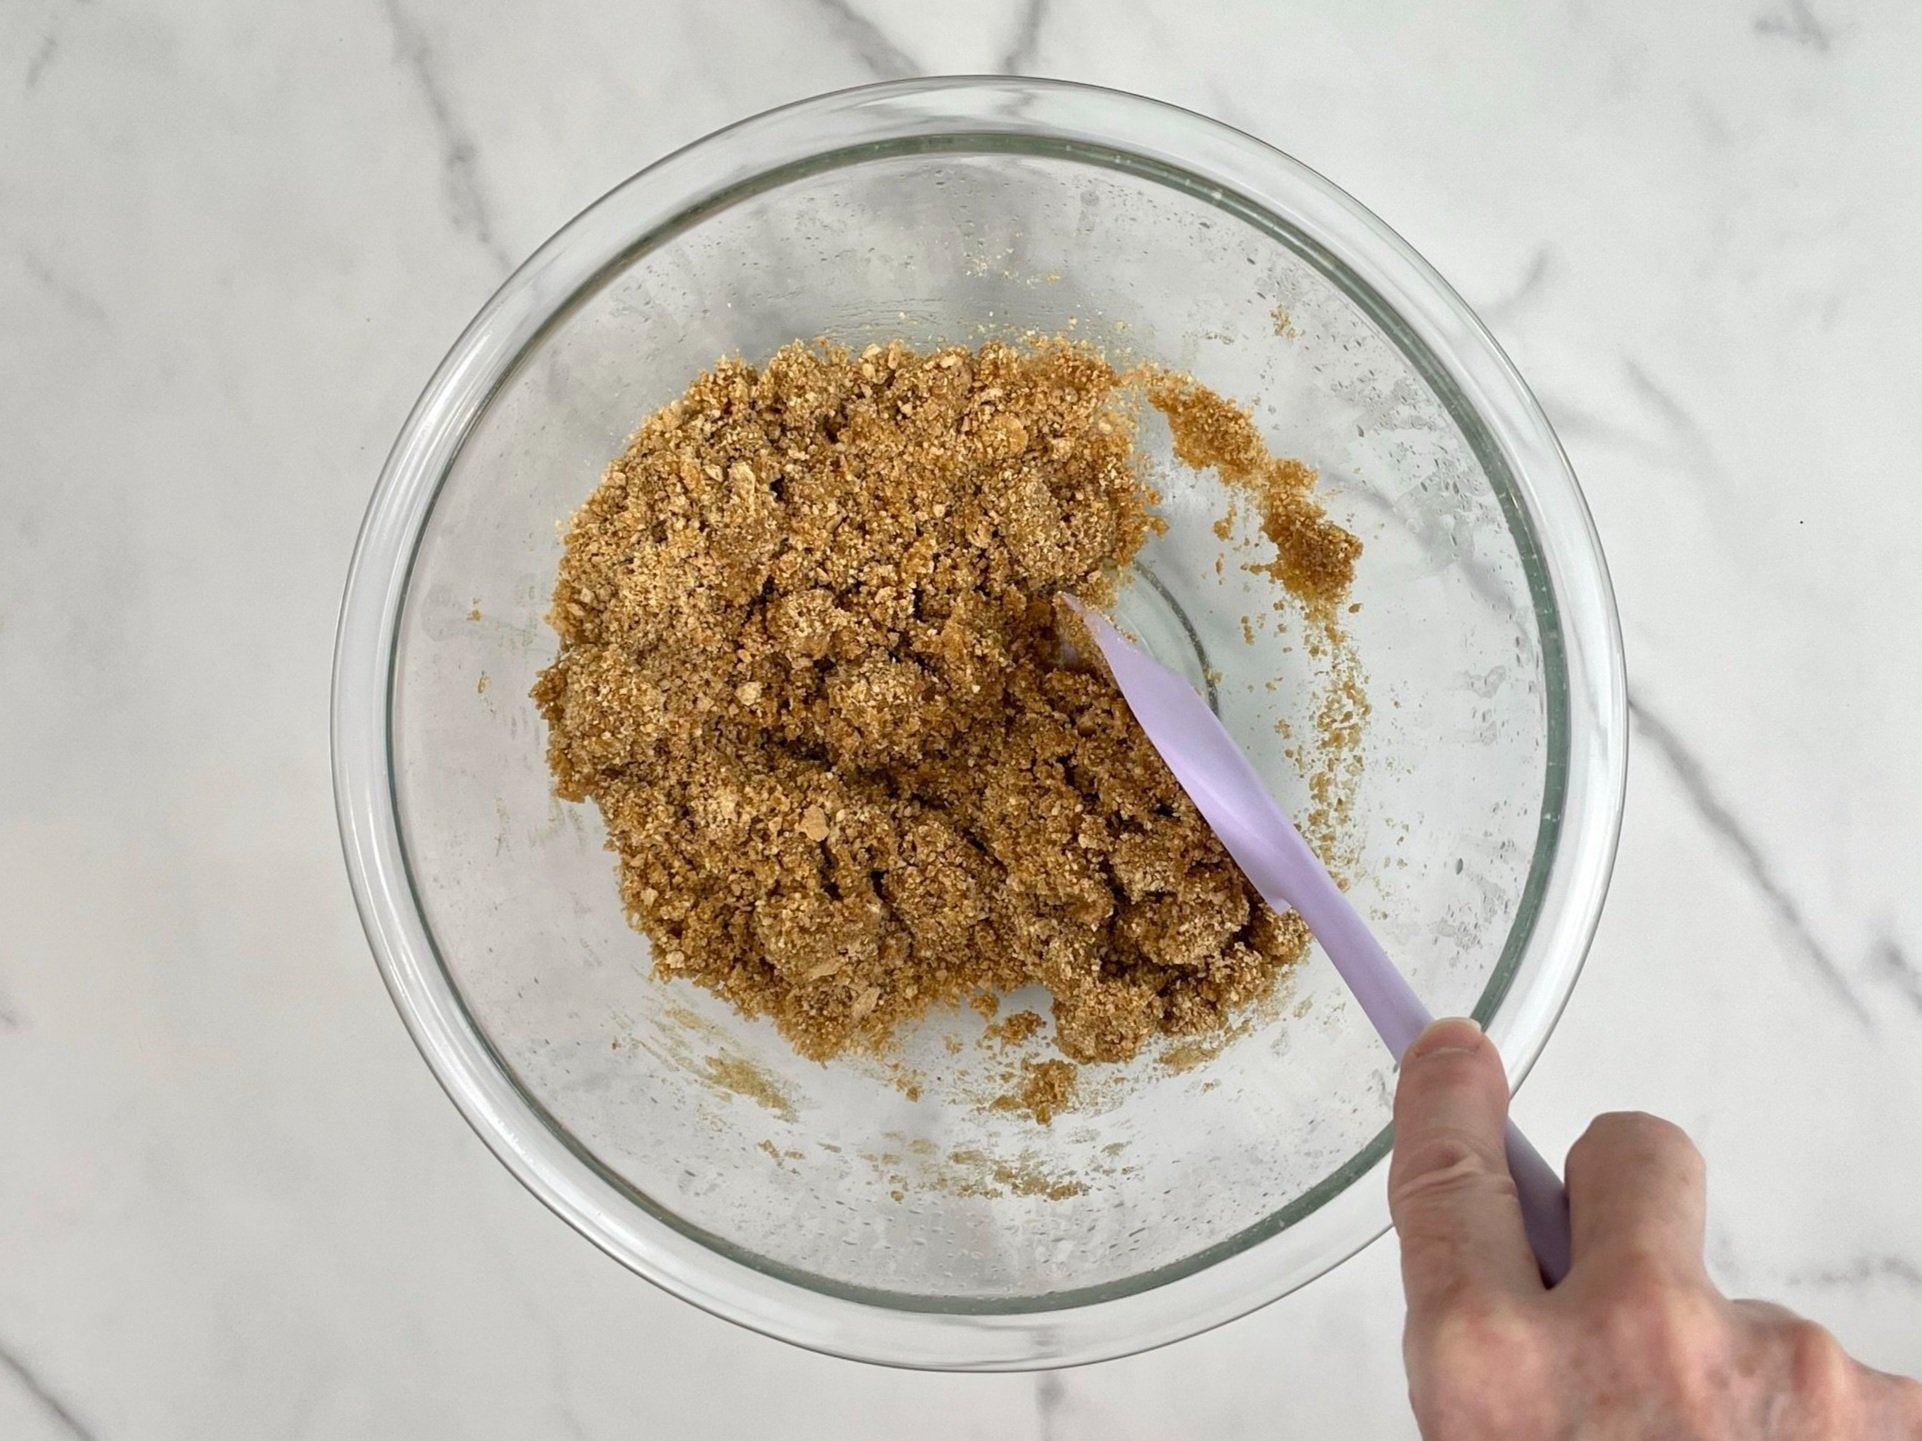
Add crumb mixture to the melted butter, and stir using a silicone spatula to combine. When crumbs are completely coated, the mixture will look like wet sand.
STEP 3
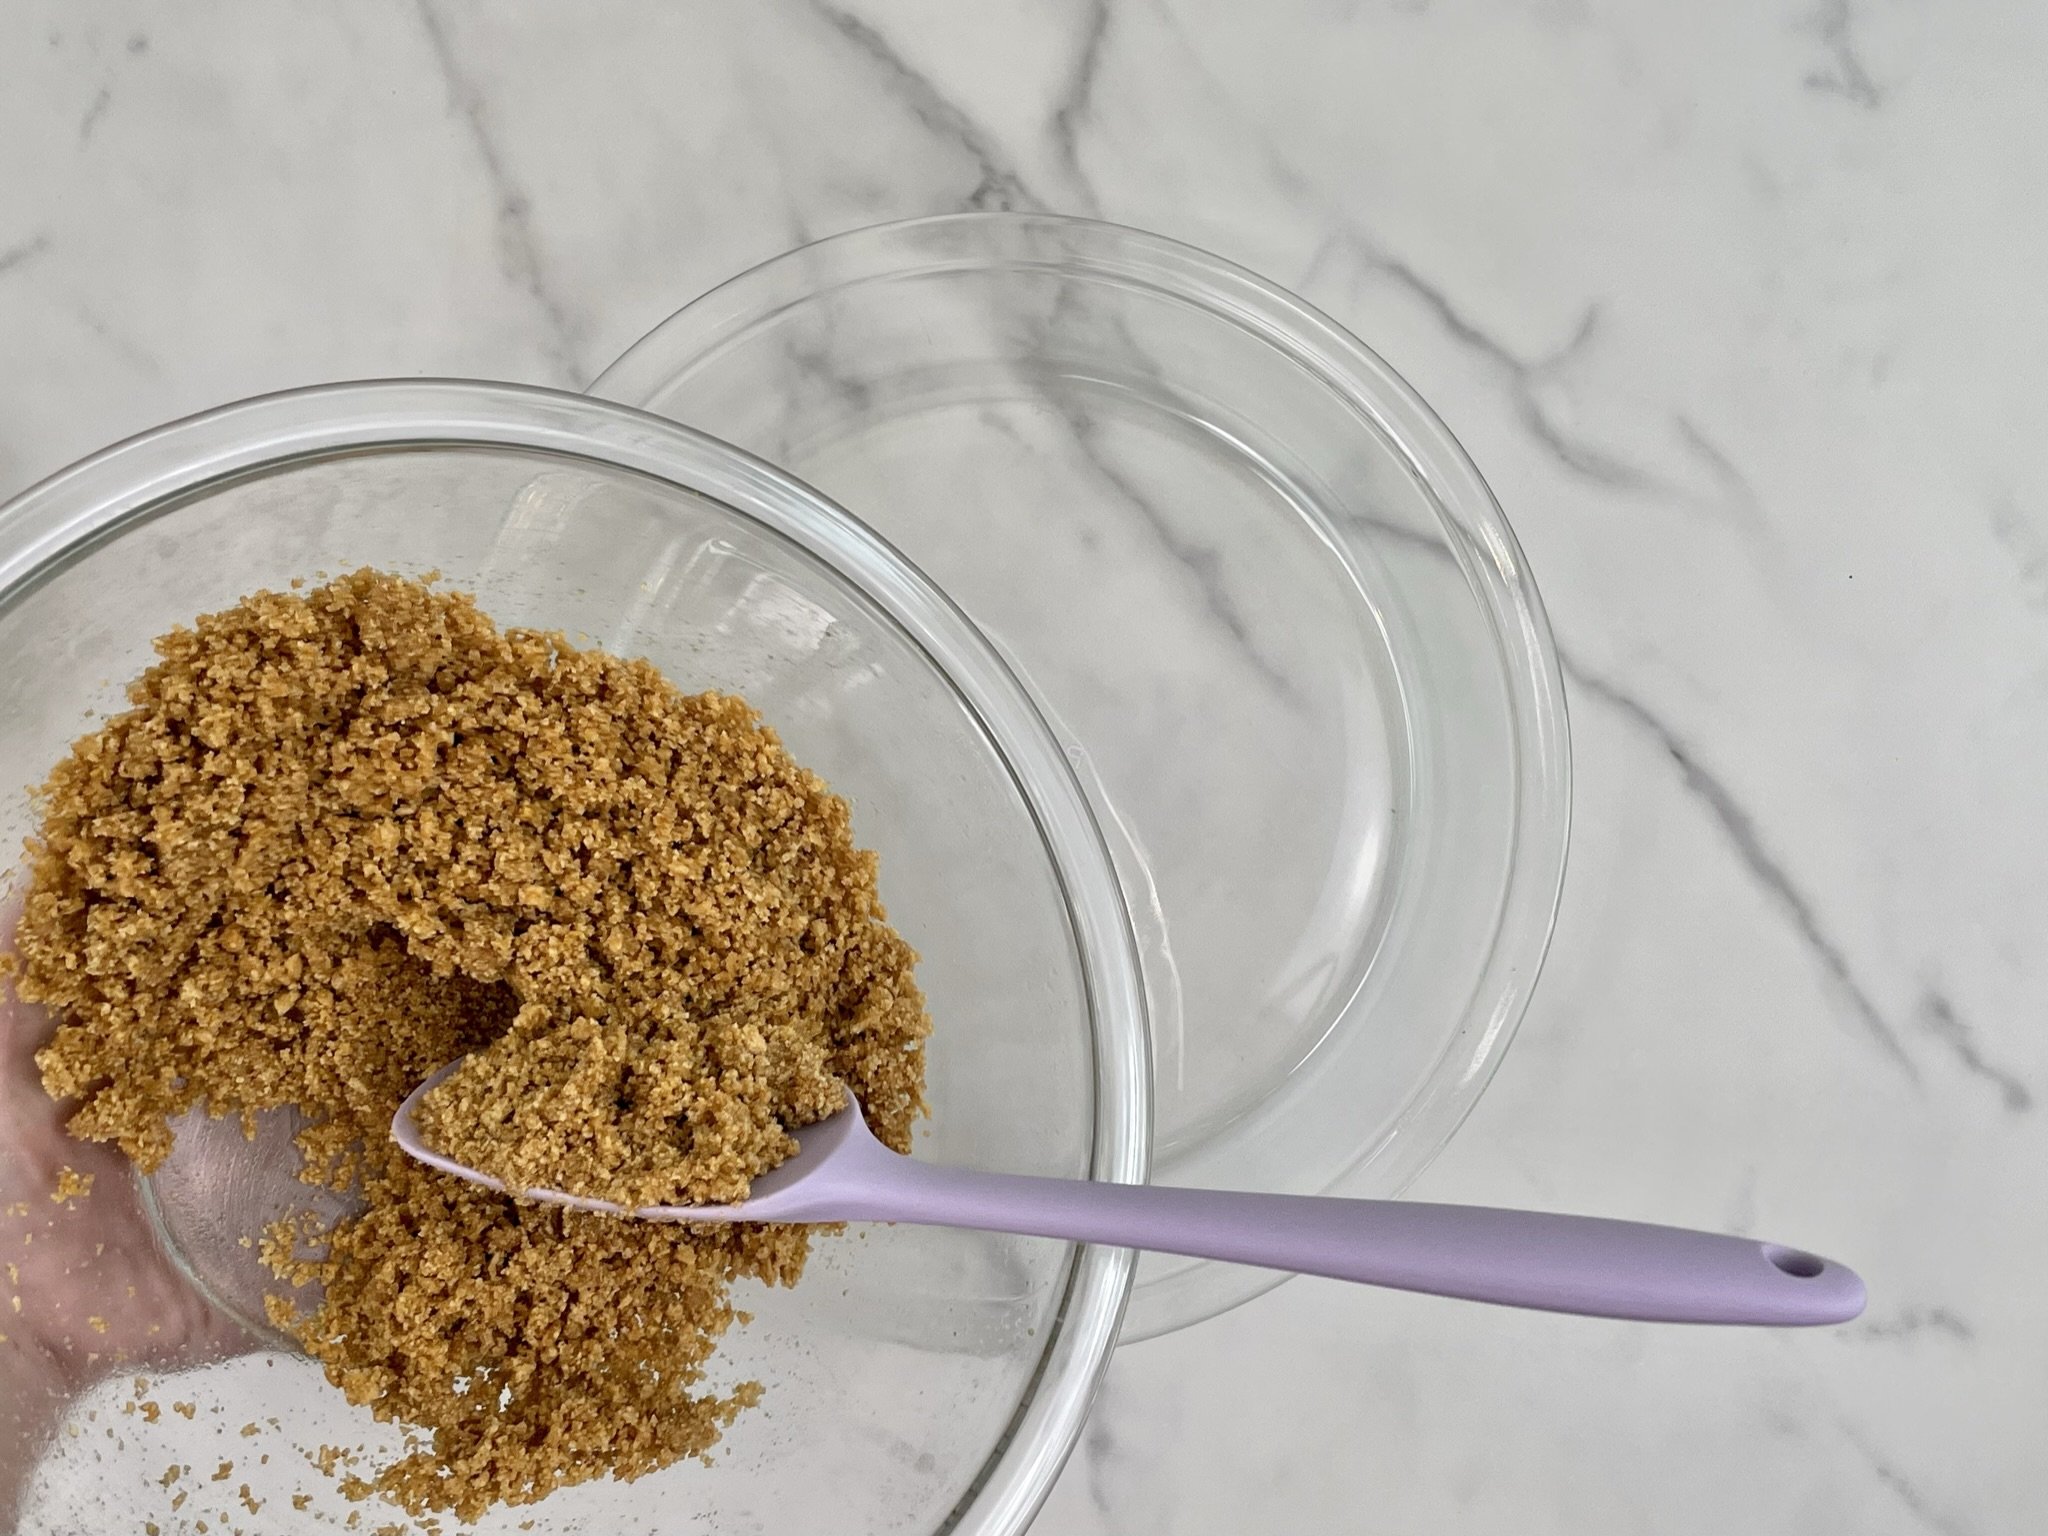
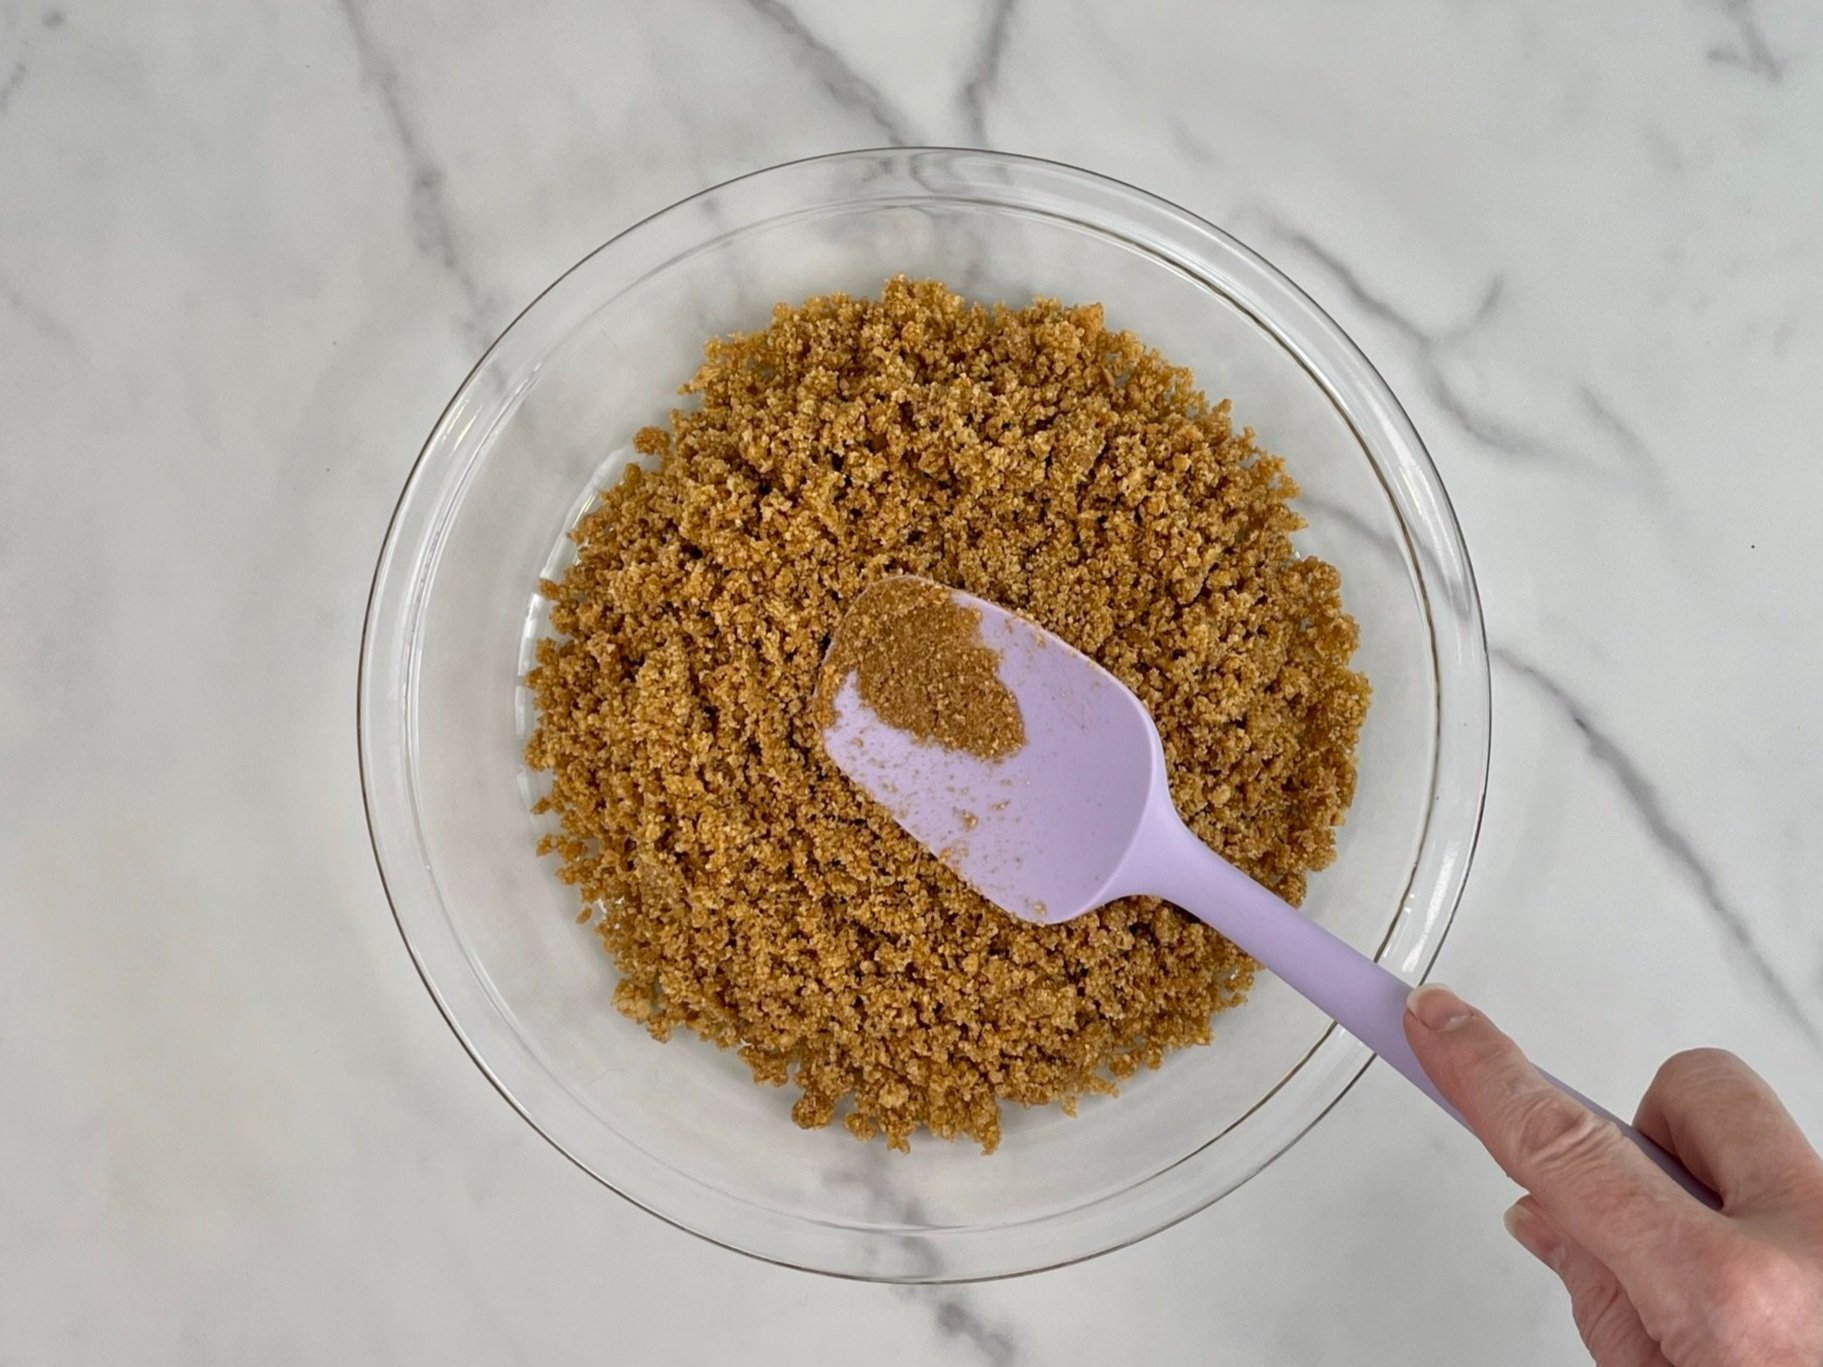
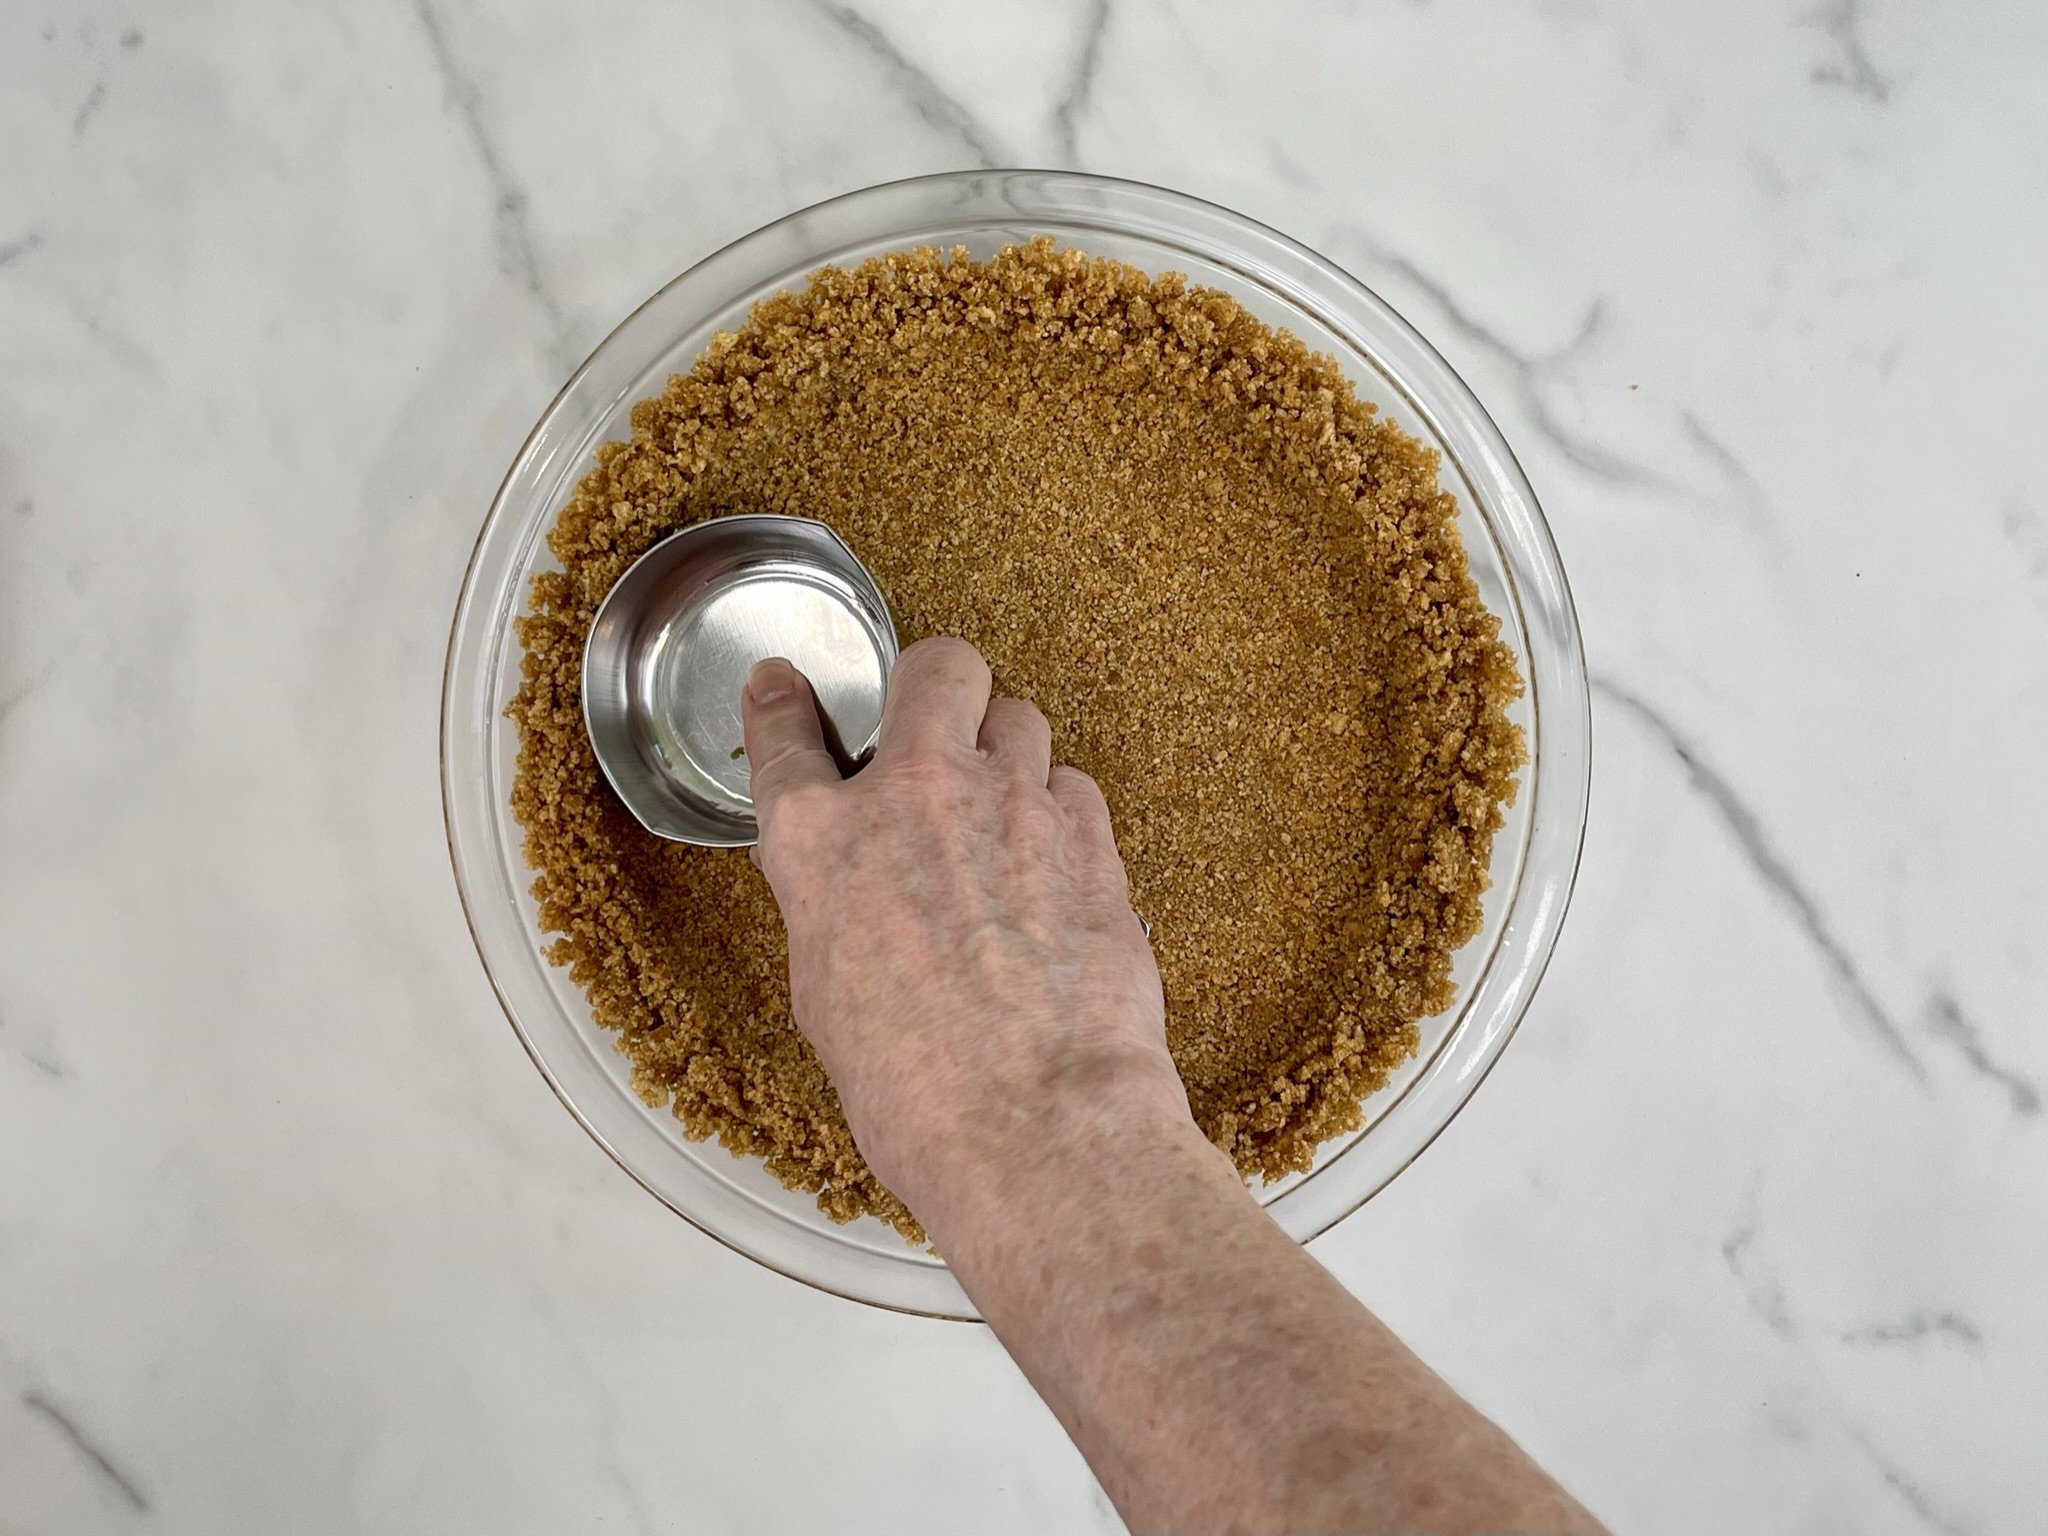
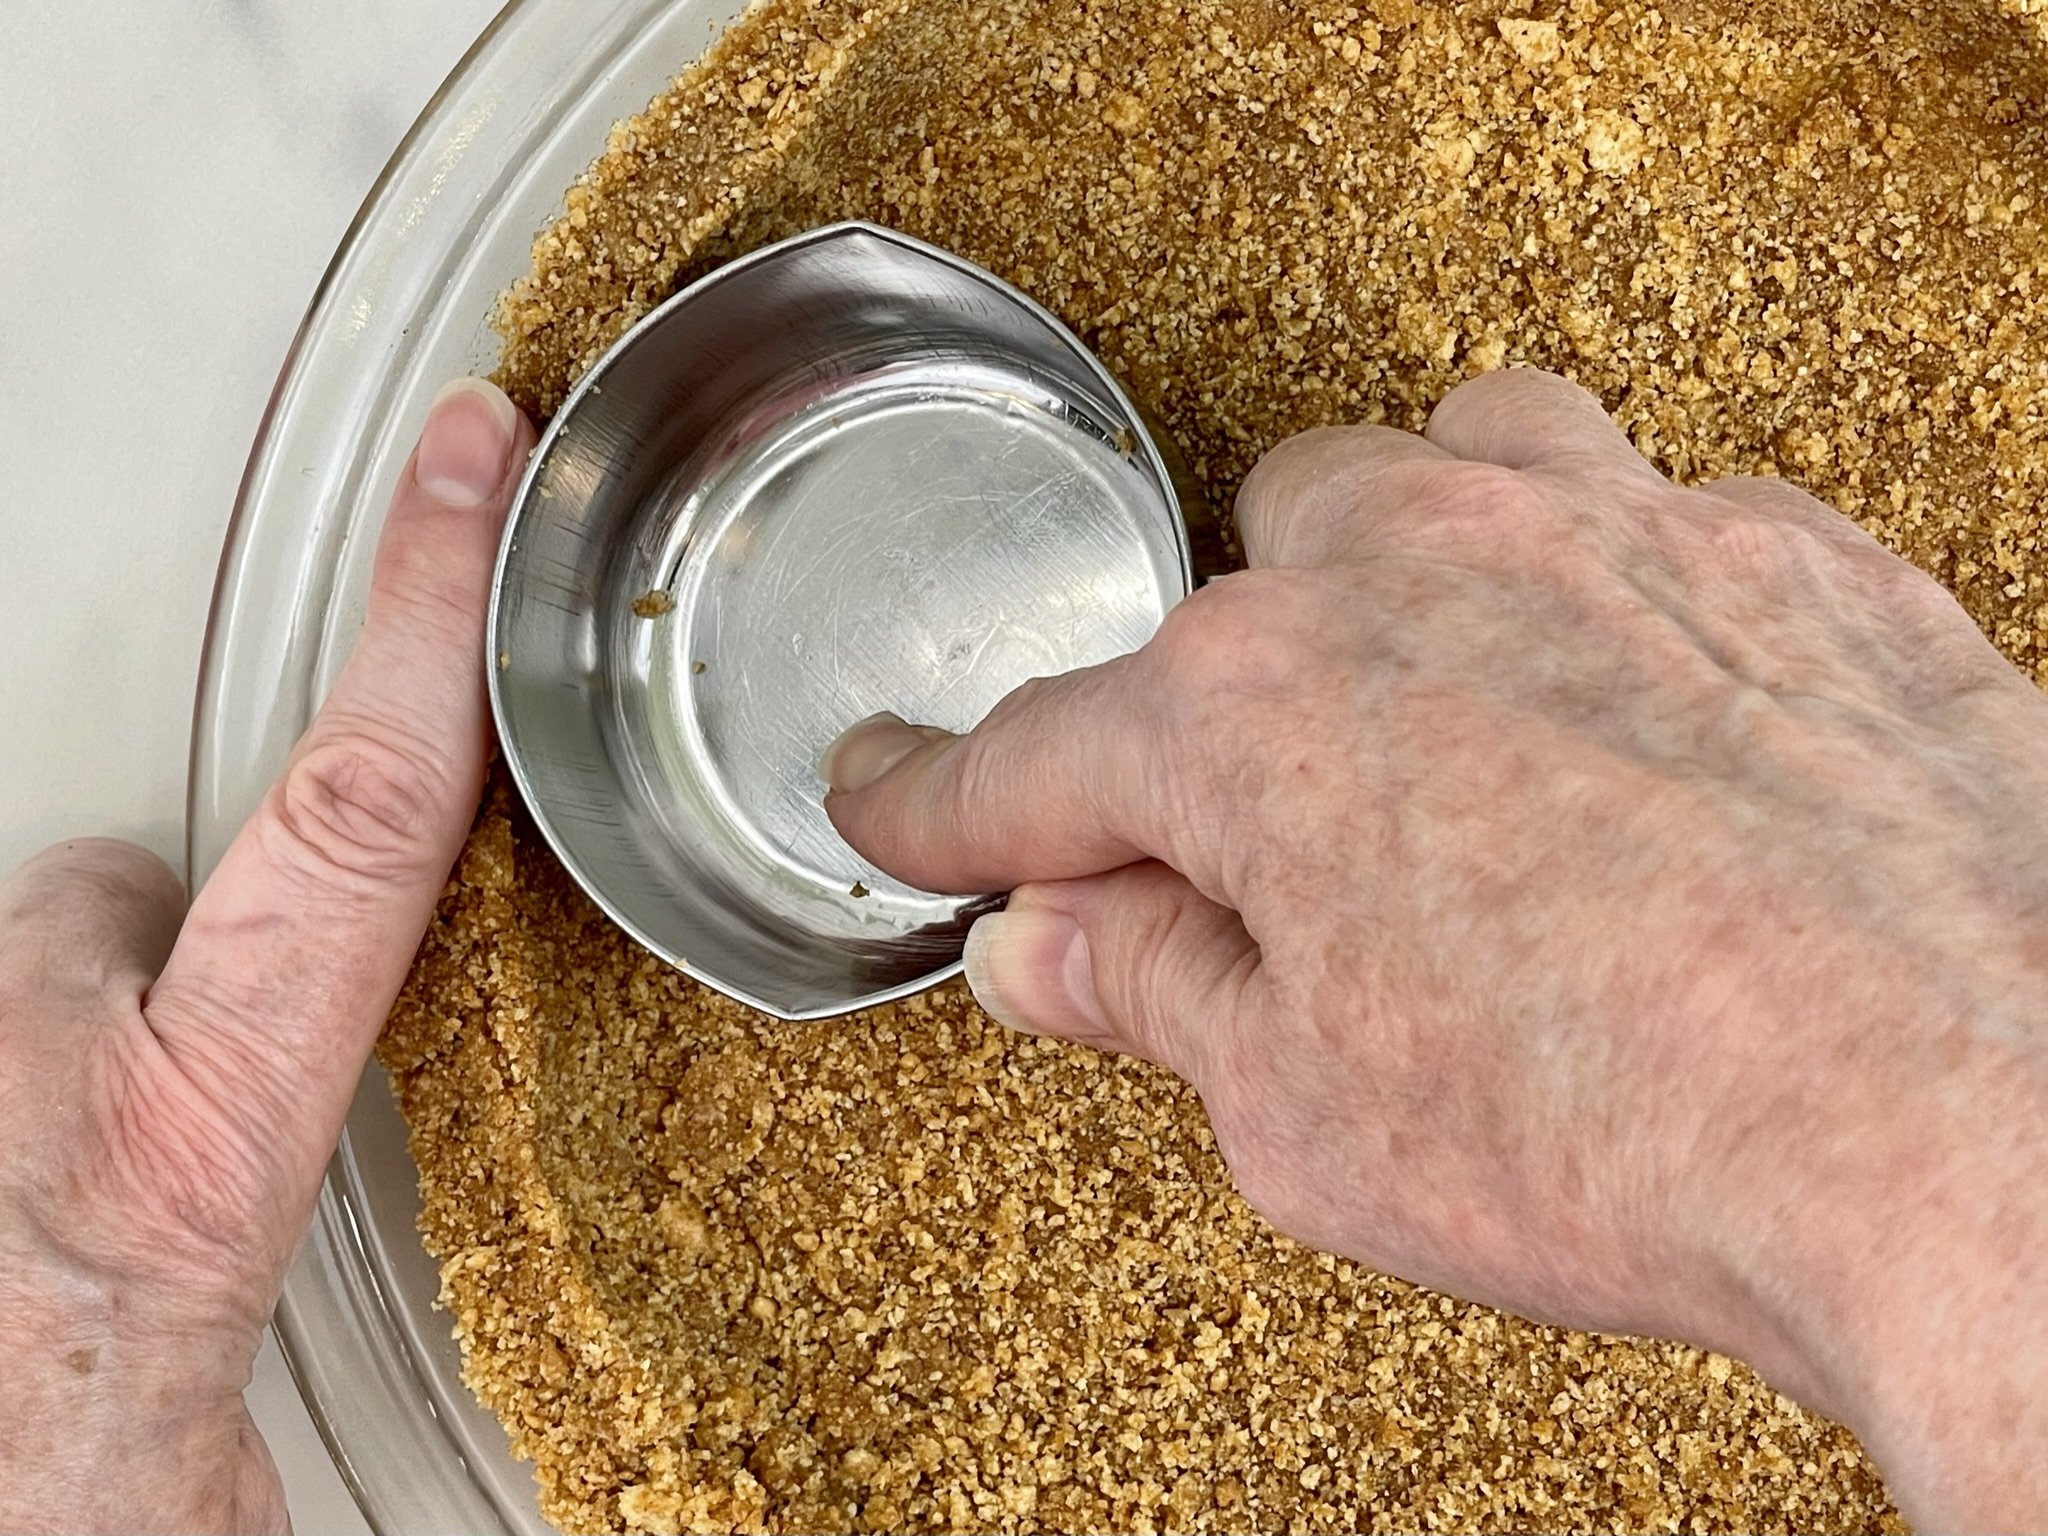
Dump the graham cracker mixture into an ungreased 9 inch glass pie plate (or a 9 ½ inch glass pie plate - see Notes below), spread evenly on the bottom, then press firmly using the bottom of a metal measuring cup (we used the ½ cup - or a flat bottom glass works too!). Do NOT press crust more than half way up the sides of the pan.
Notes: Using a glass pie pan will provide better results. If all you own is a metal pan, check at 8 minutes to ensure the crust doesn’t over brown. A 9 inch glass pie plate will result in a slightly thicker crust and filling. We used a 9 ½ inch glass pie plate, which yielded a 1 inch pie thickness.
STEP 4
Bake for 10-12 minutes until golden brown and fragrant. Remove from oven, and cool on a wire rack (cool completely before filling).
Note: The color of the crust doesn’t change too much once it’s baked. The crust can be made ahead of time. We often bake the crust in the morning and then prepare the filling in the evening, as the whole pie will need to sit overnight to firm up.
Filling
FILLING PREPARATION
Gather all your ingredients before you begin the filling.
STEP 1a
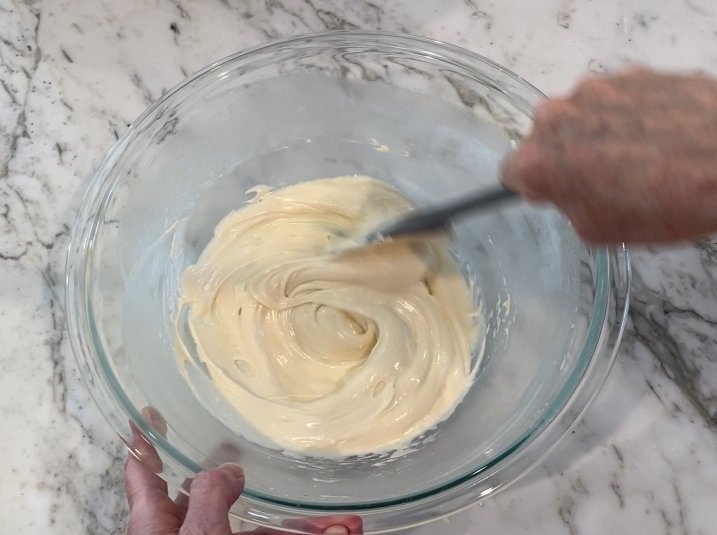
In a large mixing bowl, using a hand held electric mixer (or a stand mixer fitted with a paddle attachment), beat 8 ounces softened cream cheese until smooth. Scrape down bottom and sides of bowl.
STEP 1b
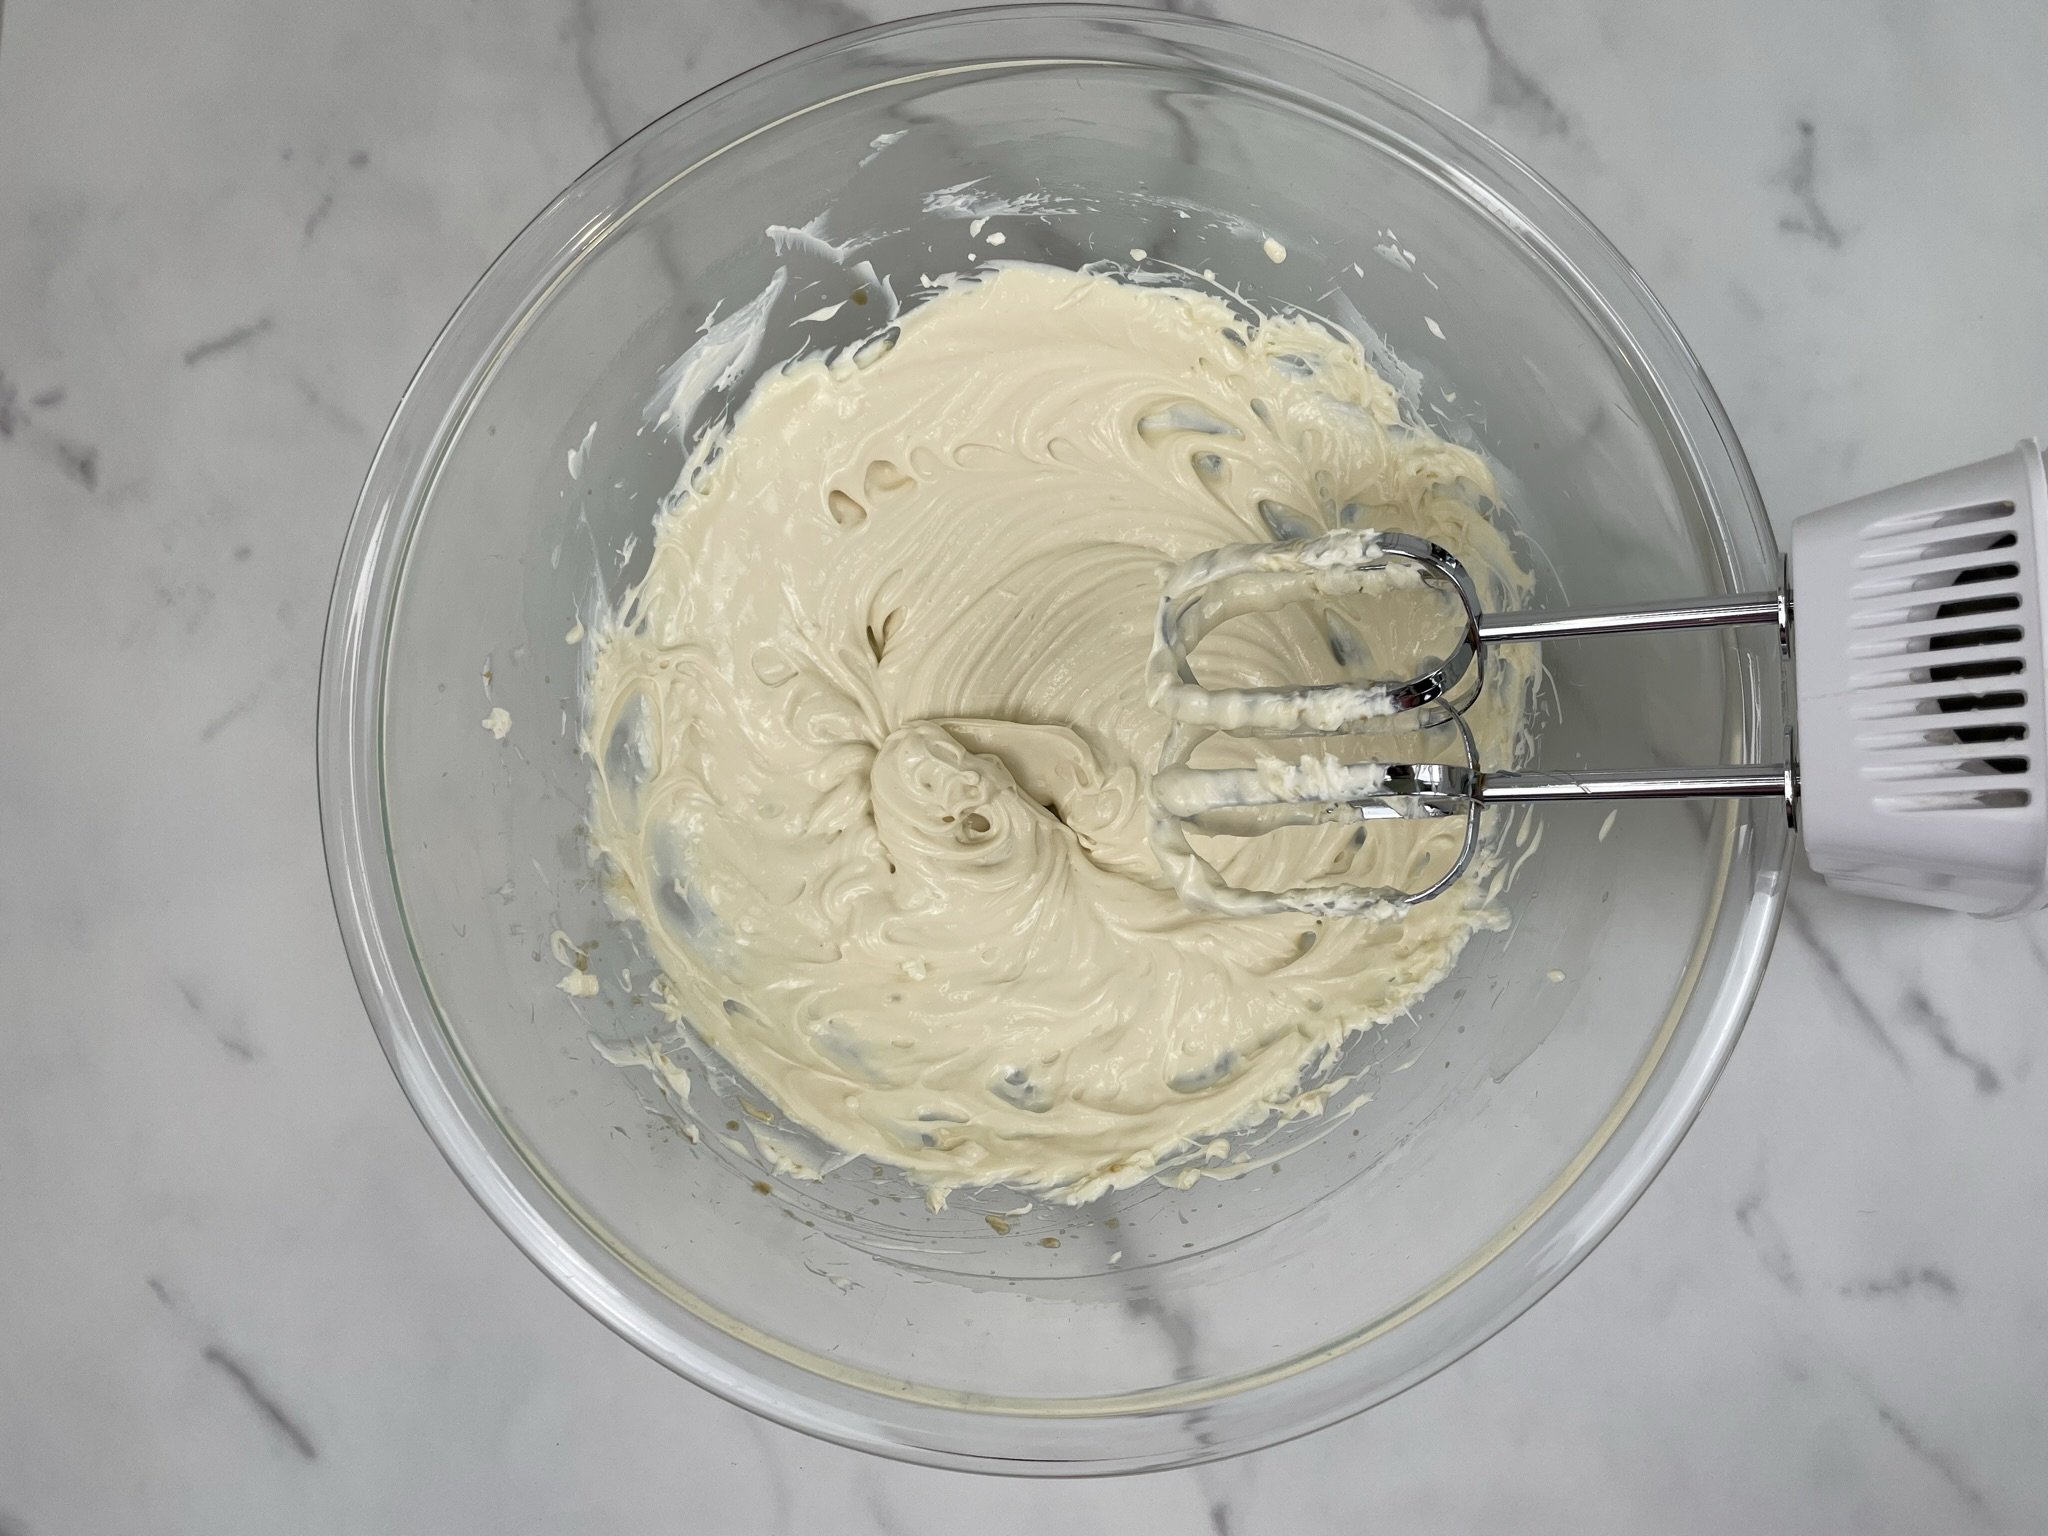
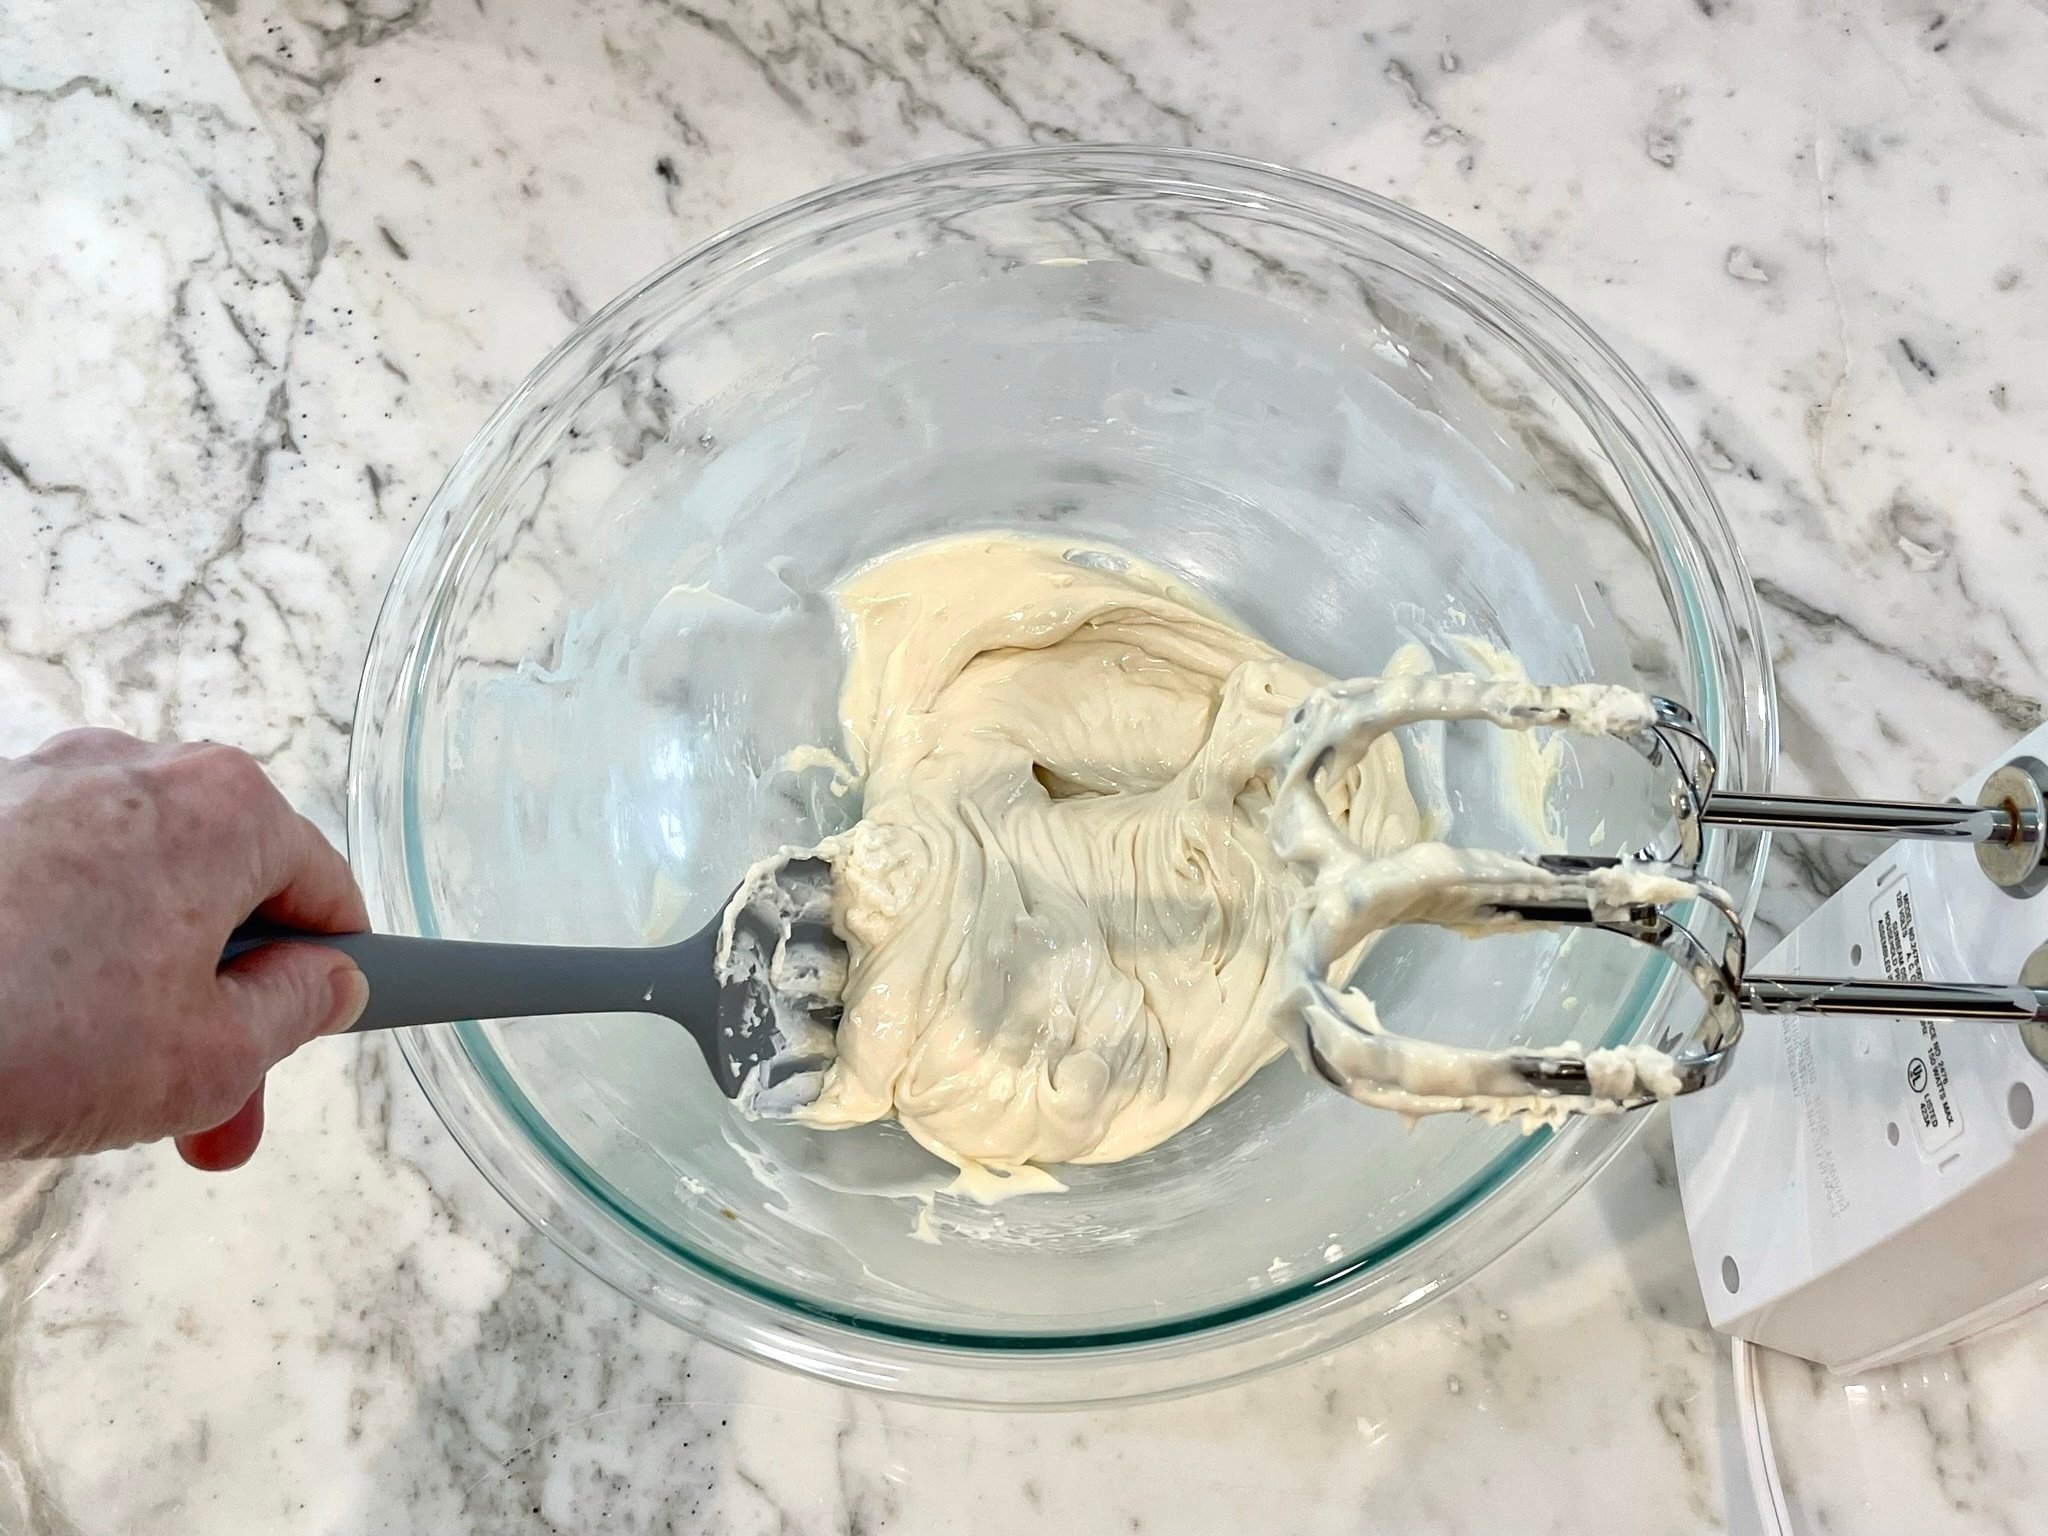
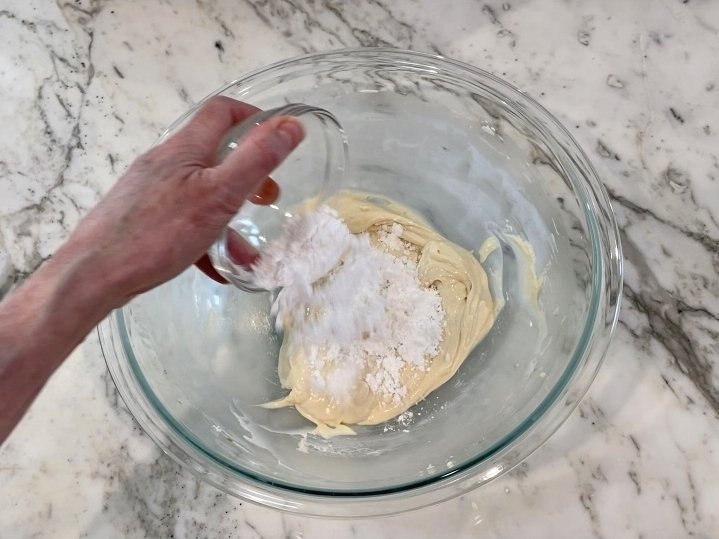
While beating, slowly add ⅓ cup sweetened condensed milk (pouring milk in a stream) to the cream cheese until fully combined and creamy. Add 1 teaspoon pure vanilla extract, and beat until combined. Scrape down bowl again, then add the 3 tablespoons powdered sugar until entire mixture is smooth and silky. The filling will be thick and creamy.
STEP 2a
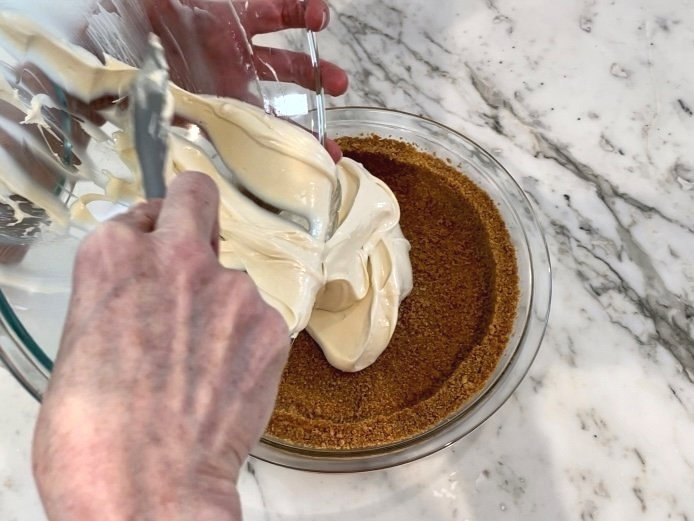
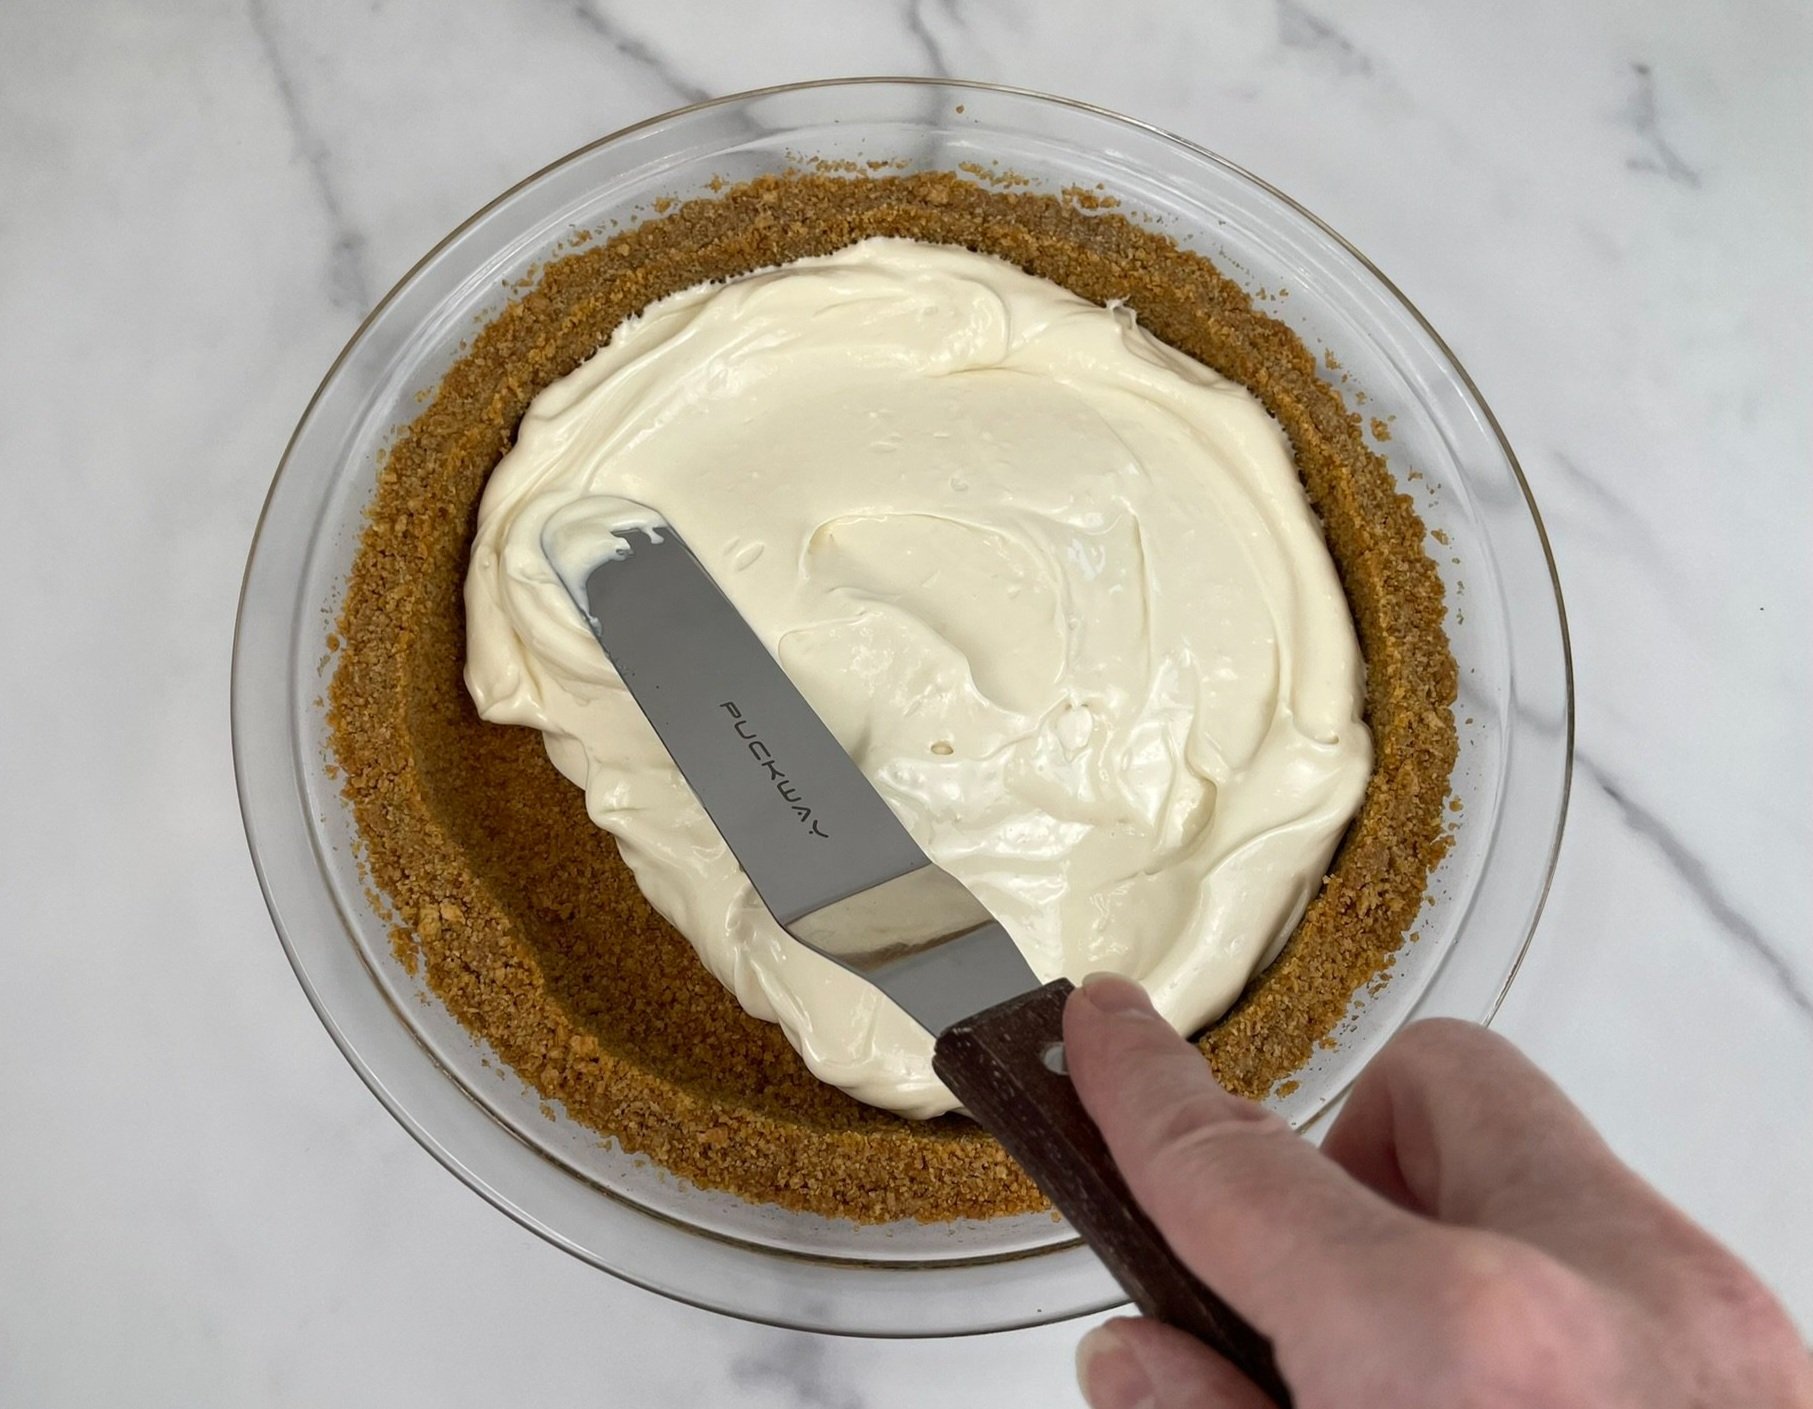
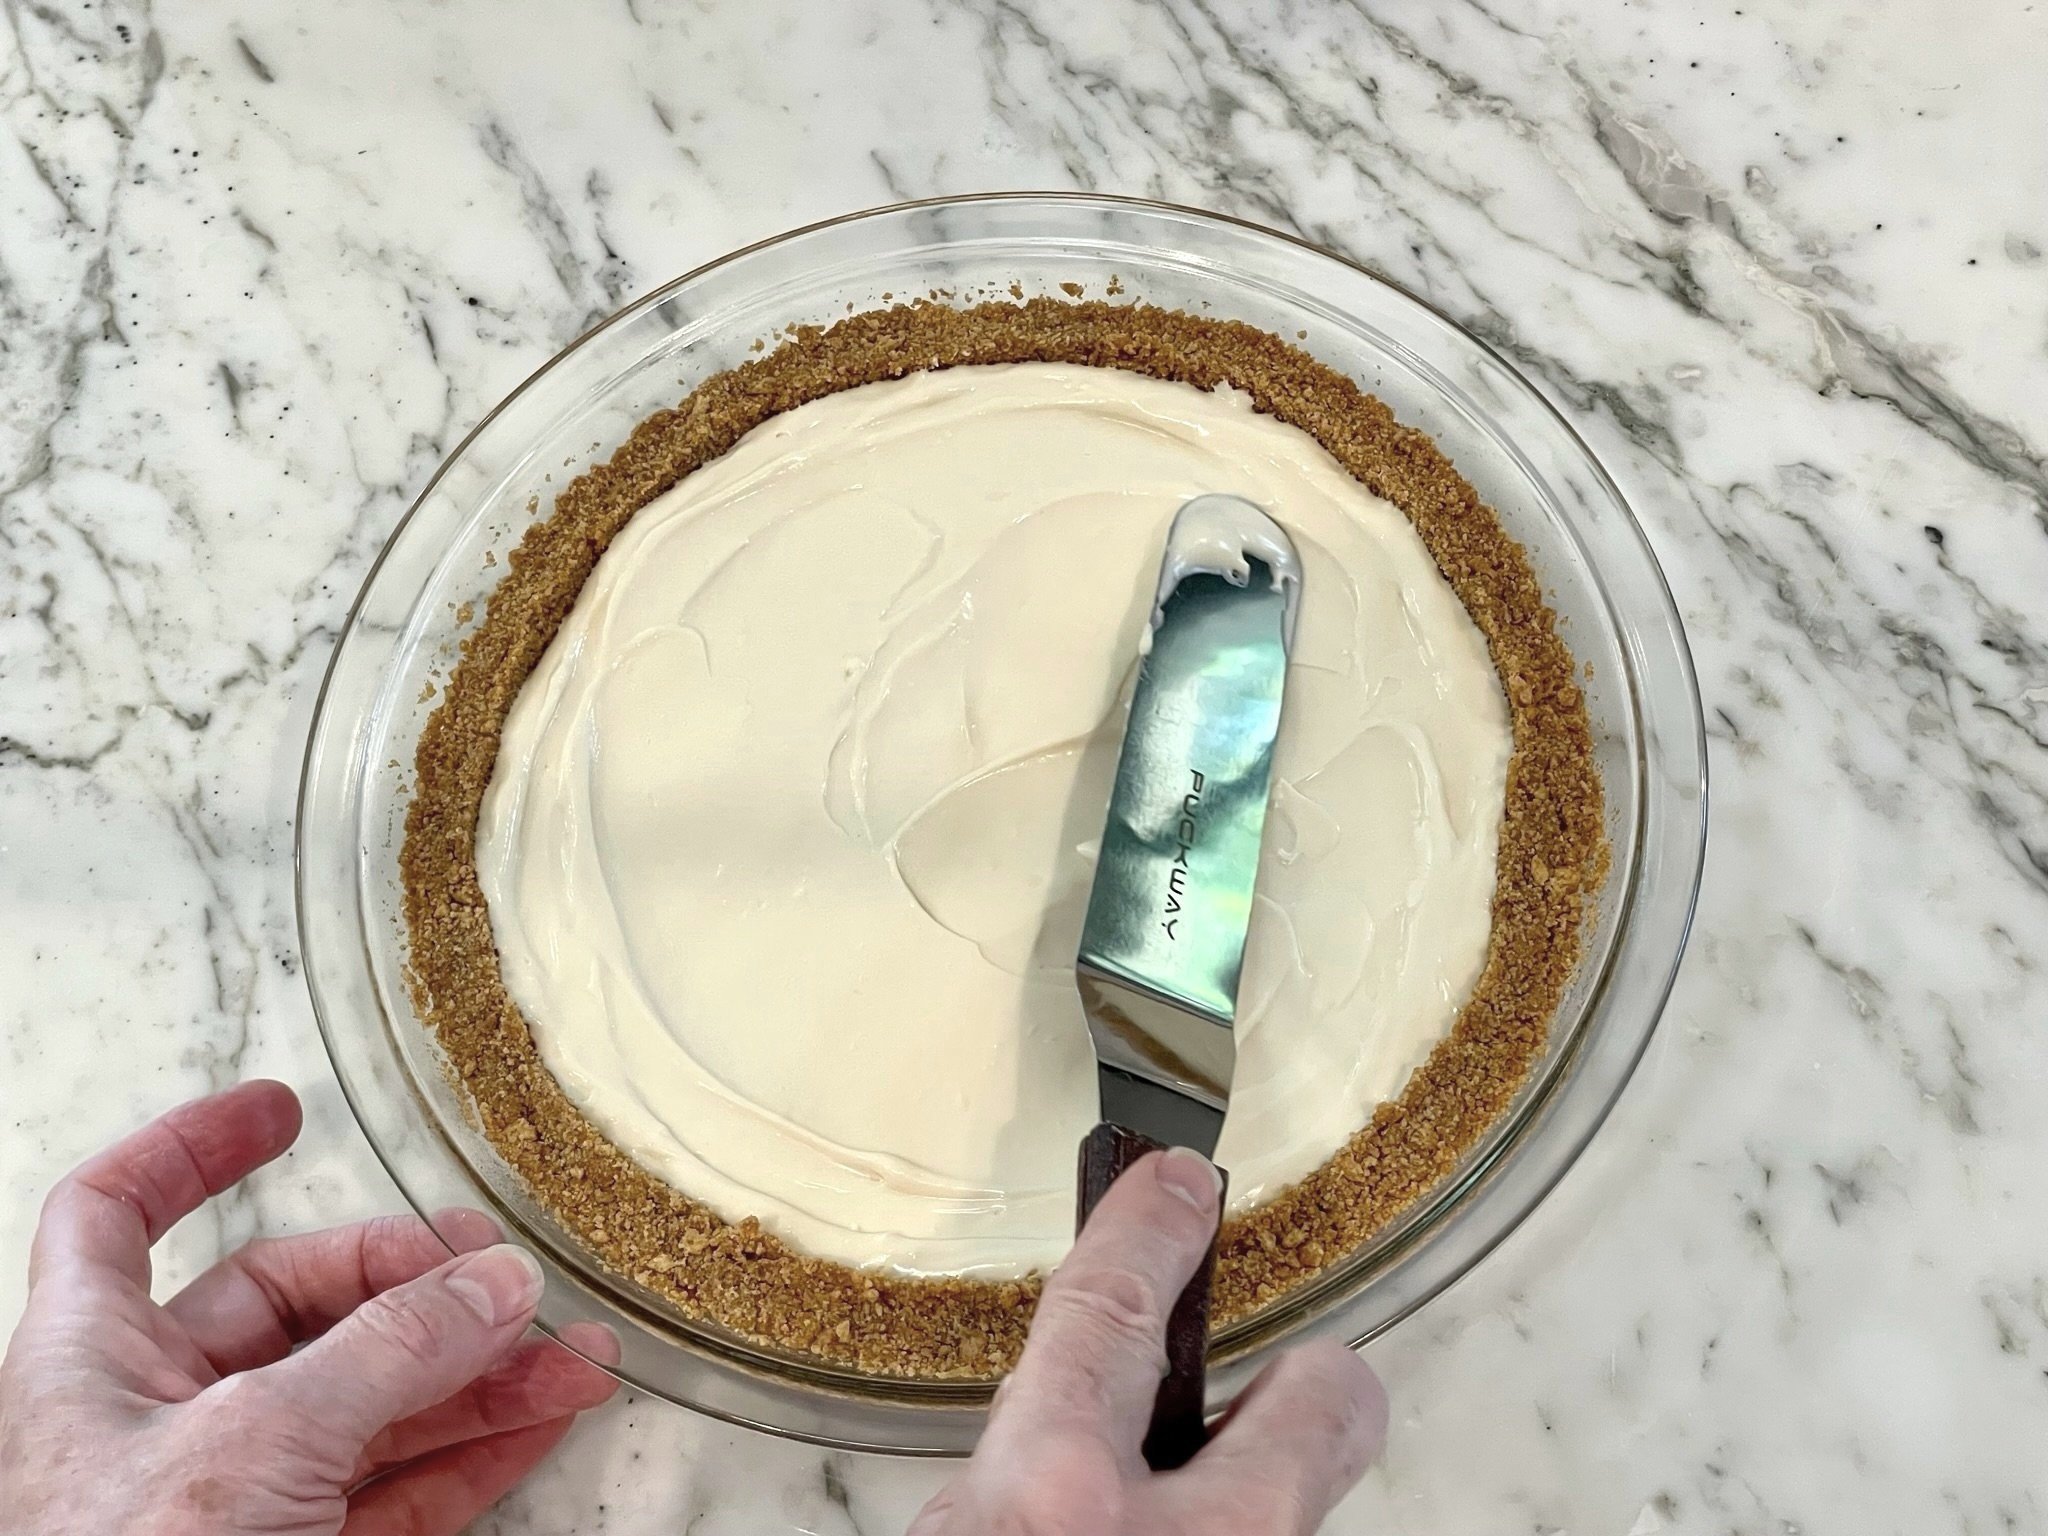
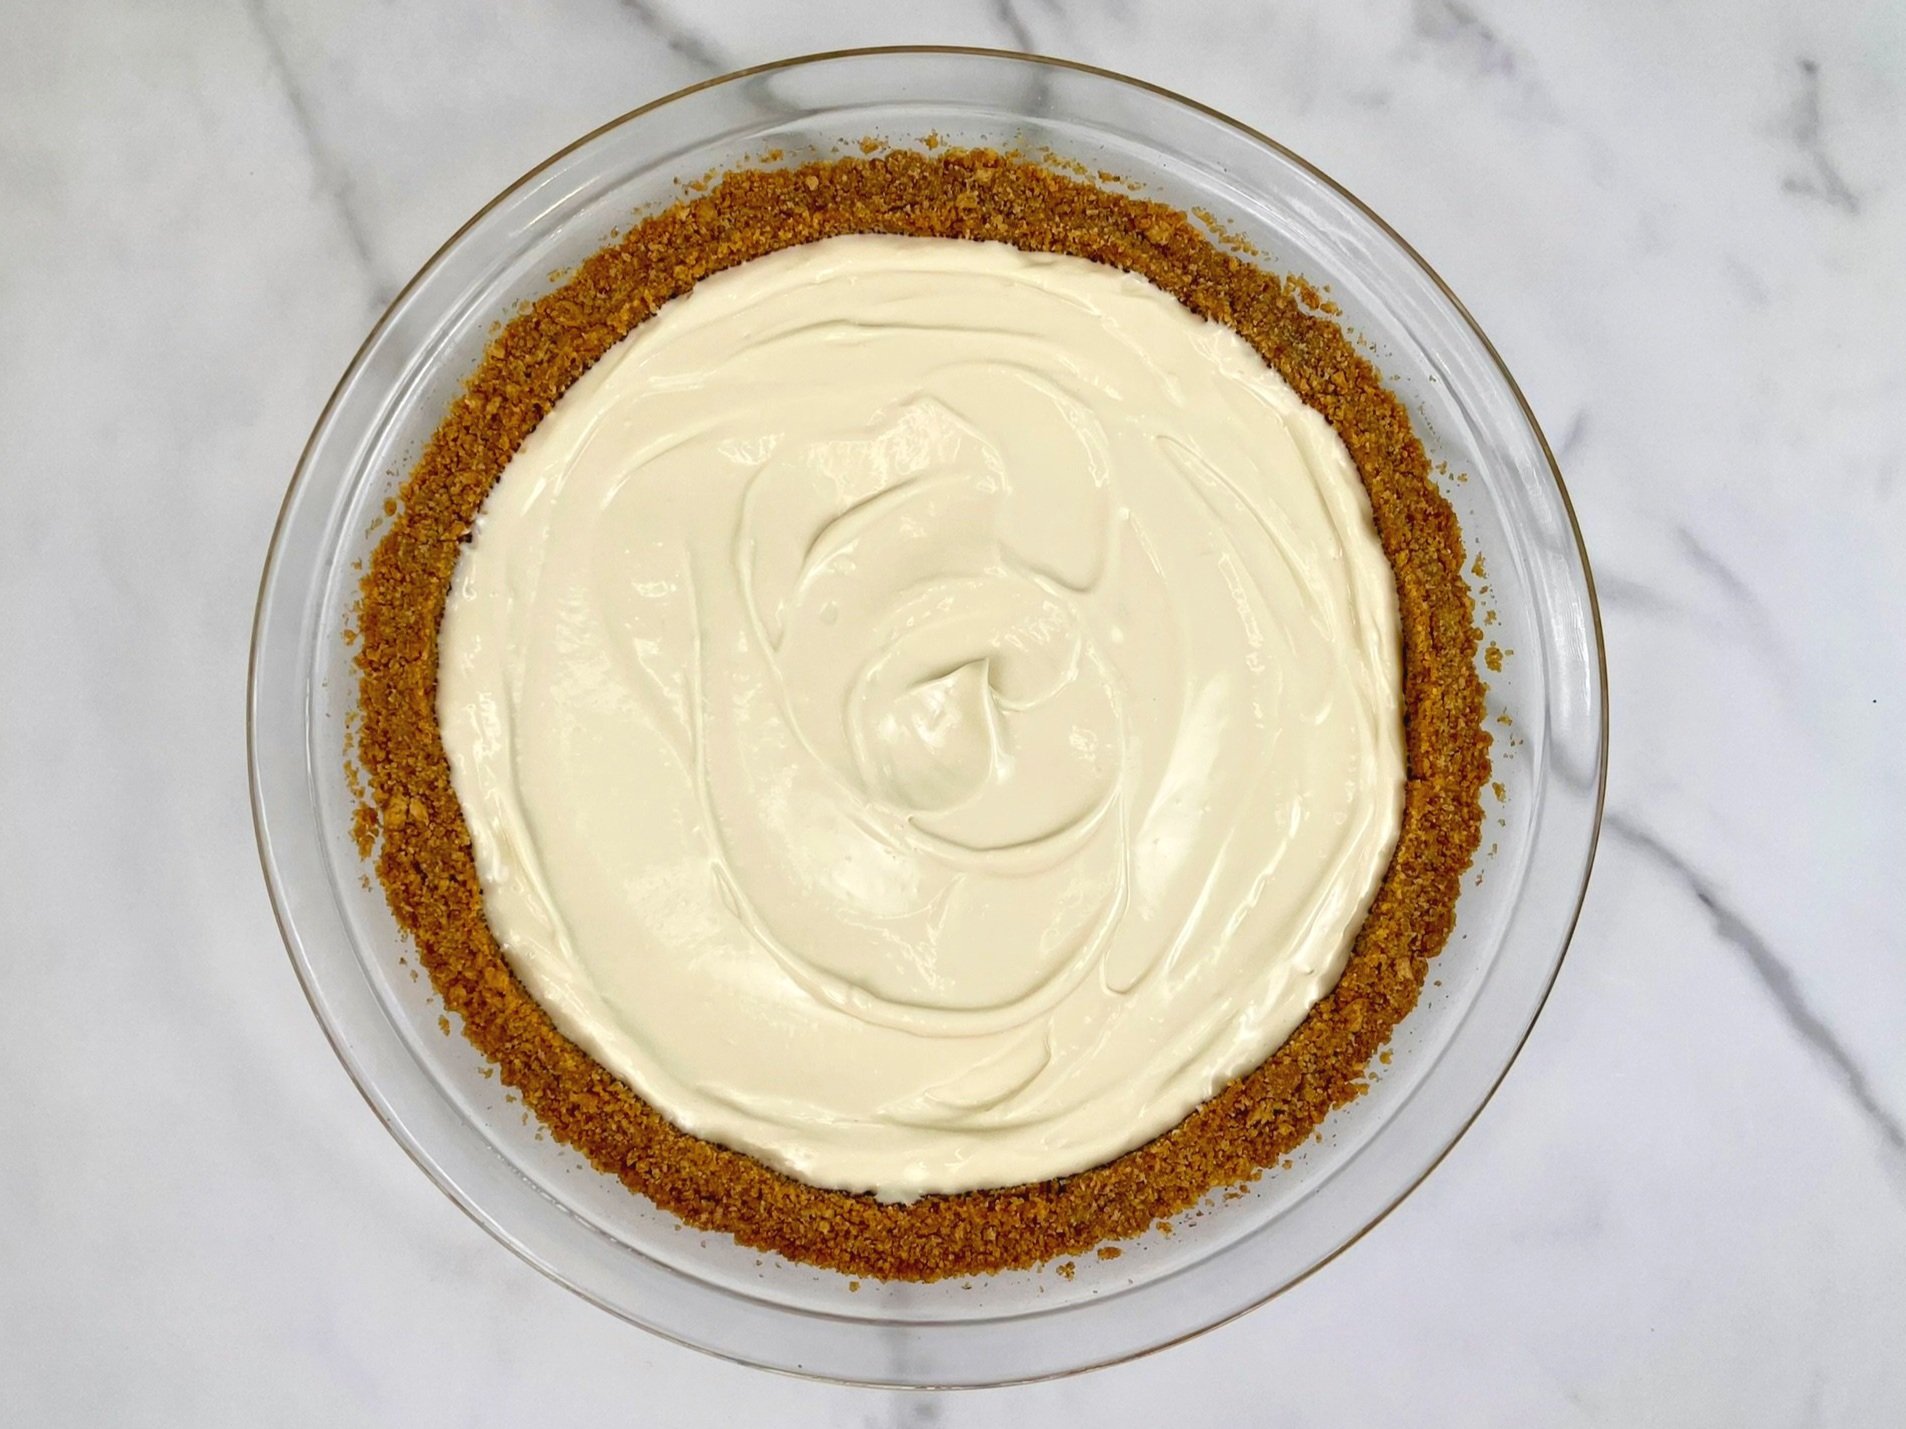
Pour filling into cooled crust. Using an offset icing spatula, spread filling to edges, and swirl the top.
STEP 2b
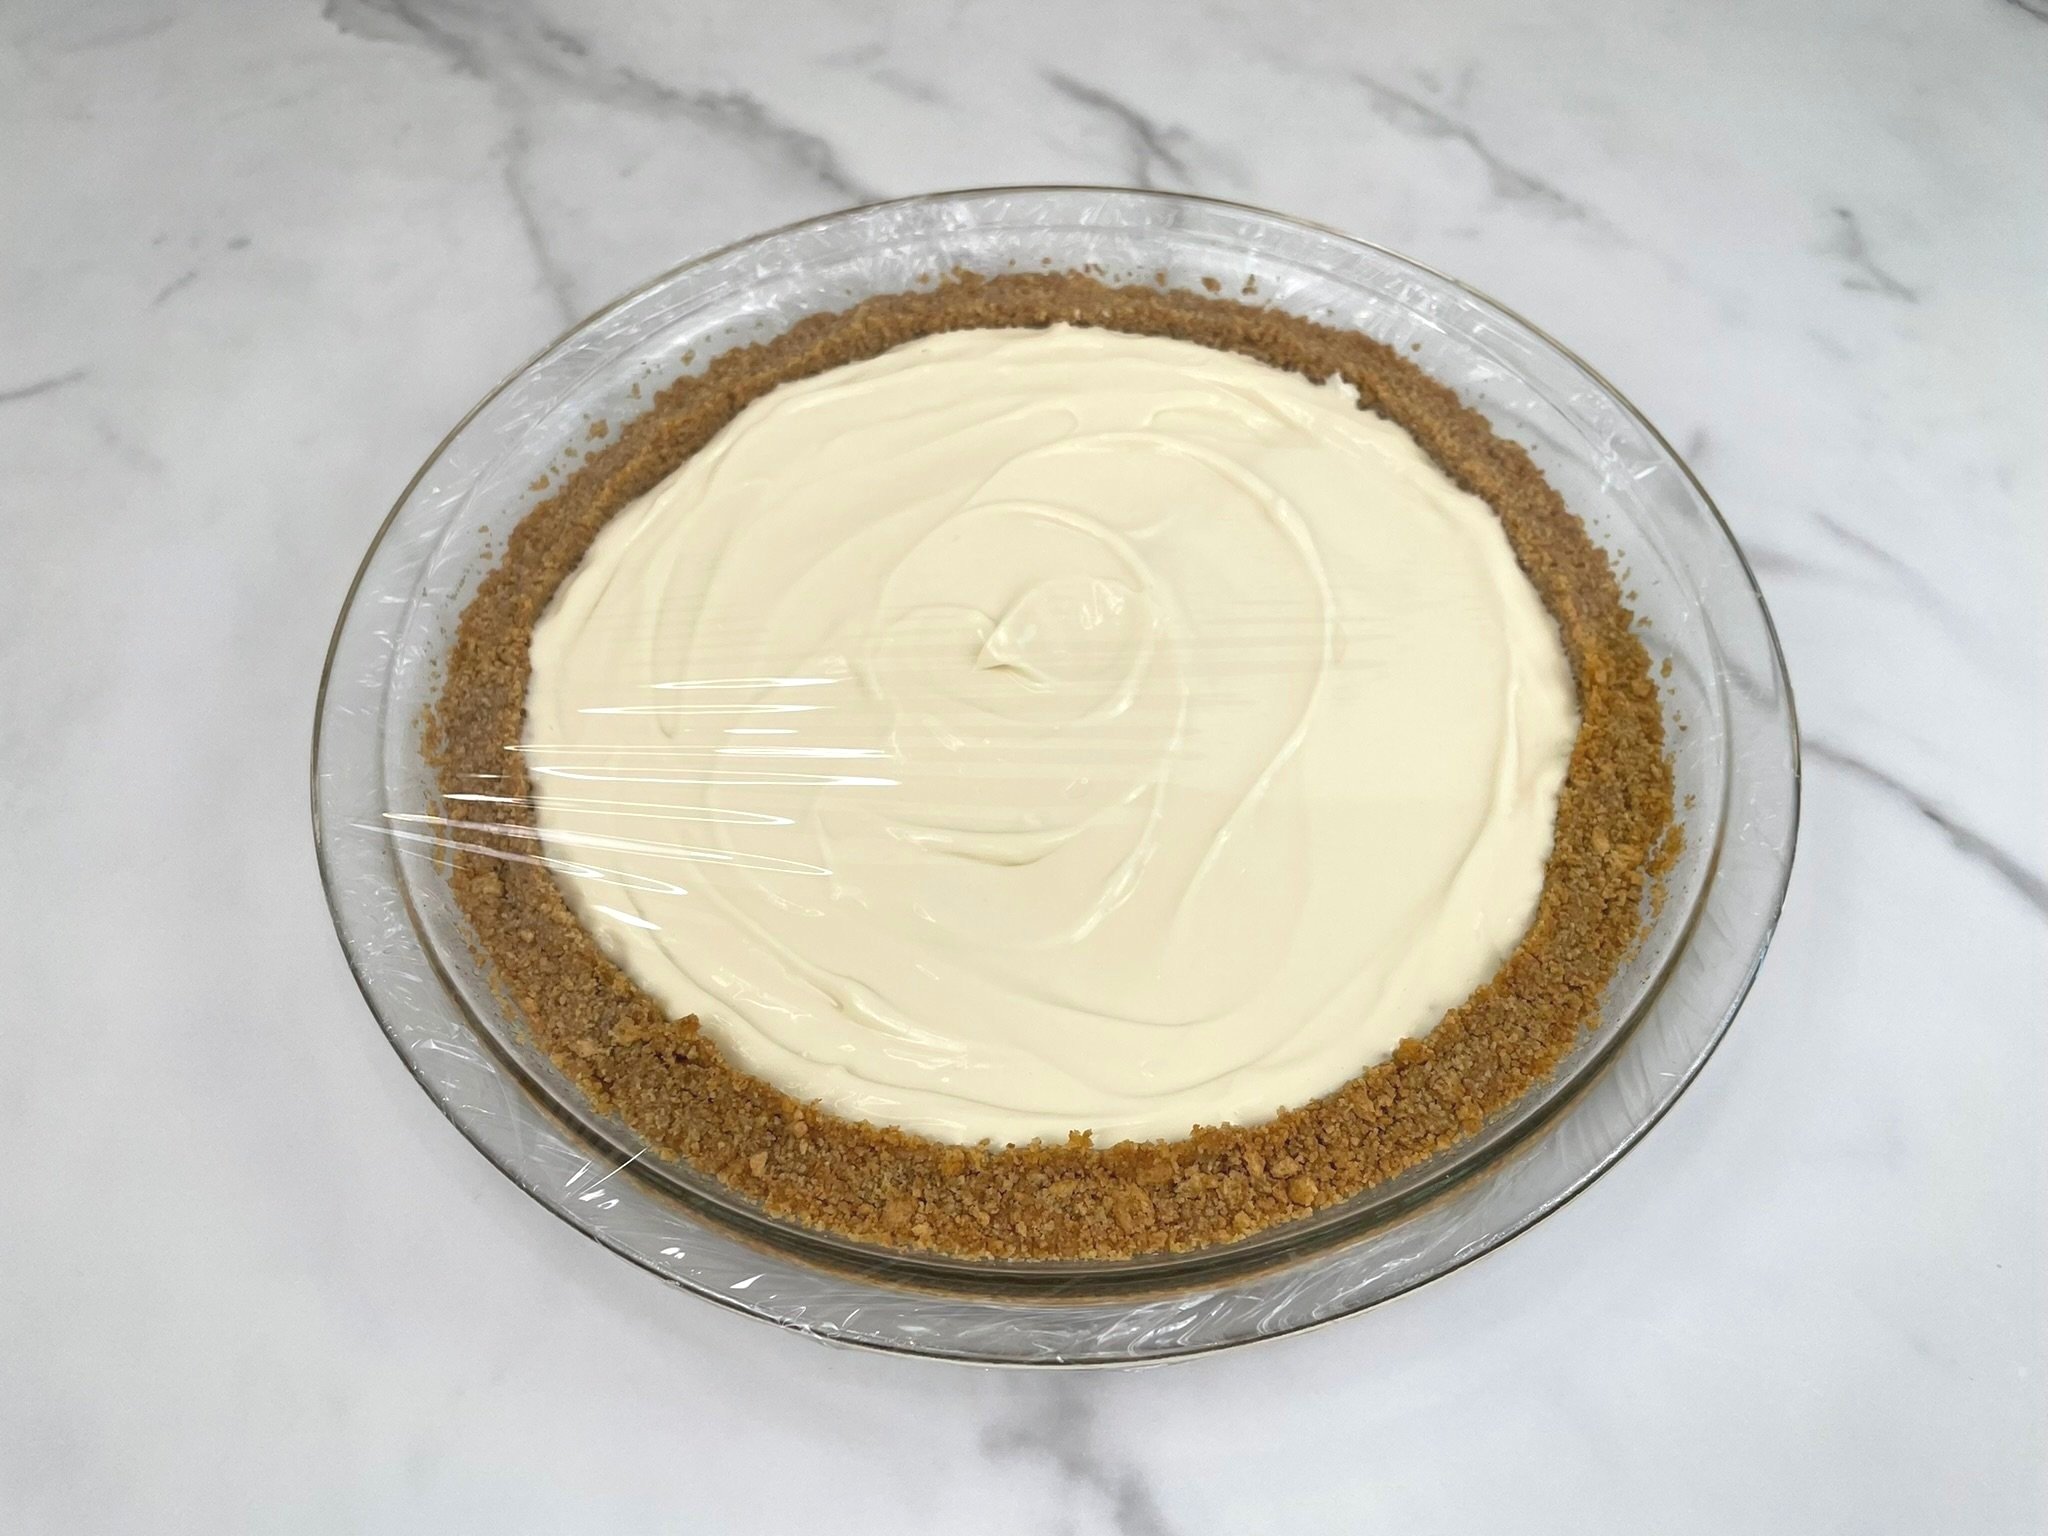
Cover pie (see Note below), and refrigerate overnight until firm (minimum 6 hours).
Note: We used plastic wrap to cover the pie, but make sure the plastic doesn’t touch the cream filling. To avoid accidentally denting your pie filling, you can cover it using the lid to the pie plate, or place the pie uncovered in a cake and pastry container.
Topping
TOPPING PREPARATION
Gather all your ingredients before you begin the topping.
Note: Be sure to prepare the strawberry topping no more than 15-30 minutes before serving, otherwise the berries will become mushy.
STEP 1
Halve or quarter 5 cups fresh strawberries, depending on the size of the berries (each piece should be bite size).
STEP 2
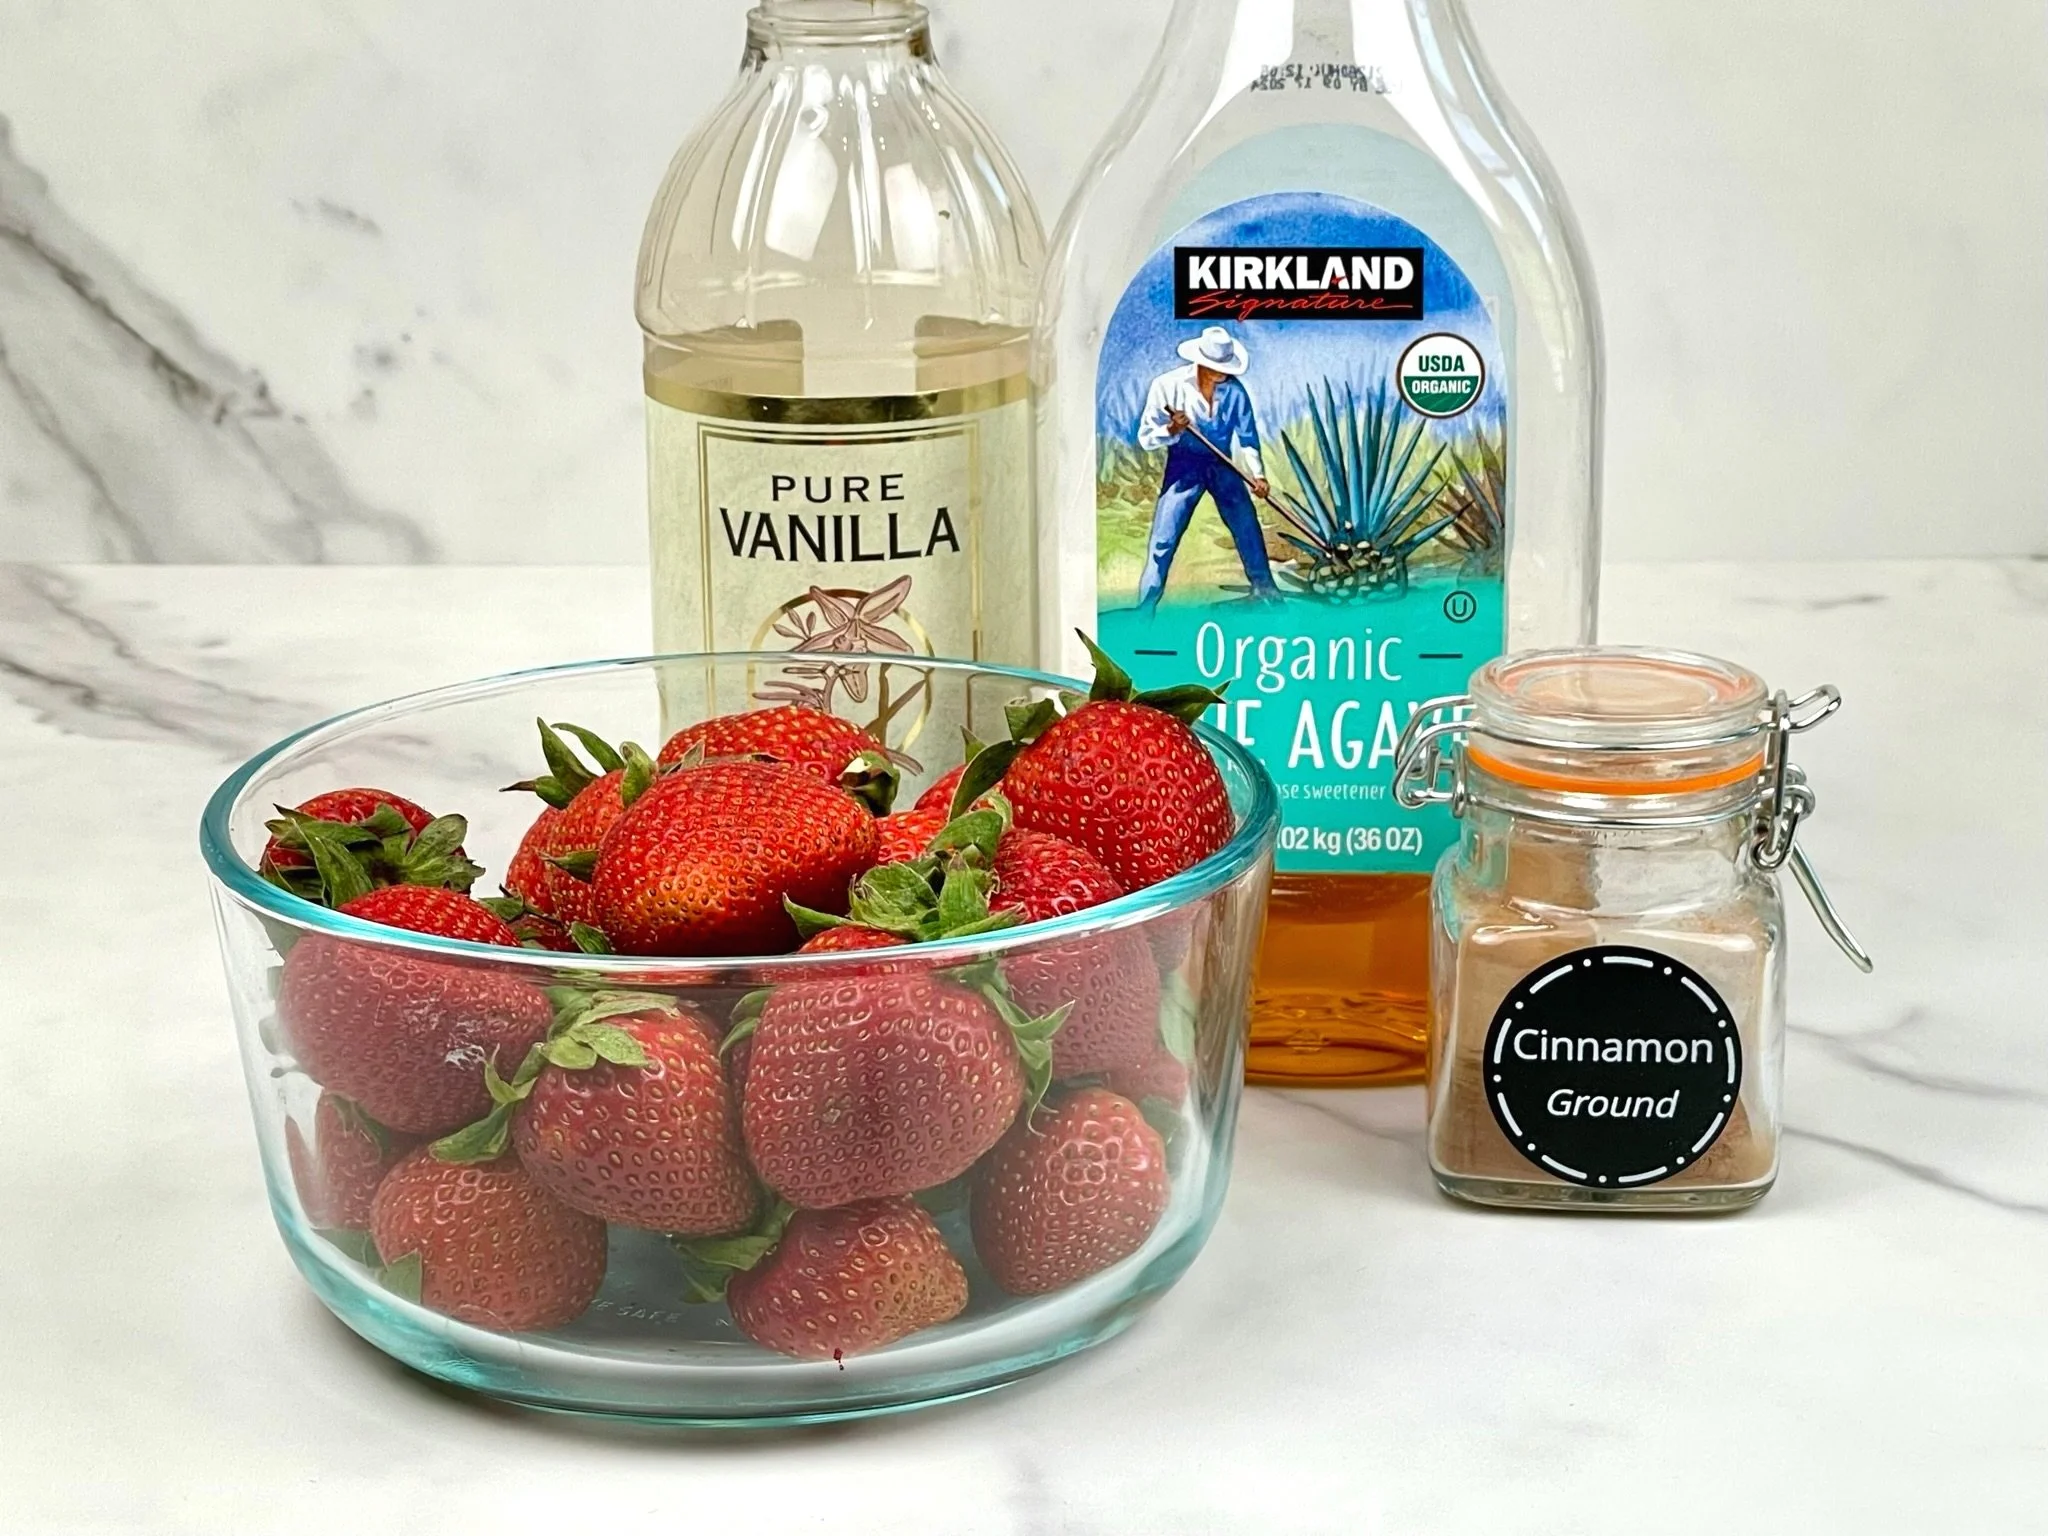
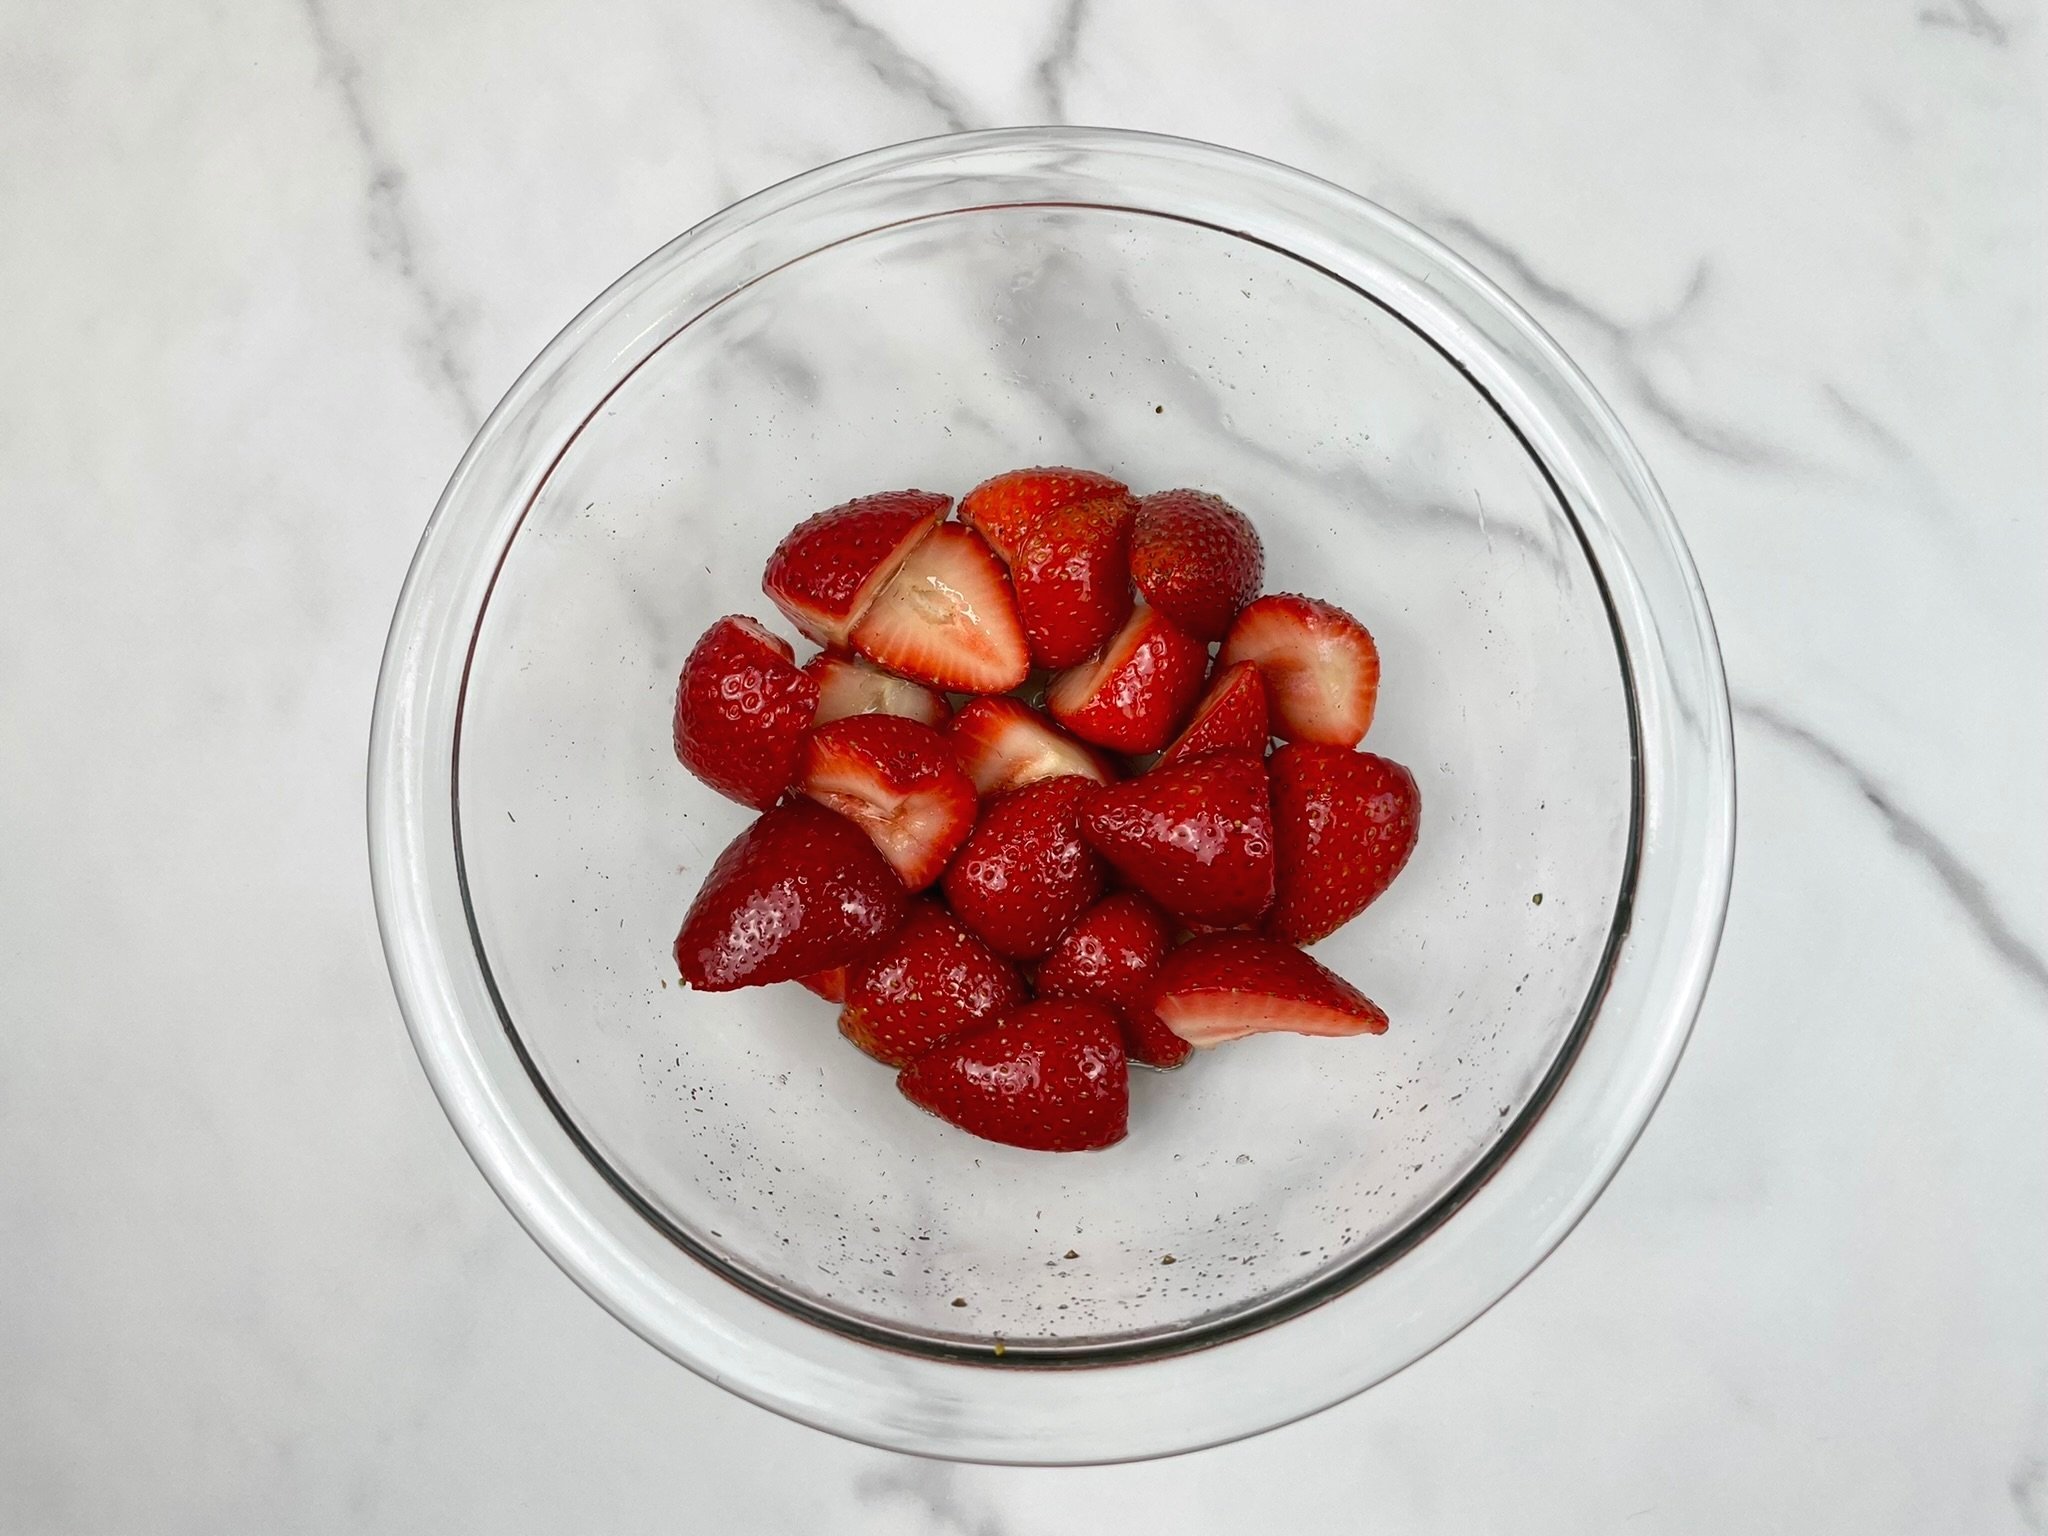
Place cut strawberries in a medium mixing bowl (1.5 quart), and add ½ teaspoon pure vanilla extract, ⅛ teaspoon ground cinnamon, and 2 tablespoons of agave nectar (organic, light or dark), then gently toss to evenly and thoroughly coat the strawberries. Cover and refrigerate for 15 to 30 minutes.
Note: If the strawberries aren’t sweet enough after macerating, then add 1 additional tablespoon of agave and stir. The strawberries should shine in this recipe!
STEP 3
When ready to serve, cut and serve each slice of pie on a plate (see Note below). Then spoon the strawberry topping onto each slice.
To present the entire pie with topping, we recommend doing this only if you top the pie just before serving. You will need to serve the entire pie the same day. Although the entire pie topped with strawberries looks beautiful in the photo, it becomes very soggy after 30 minutes, and messy when cutting and serving.
Note: To serve clean slices, run your knife through hot water and wipe clean before each slice.
Notes:
Only serving 4? Prepare half (or only as much as you need) of the strawberry mixture, otherwise your strawberry leftovers will become soggy and mushy.
Leftovers? Store the extra pie and strawberries separately. To avoid dents in your pie, instead of using plastic wrap it’s best to refrigerate it covered using the lid to the pie plate, or uncovered in a cake and pastry container. If you are not serving the entire pie, we strongly recommend preparing only the amount of strawberry topping you need for that day (as noted above). Then prepare the remaining strawberry topping 15 to 30 minutes prior to serving your leftovers the next day.
Recipe can be made ahead (crust and filling only).
VIDEO
How to Make this Silky Strawberry Cream Cheese Pie!
Blog Comments & Tips
This silky pie is a definite make again recipe!
Our Silky Strawberry Cream Cheese Pie is so delicious and has the perfect balance of sweetness from the graham cracker crust and creamy filling, and tartness from the strawberries. This is a quick and easy cream cheese pie recipe that can be enjoyed year round, but it's even better if you make it when strawberries are in season at peak freshness. Is it strawberry season yet?! It’s so good that it's tough to refrain from a second serving!
Unlike many strawberry pies, there is NO Jell-O in this recipe.
The true freshness of the strawberry topping really comes through without using any refined sugar, corn syrup, gelatin, or flavoring. We used just a little agave nectar to sweeten the strawberries, and added some vanilla and cinnamon to round out the flavor profile of the topping.
Don’t be surprised about the size (height and thickness) of this pie. If you are looking for a traditional 3-inch thick cheesecake recipe, this is NOT a cheesecake! Our Silky Cream Cheese Pie is more refined, and the size and thickness of a tart. The cream filling is very shallow (the pie sits only 1 inch thick), but don’t be fooled by it’s volume. This is a rich, yet delicate and super silky pie that looks impressive on a simple white plate, and tastes even better than it looks!
This pie is so yummy that it has become a frequently requested favorite amongst all my family and friends. It has such a lovely texture and flavor that instead of a birthday cake, my godmother even requested this Silky Strawberry Cream Cheese Pie as the dessert for her 90th birthday party!
It’s truly the perfect make ahead dessert for company, but easy enough to make for a weekday dessert for the family. Both your guests and your family will be astounded by your pastry skills (just don’t divulge how easy it was to make).
Enjoy and let us know what you think about this no jello strawberry pie by commenting below, rating our recipes, subscribing, following, and liking us on Pinterest, Instagram, Facebook, YouTube, and TikTok! Don’t forget to subscribe to get updates on new recipes and tips & tricks.
Happy Cooking!
Mich
Footnote: Remember to press the crust only halfway up the pie pan. Otherwise, your crust above the filling will crumble when served.
Adapted from the No-Bake Fresh Strawberry Cream Cheese Pie recipe by Celebrating Sweets, we’ve taken this wonderful pie and zhuzhed it up enough to make it extra silky, super delicious. Your family and friends will request it for dessert every time they come to visit!
Every editorial product is independently selected. We may be compensated or receive an affiliate commission if you purchase products via our links. As Amazon Associates, we earn from qualifying purchases.

